
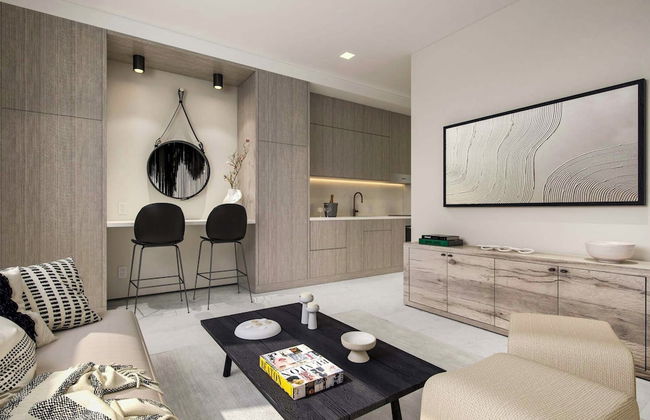
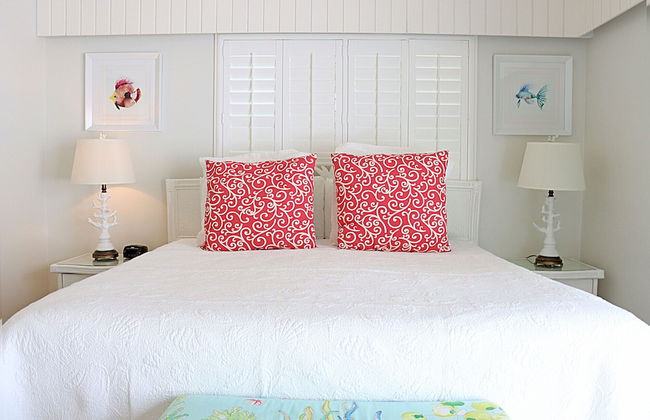
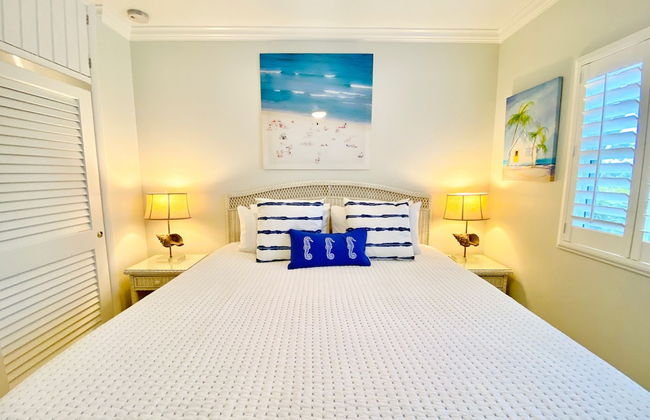
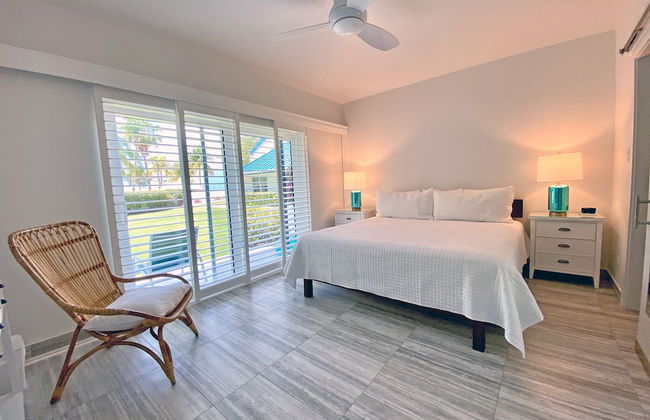
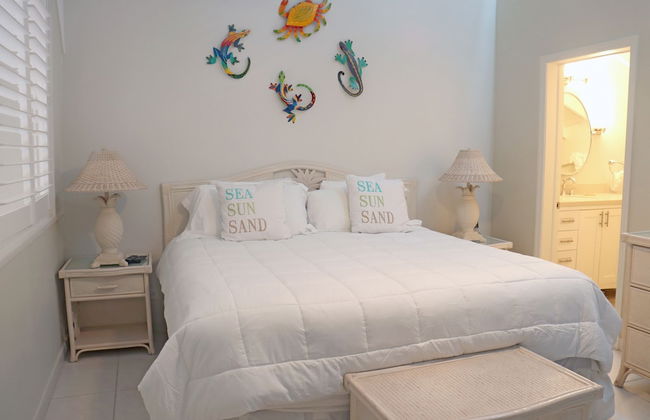
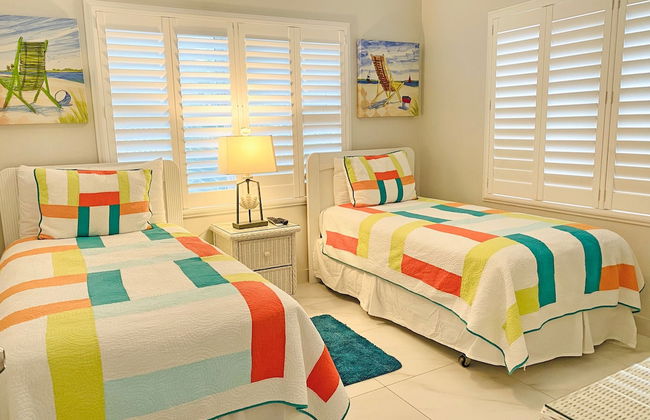
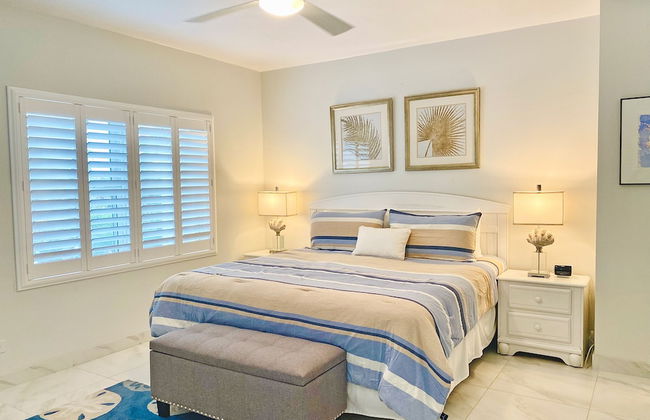
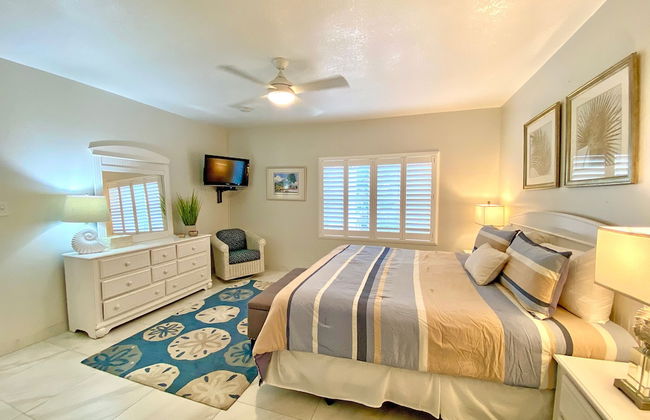
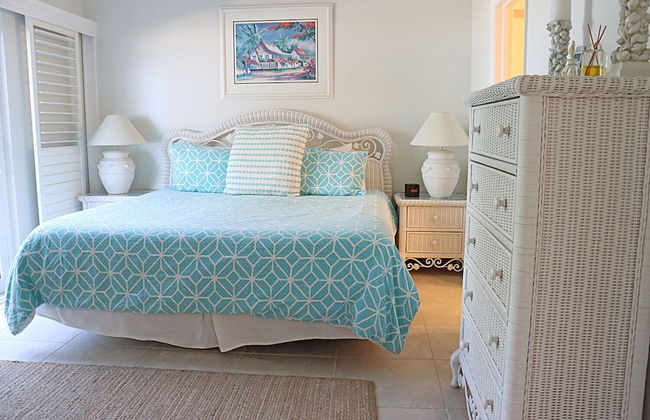
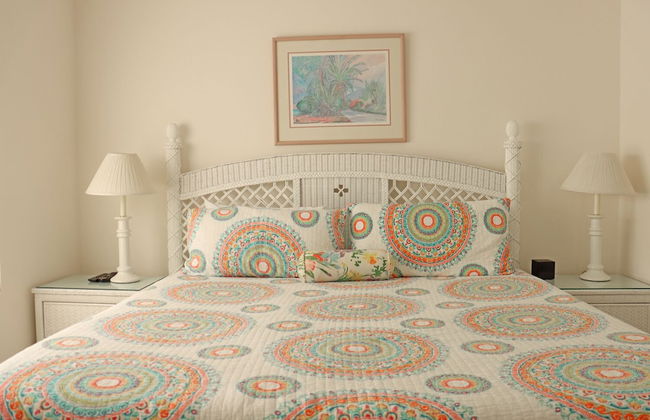
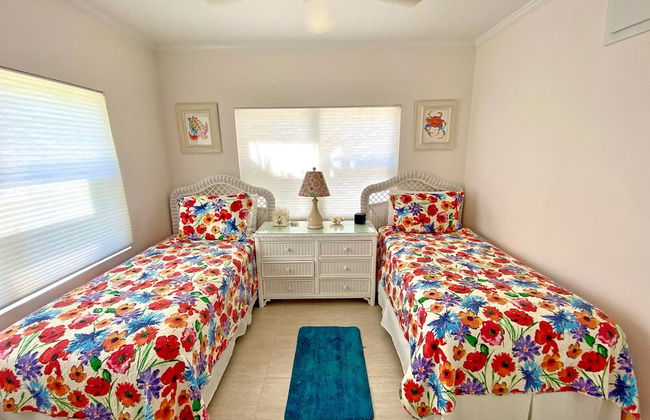
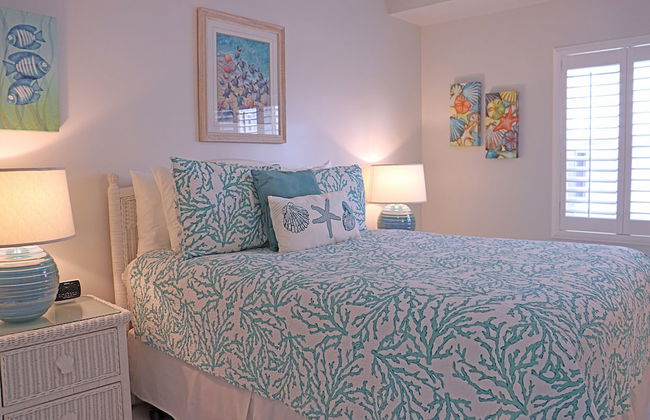
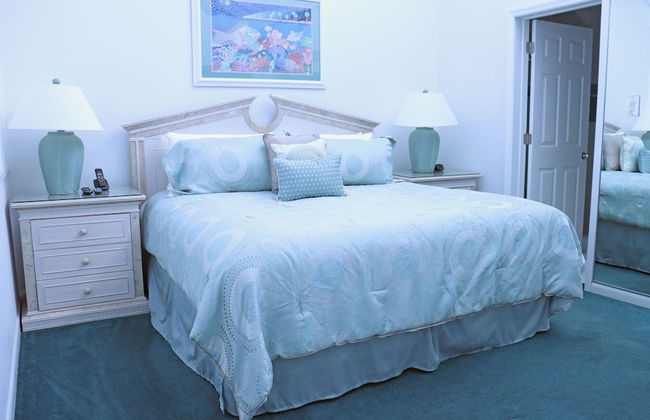
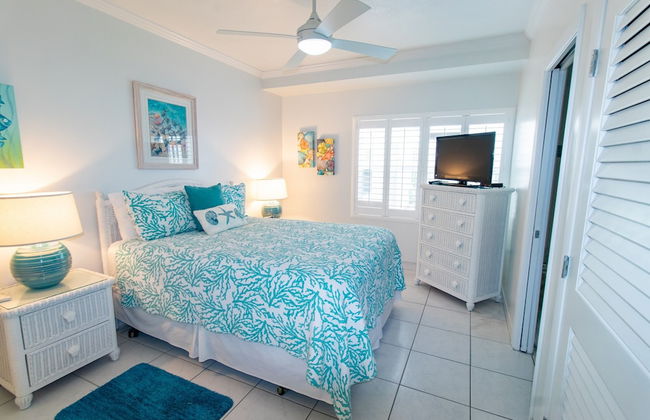
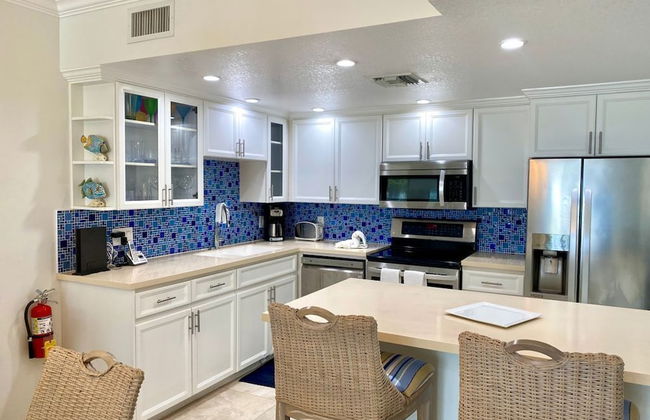
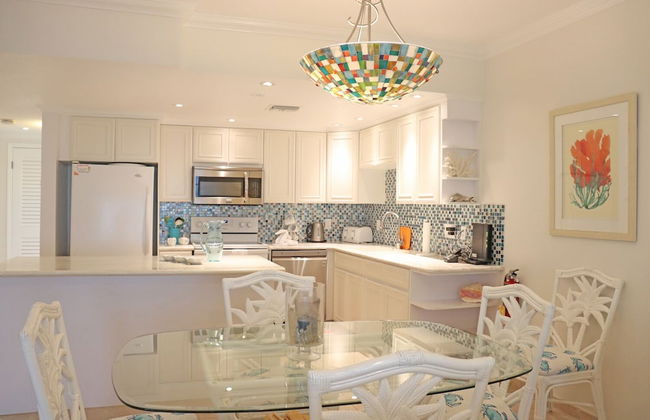
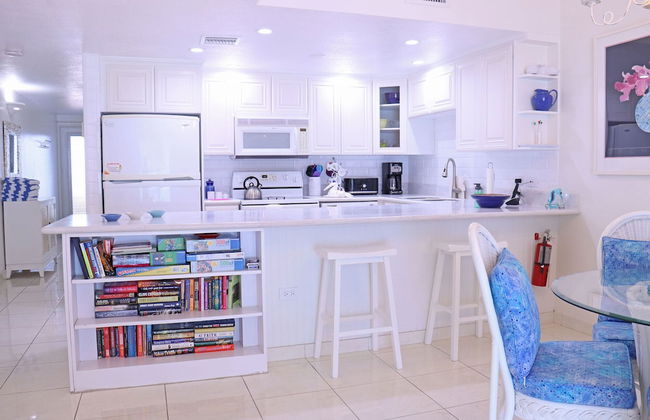
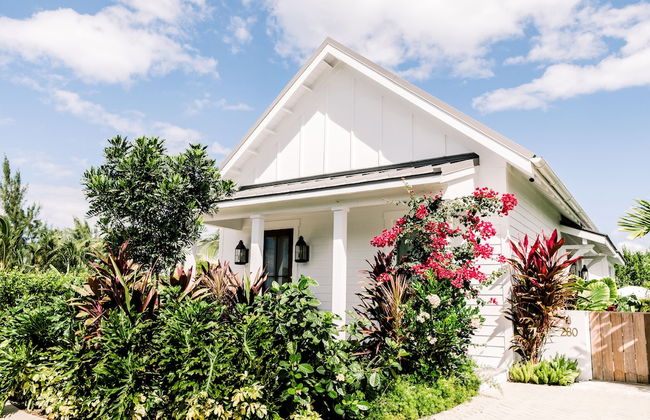
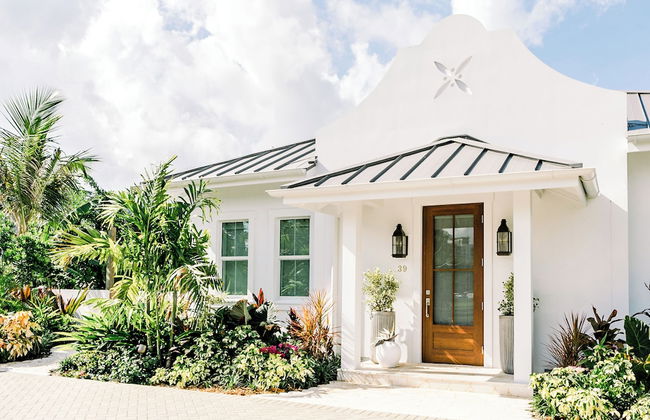
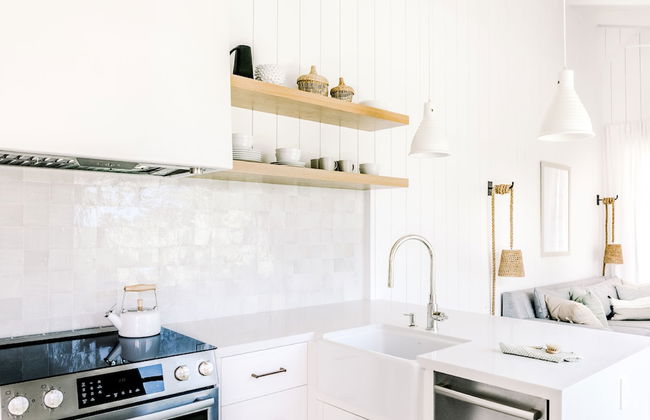
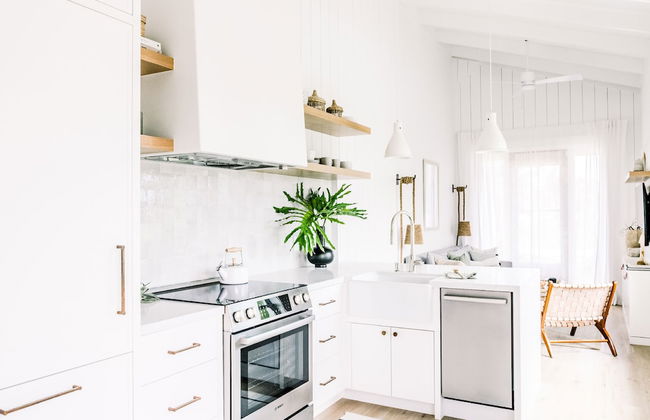
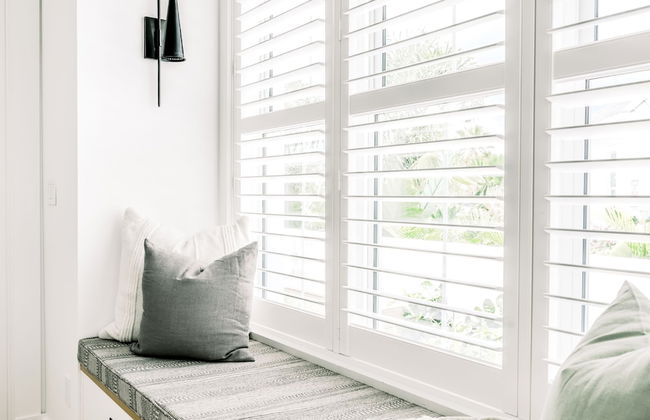
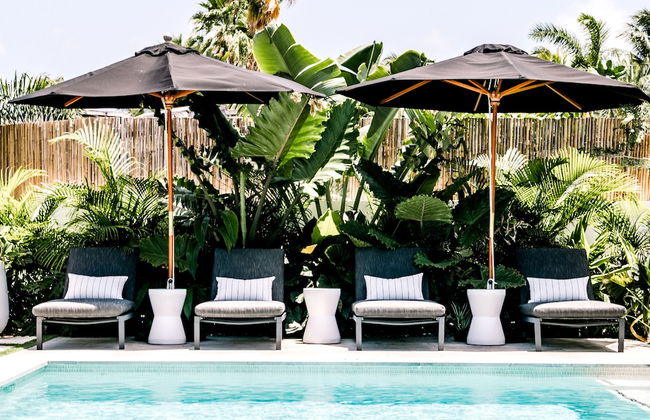
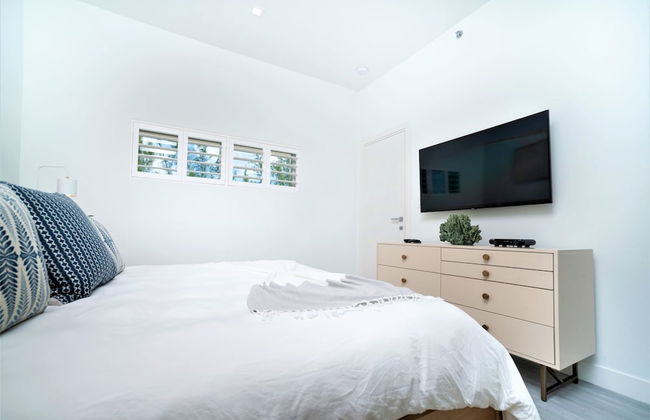
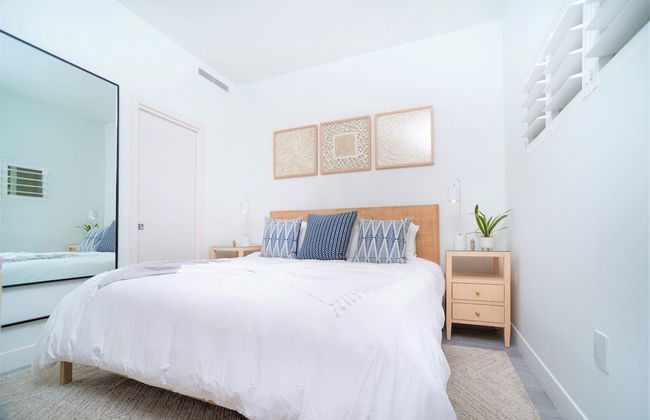
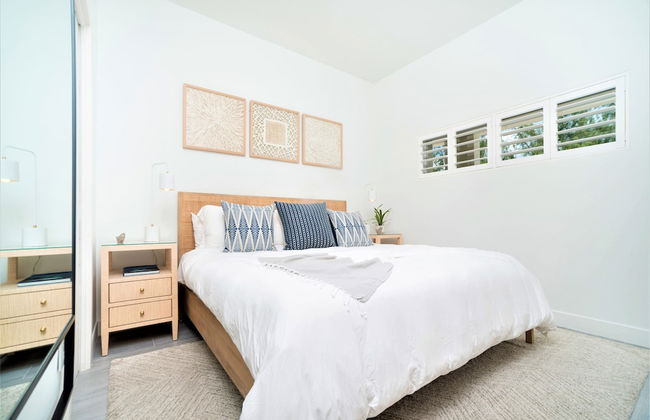
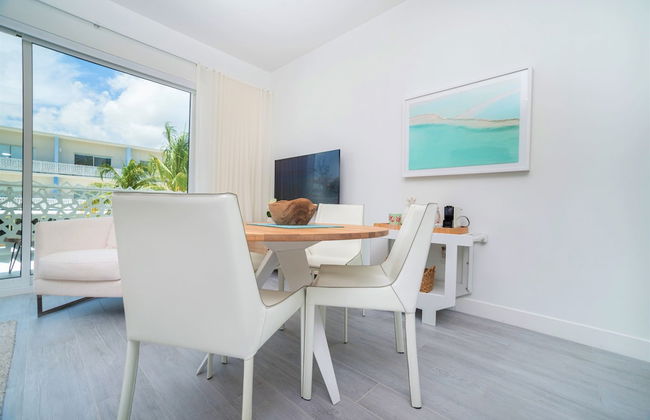
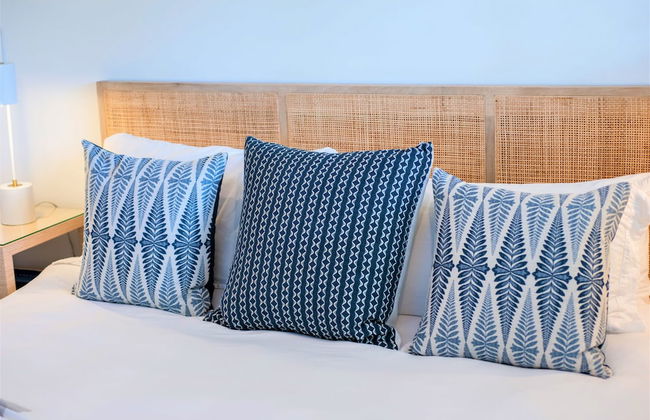
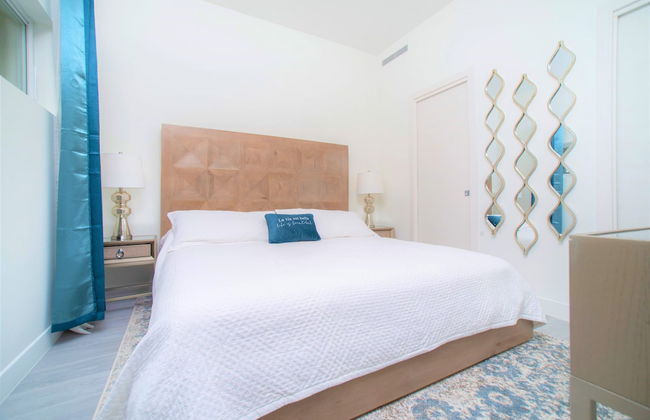
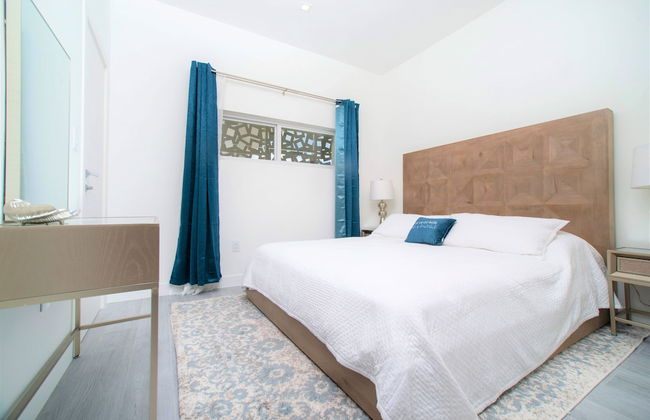
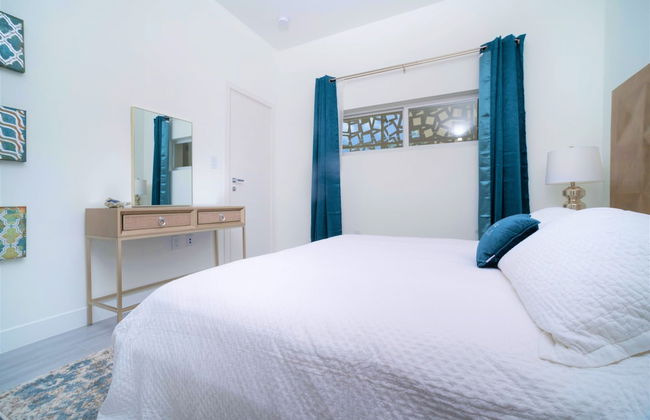
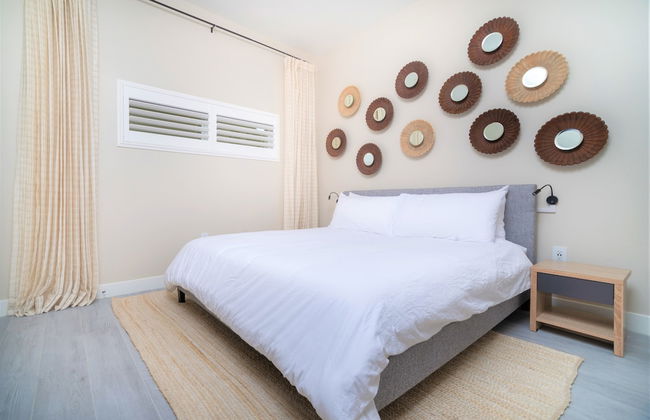
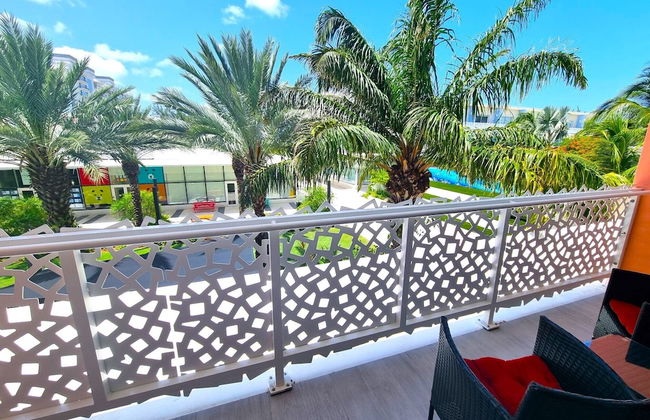
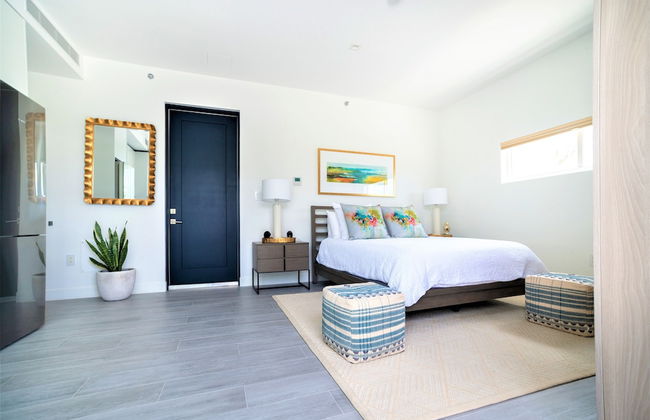
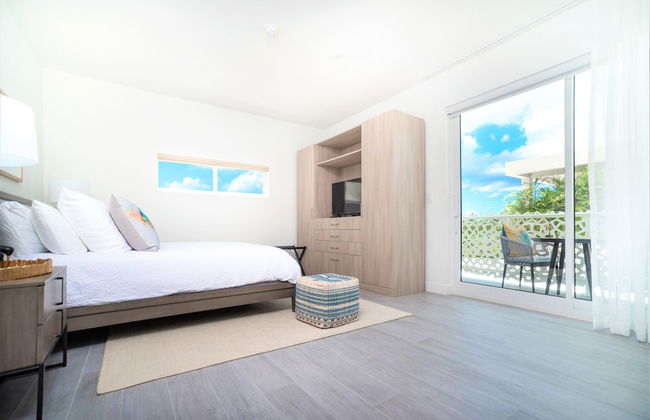
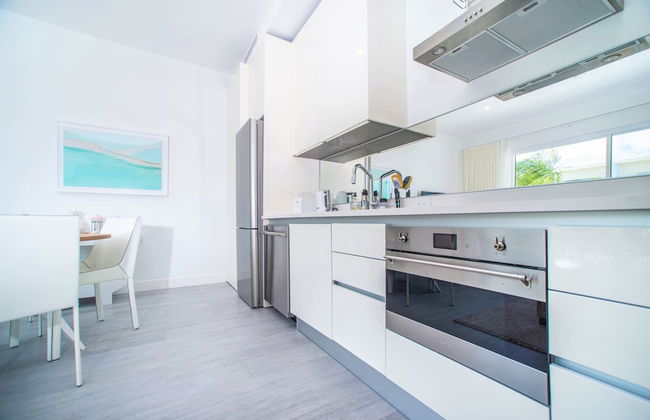
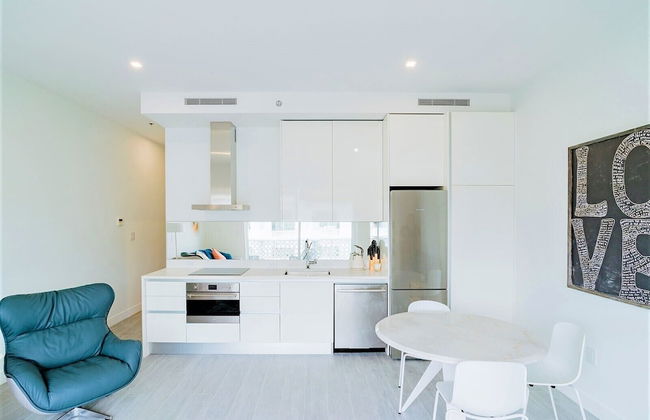
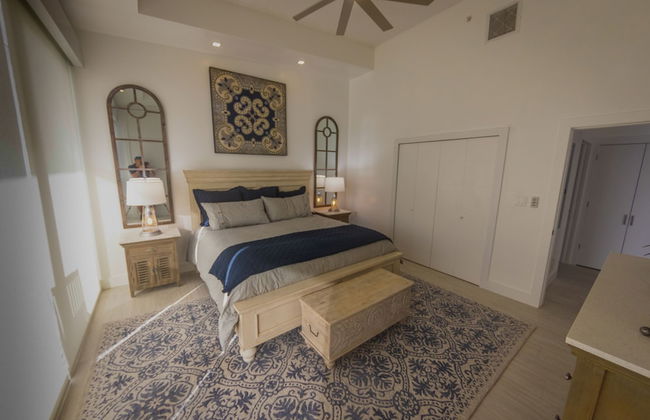
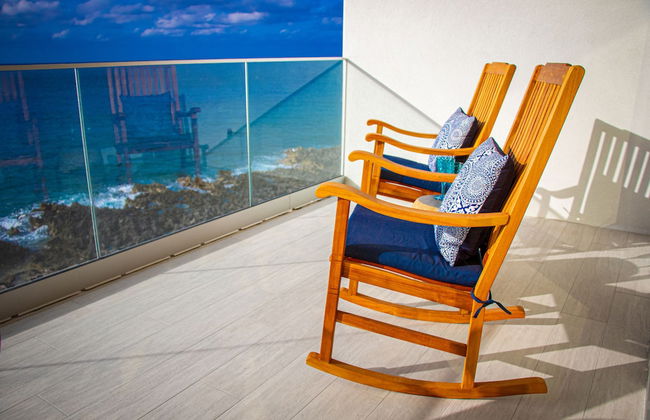
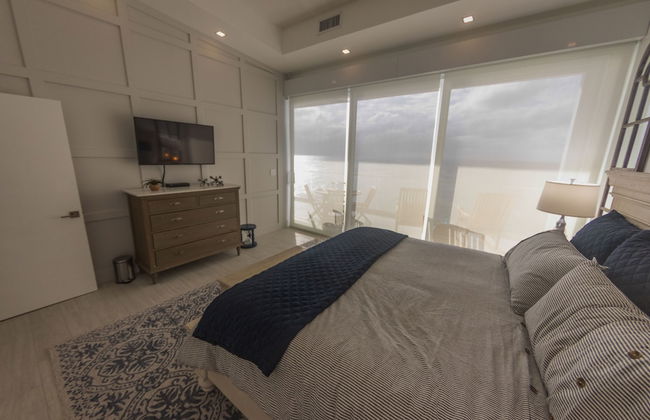
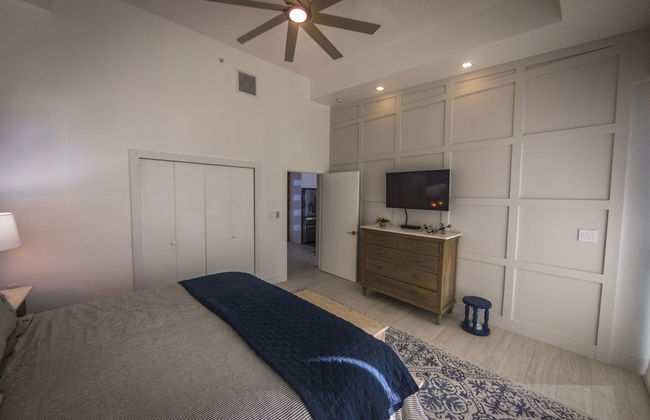
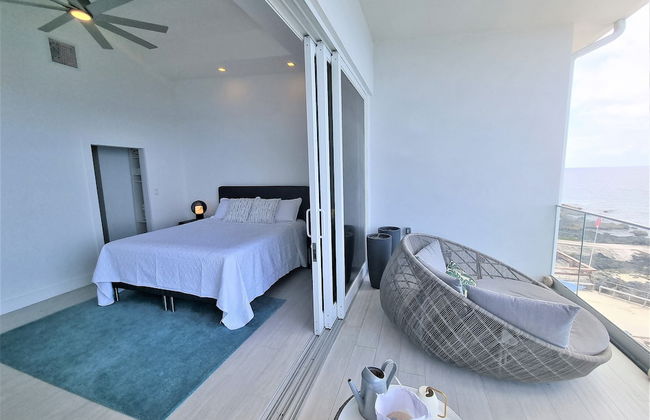
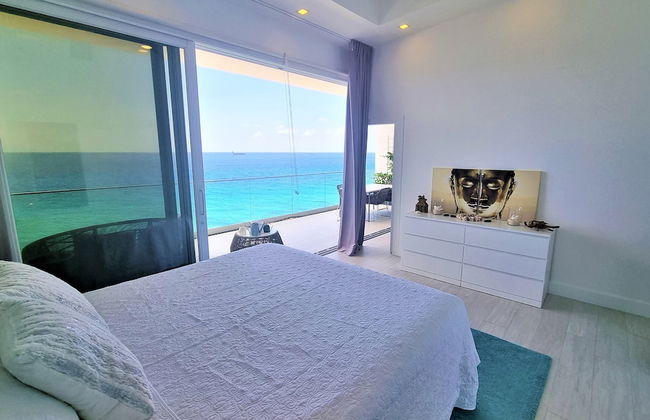
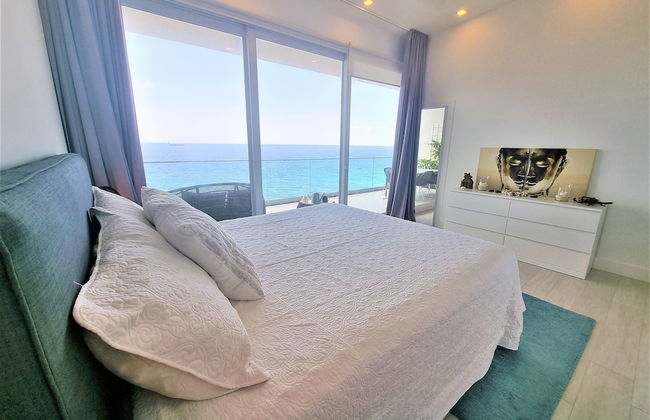
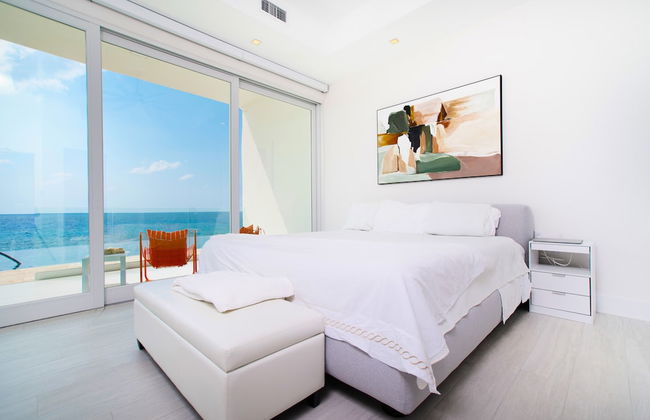
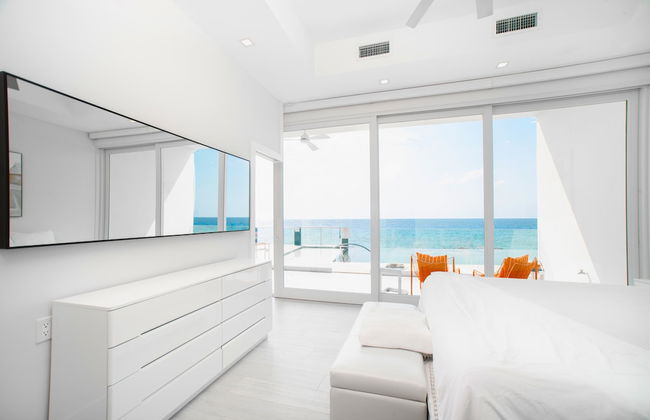
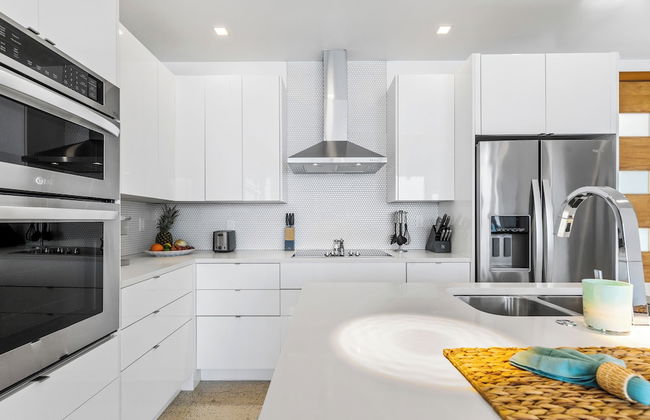
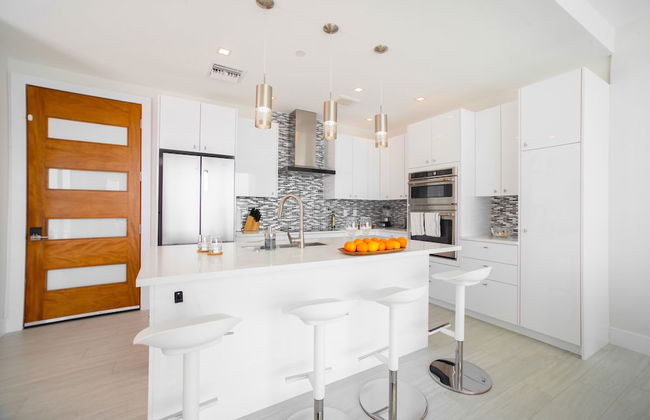
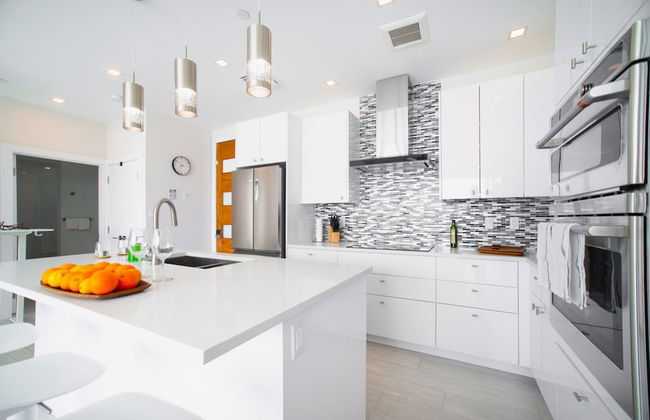
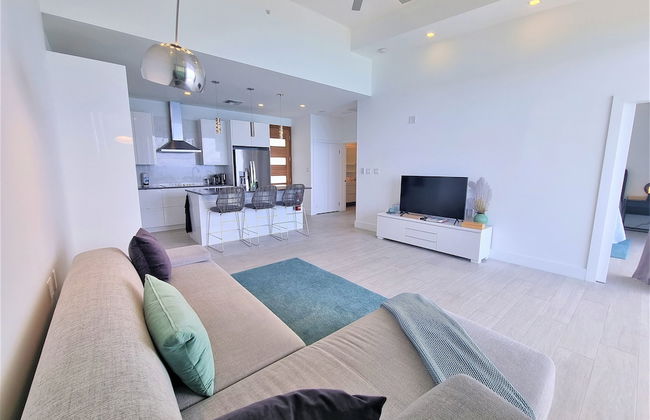
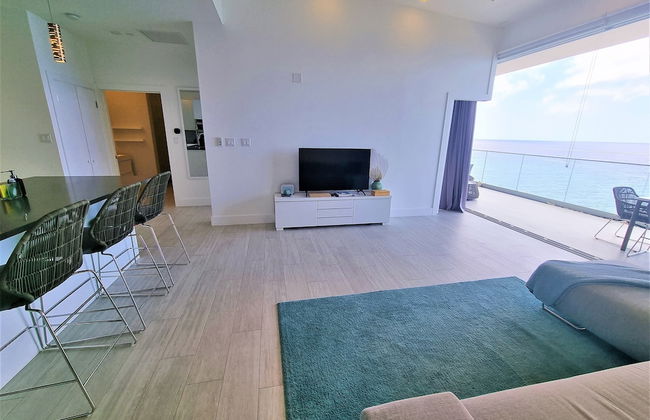
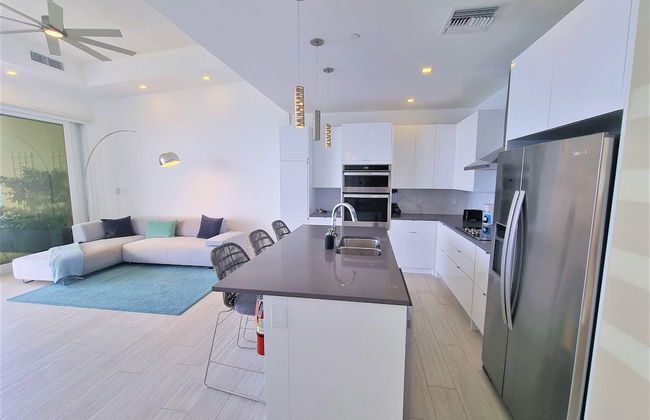
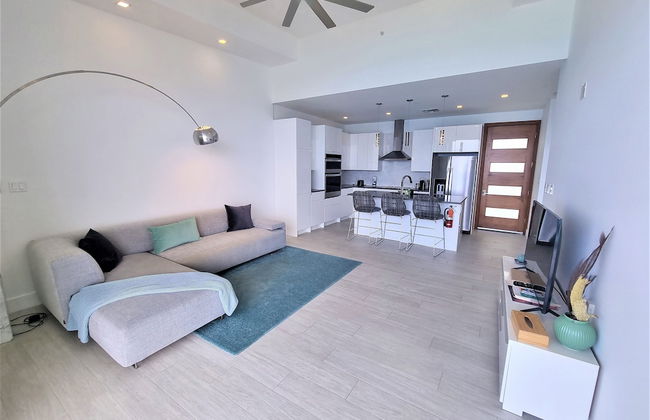
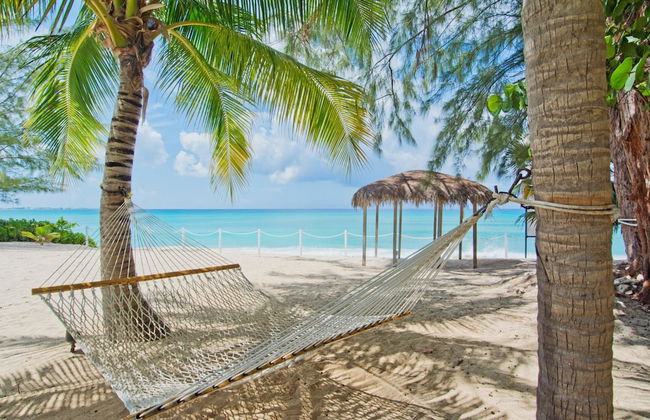
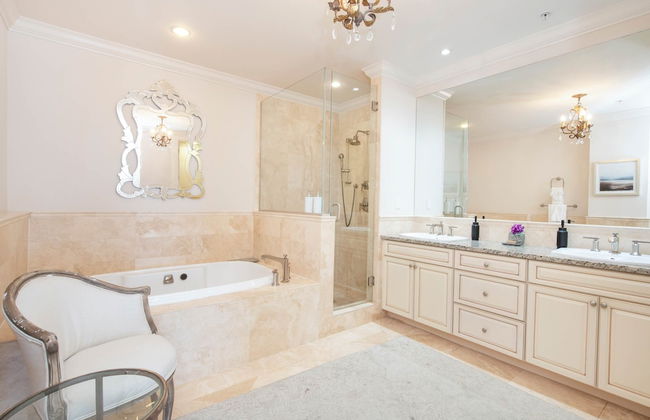
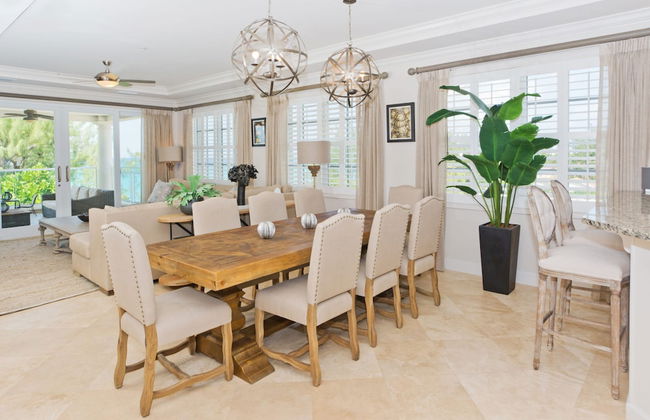
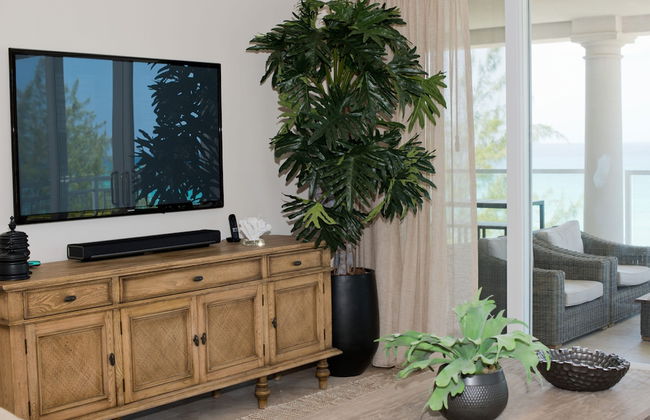
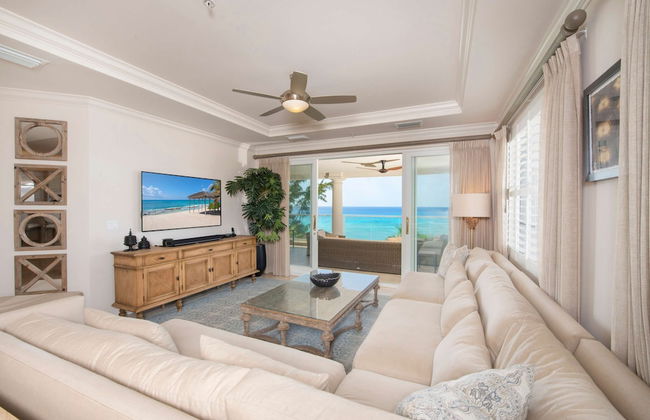
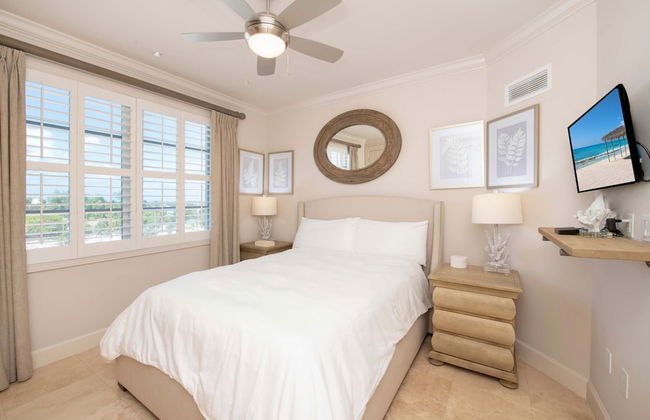
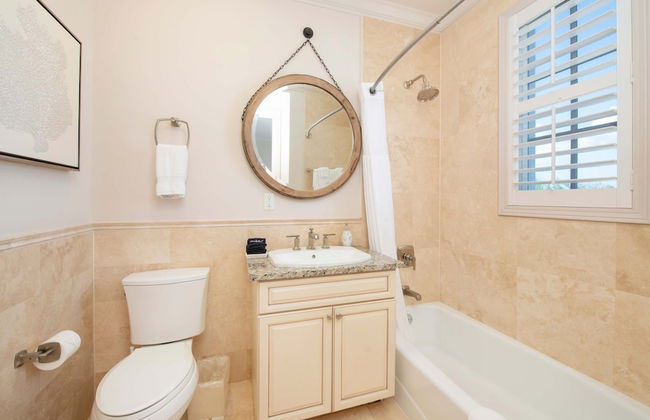
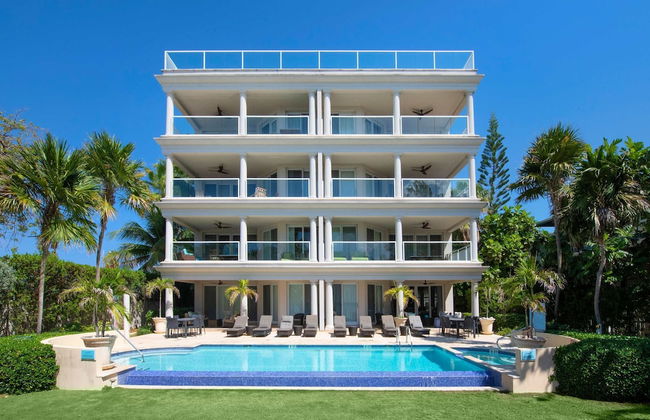
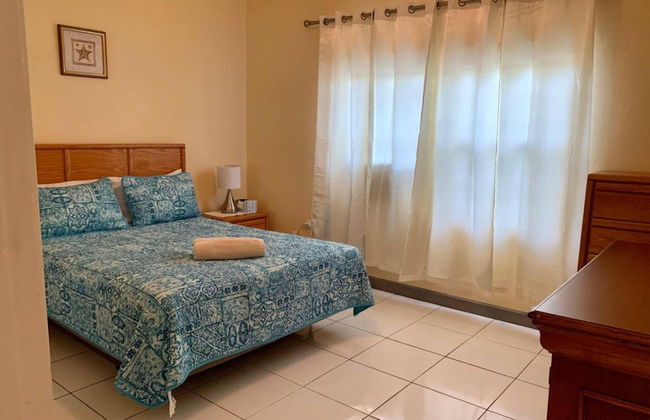
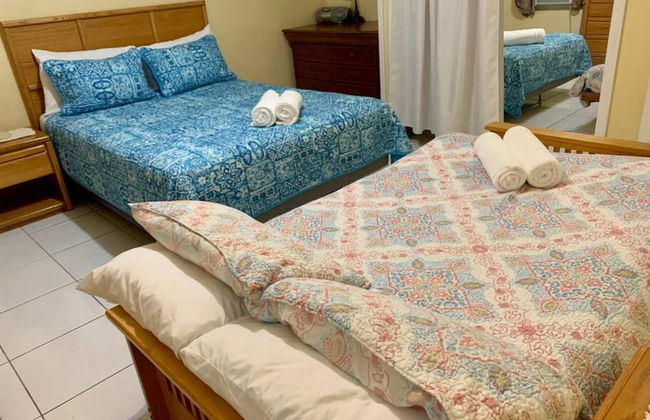
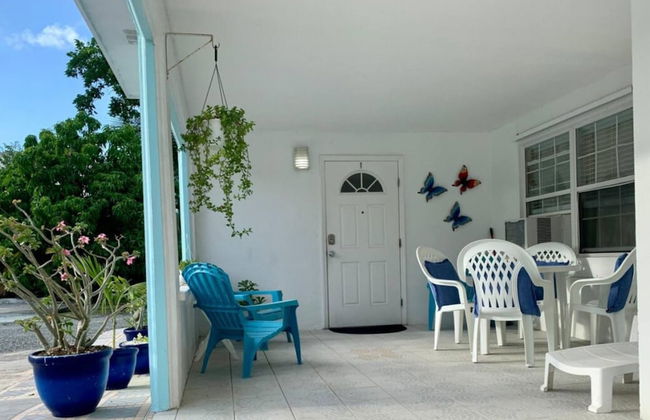
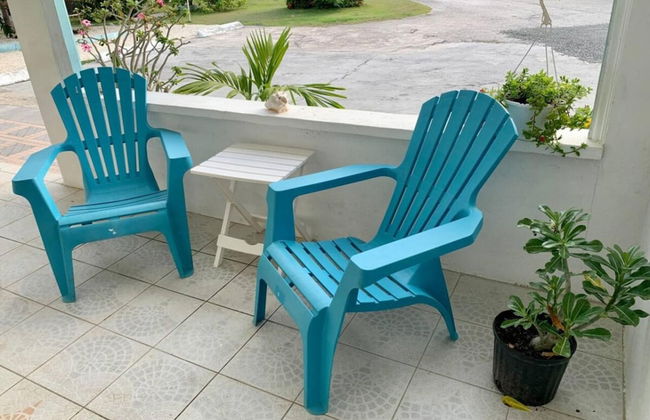
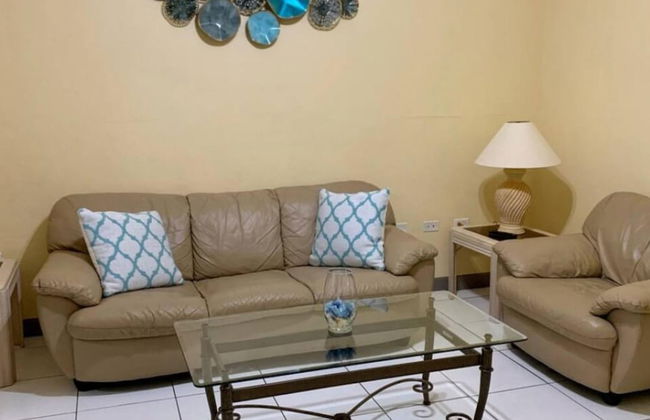
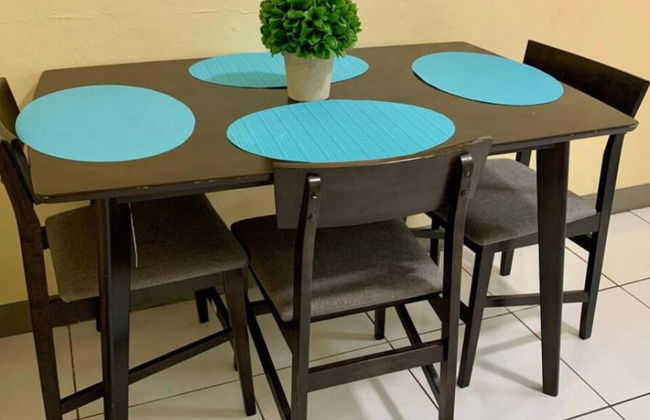
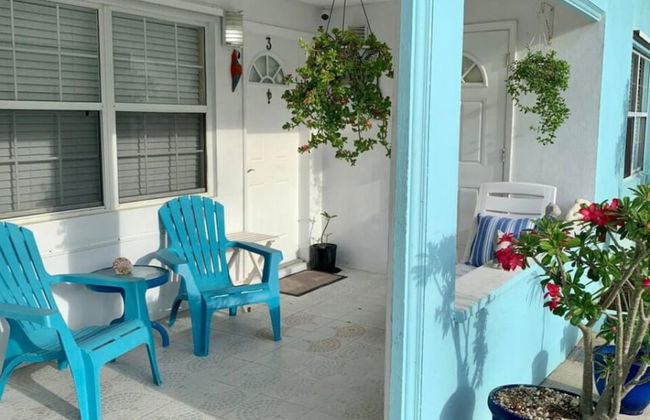
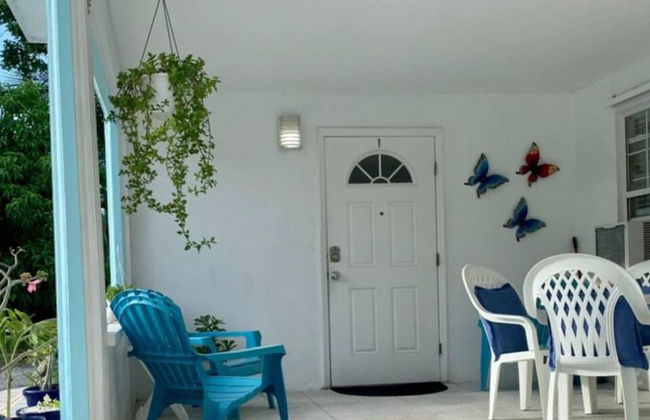
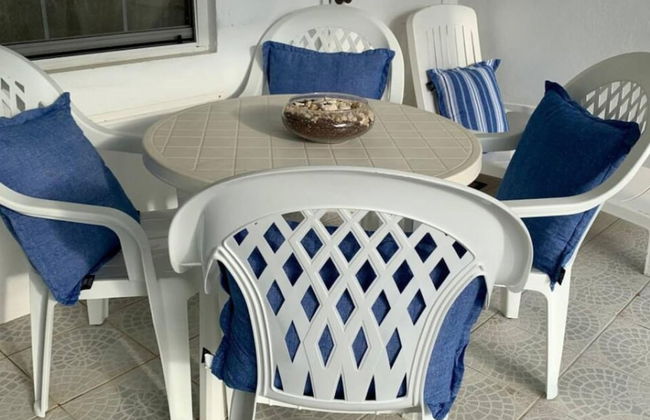
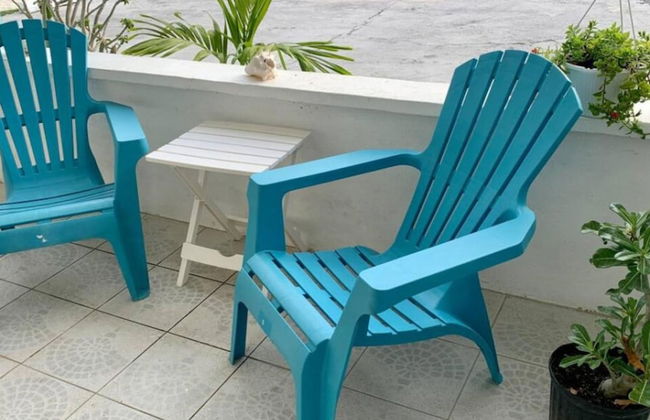
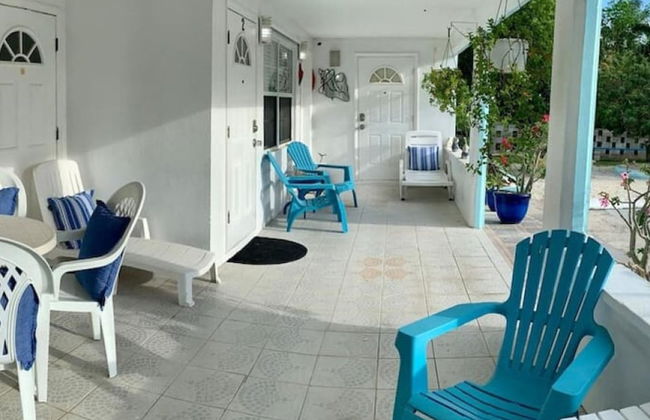
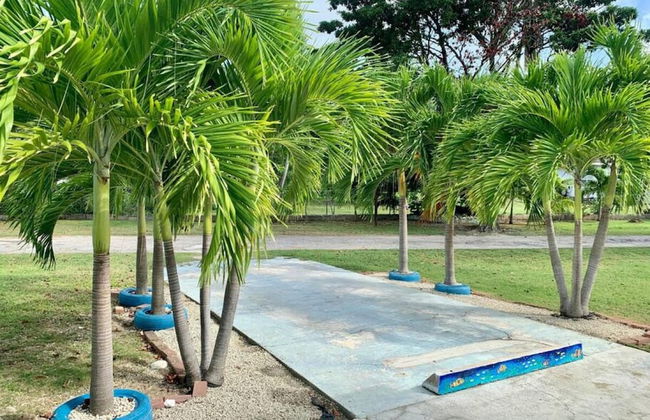
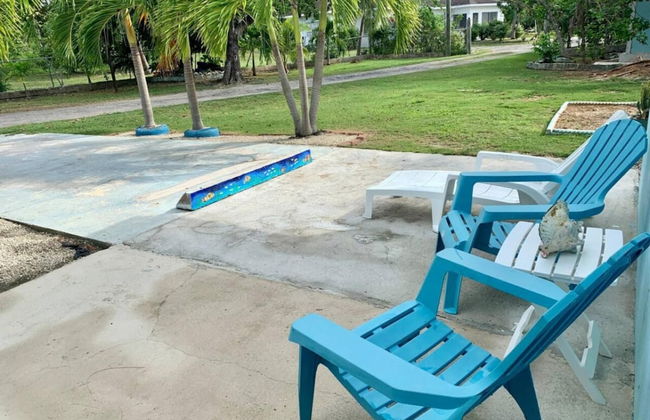
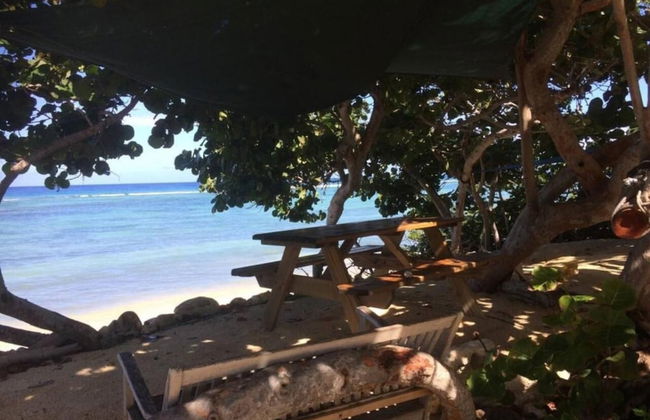
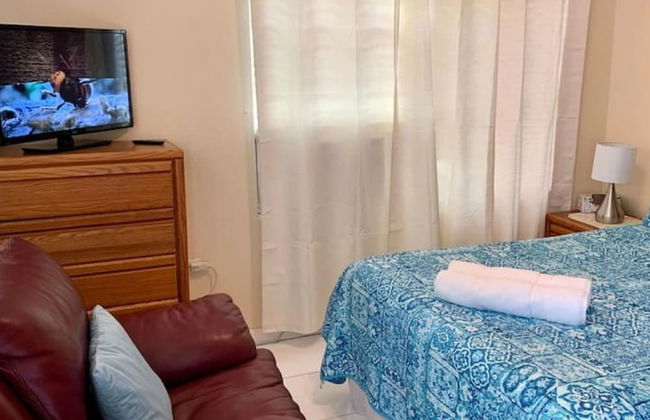
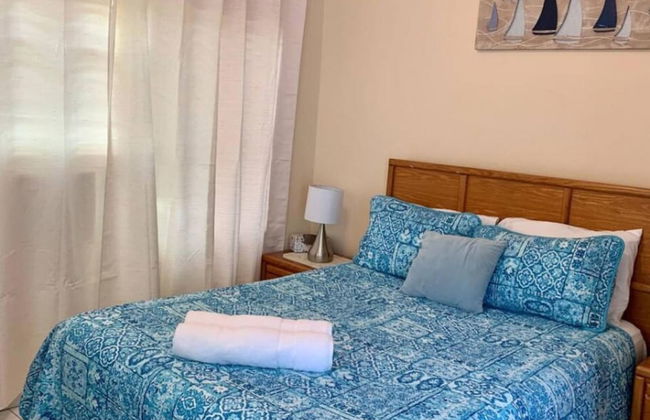
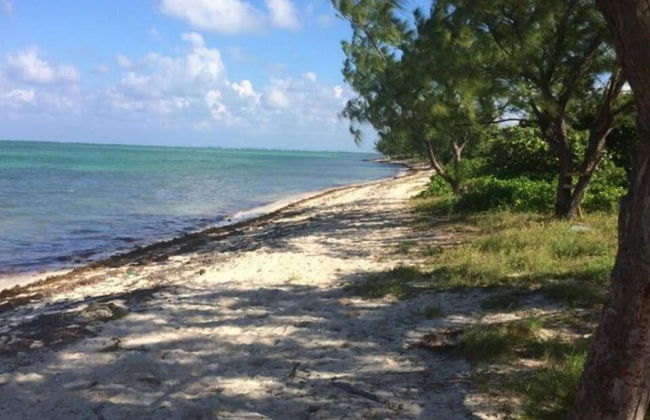
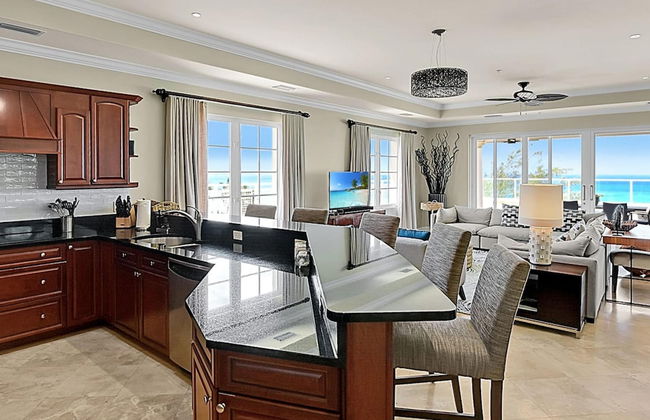
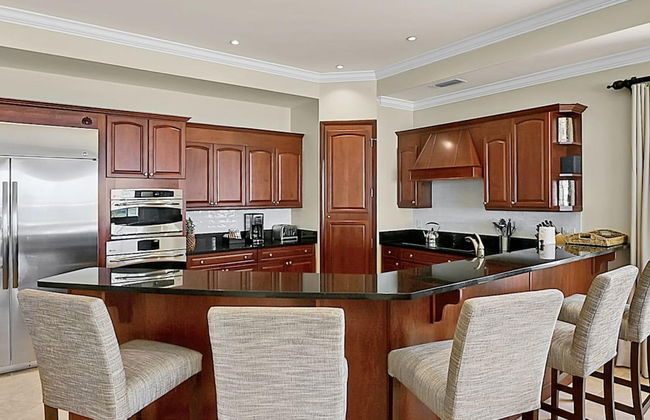
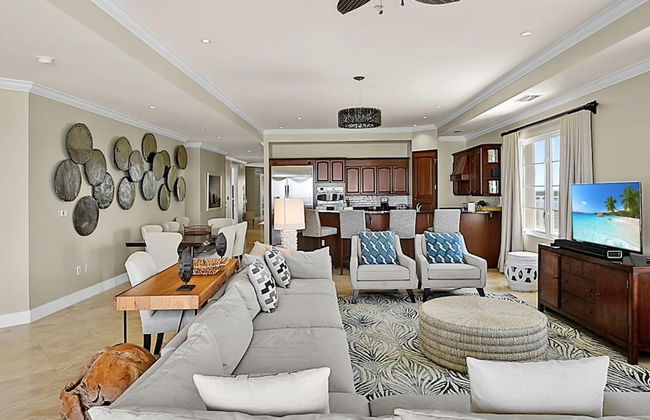
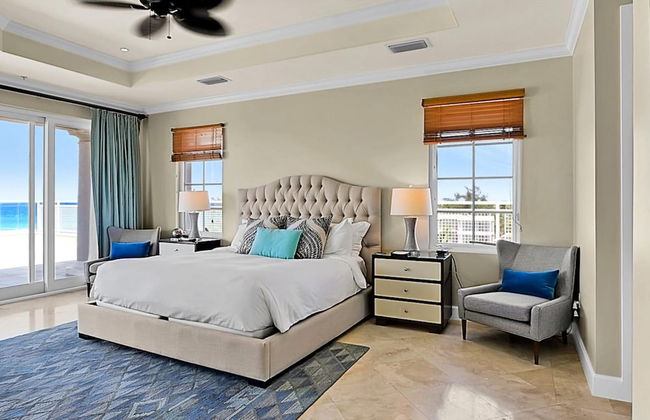
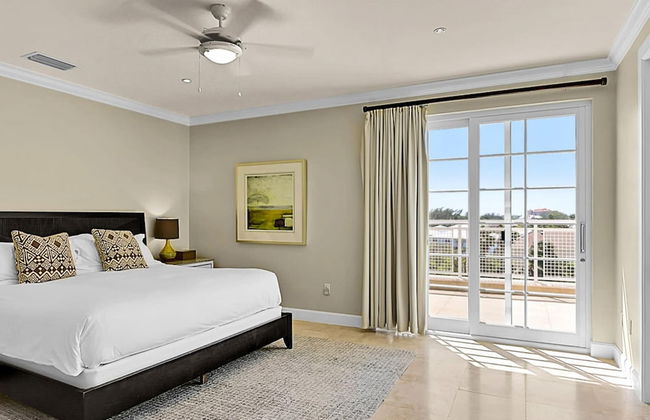
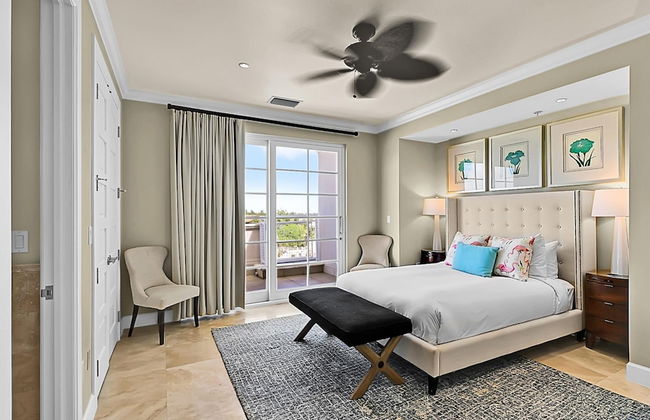
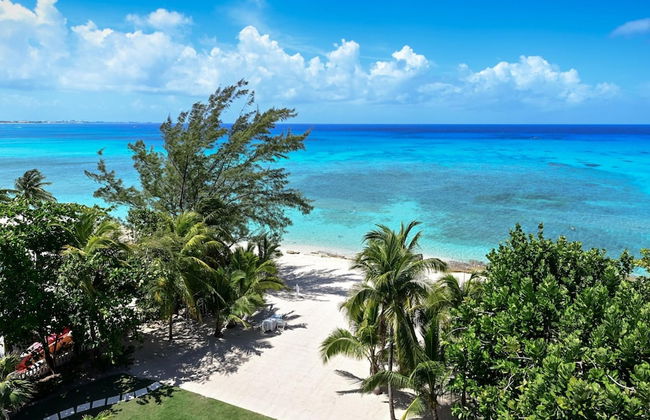
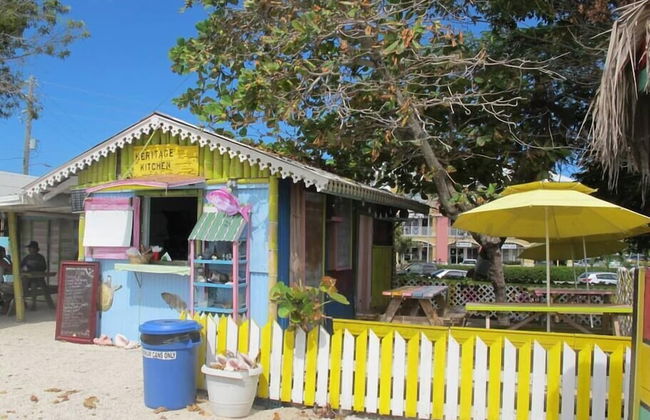
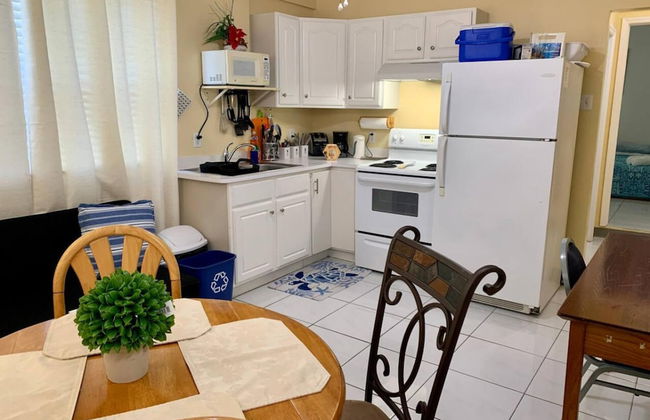
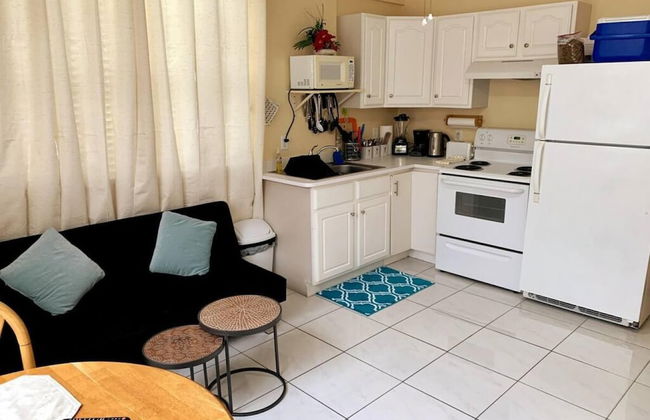
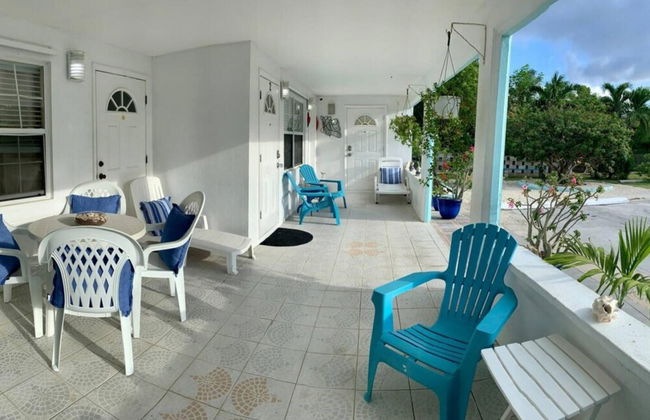
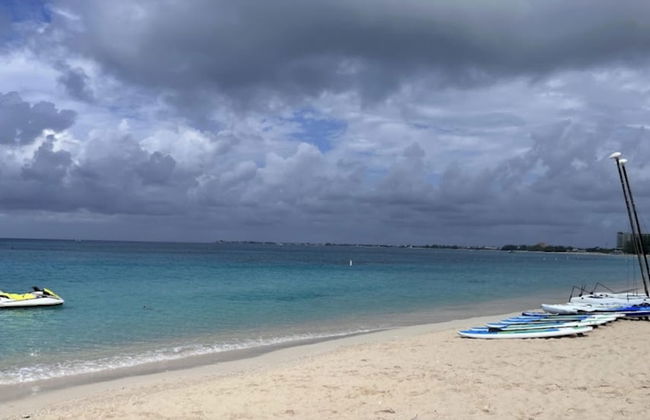
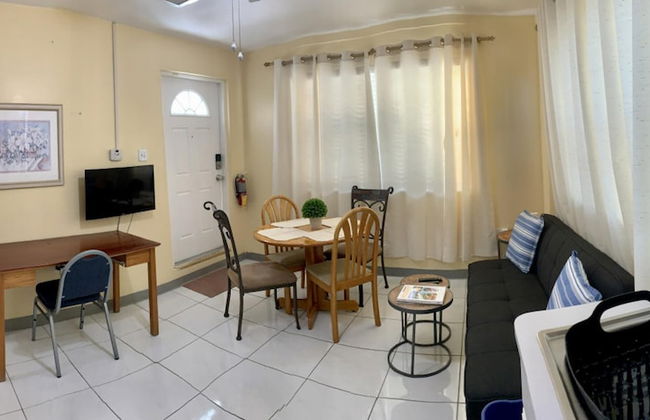
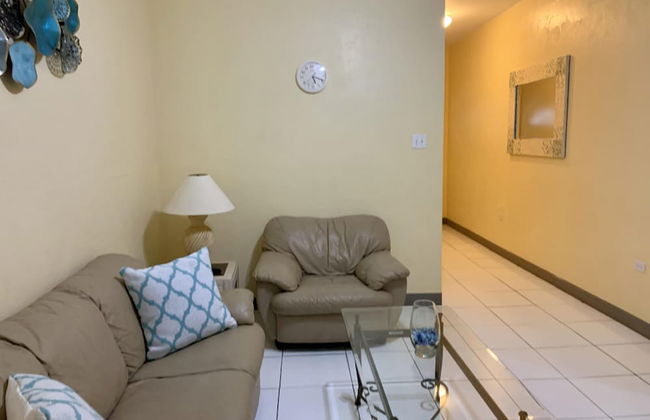
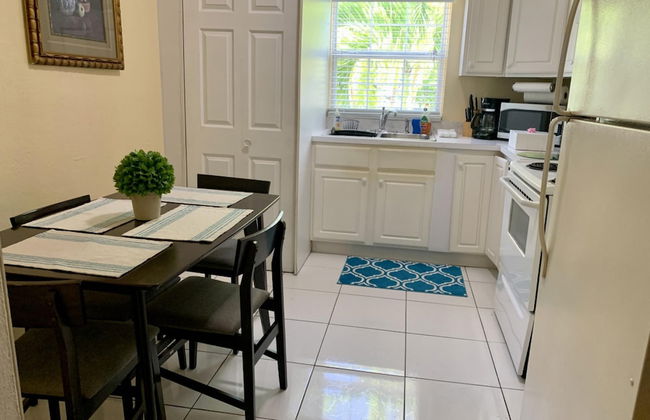
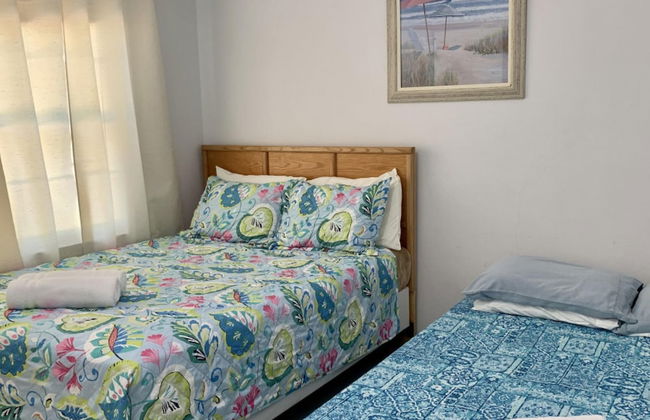
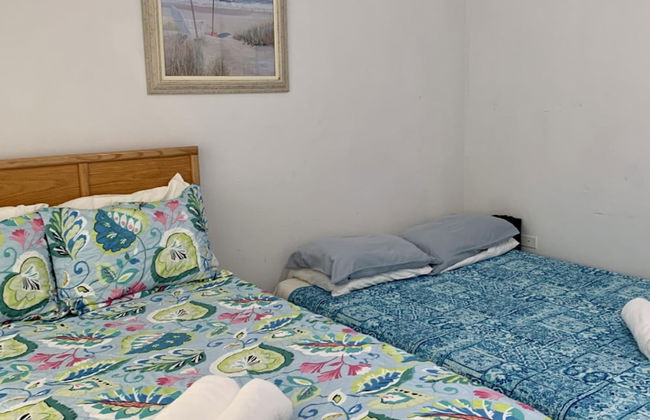
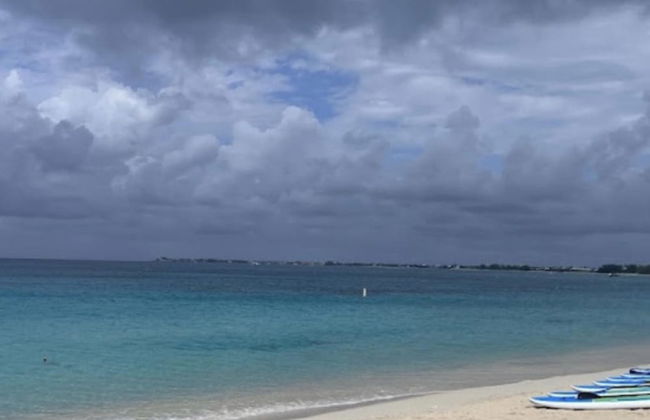
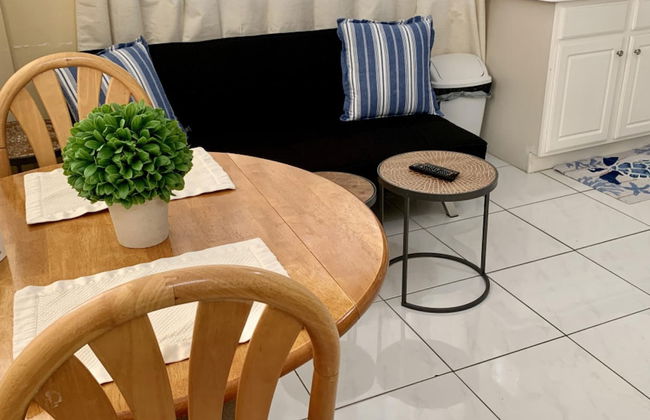
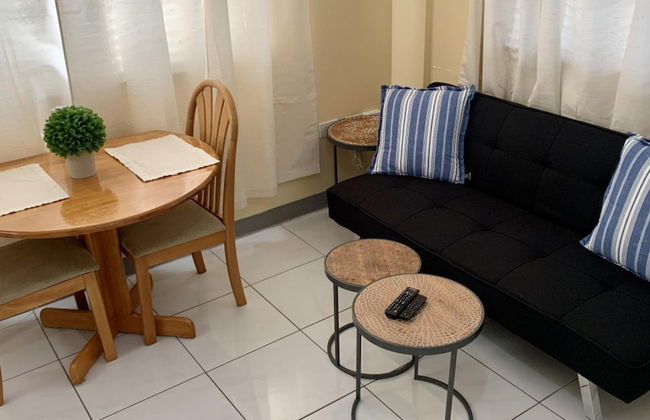
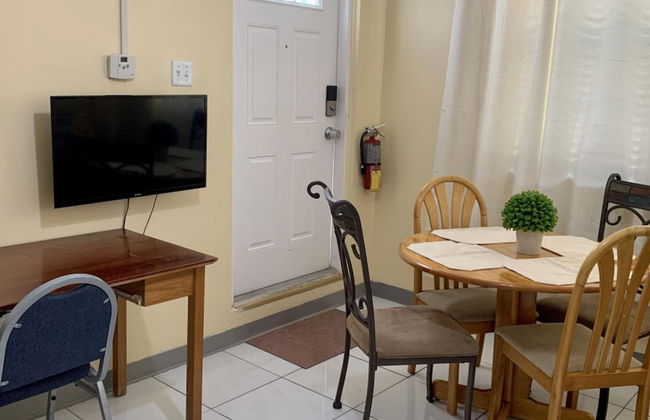
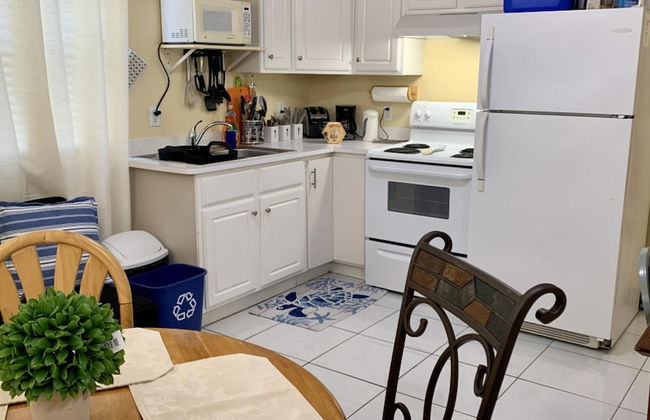
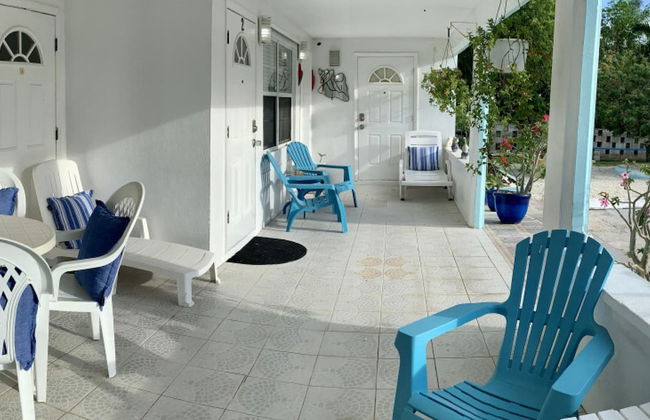
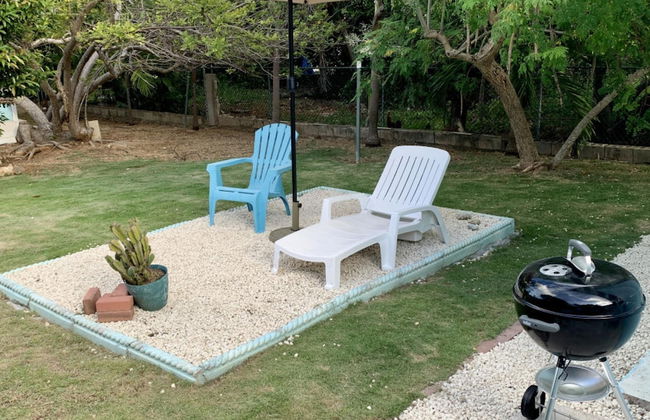
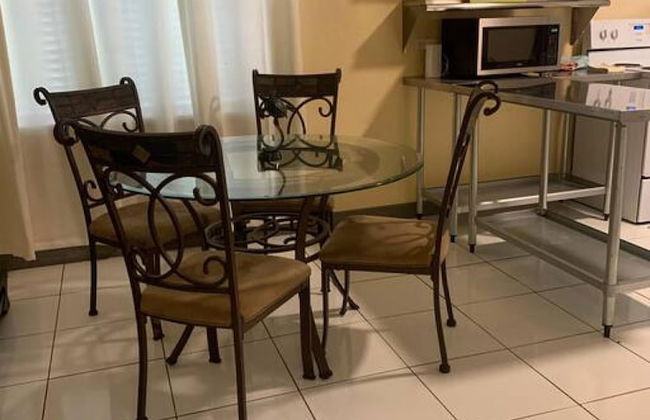
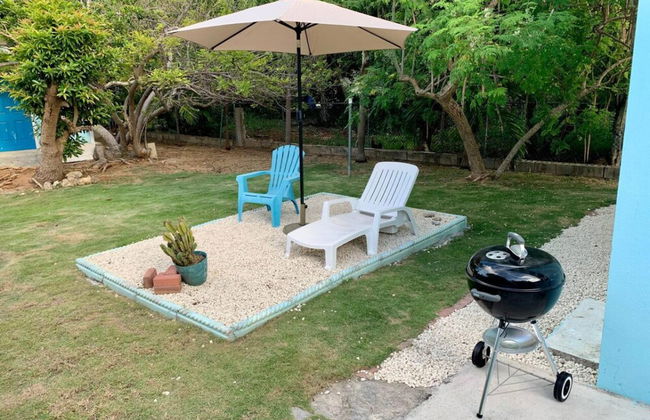
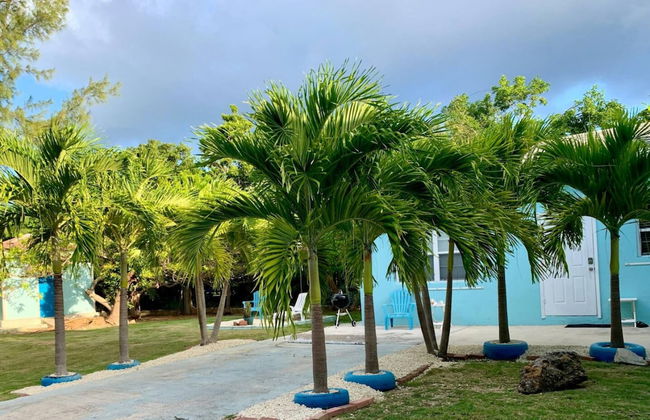
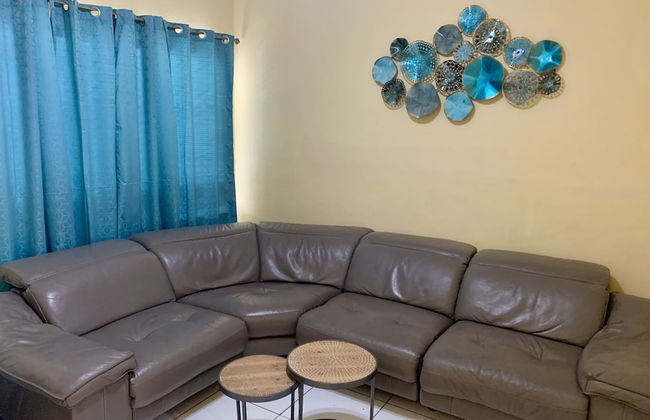
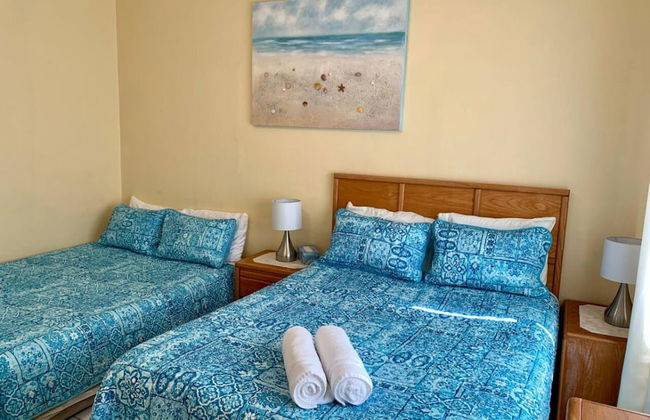
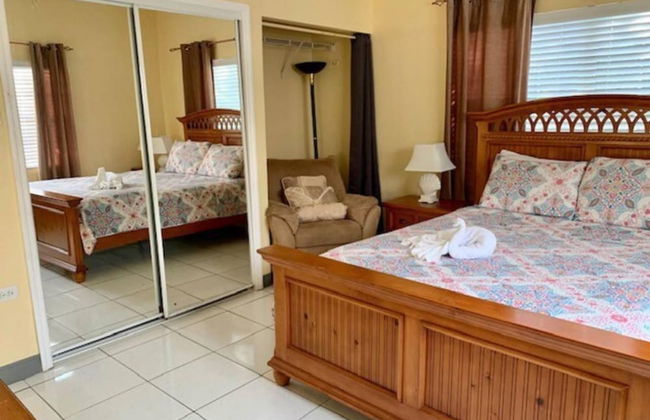
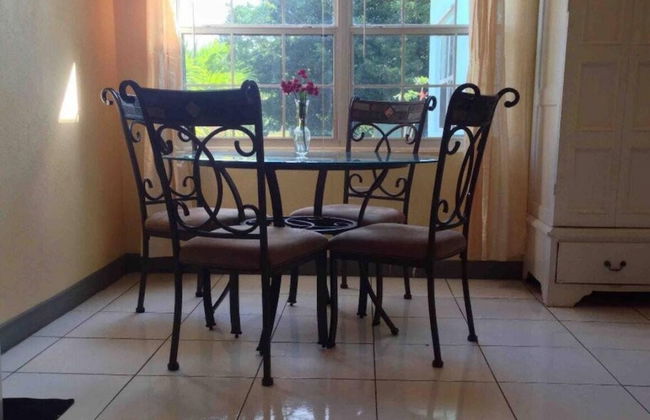
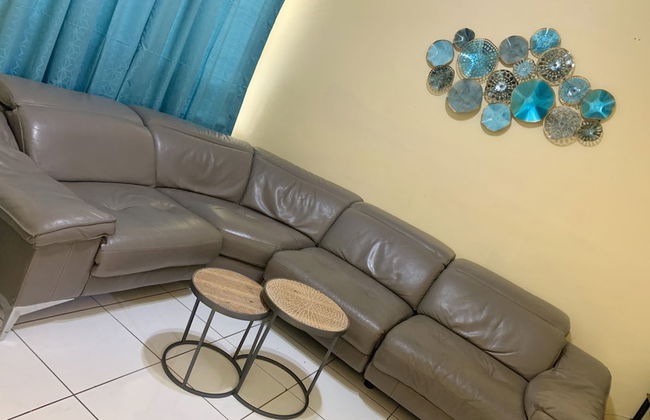
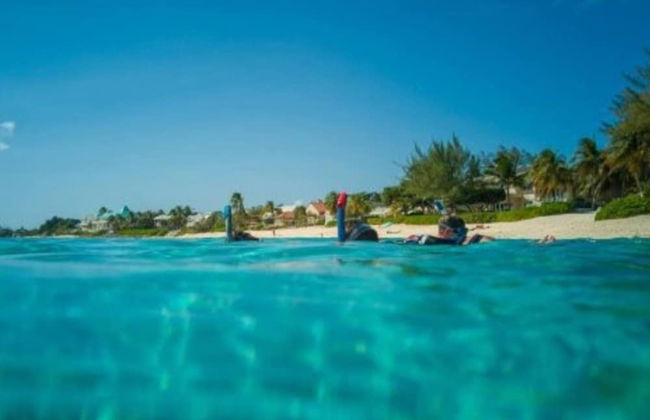
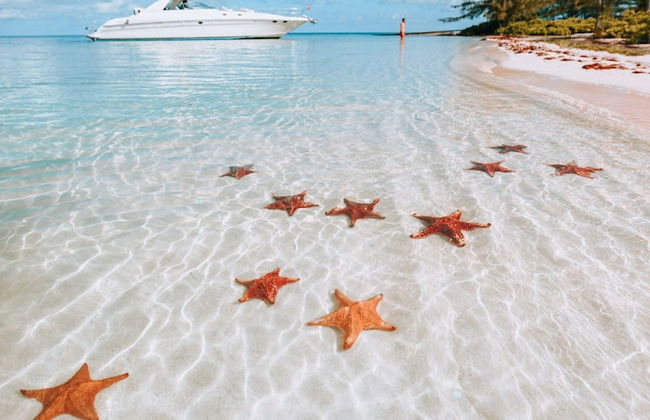
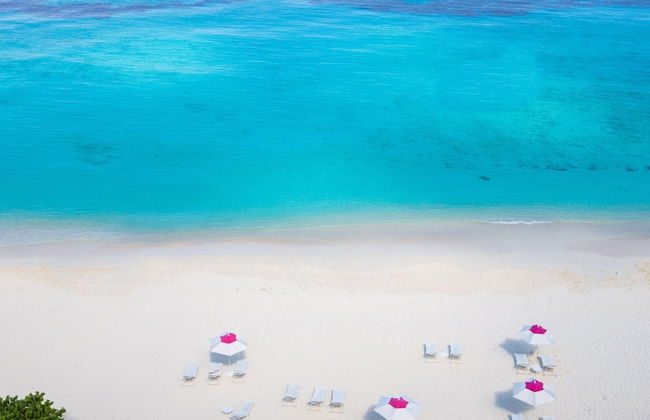
15 Wohnungen in West Bay
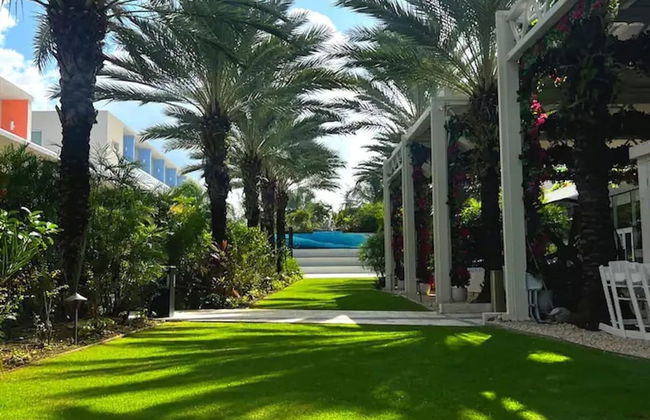


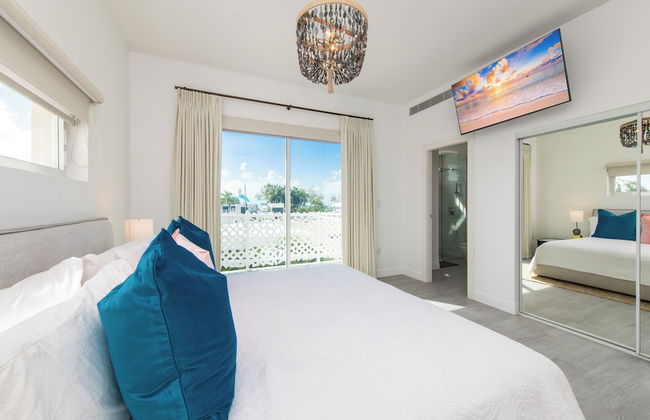
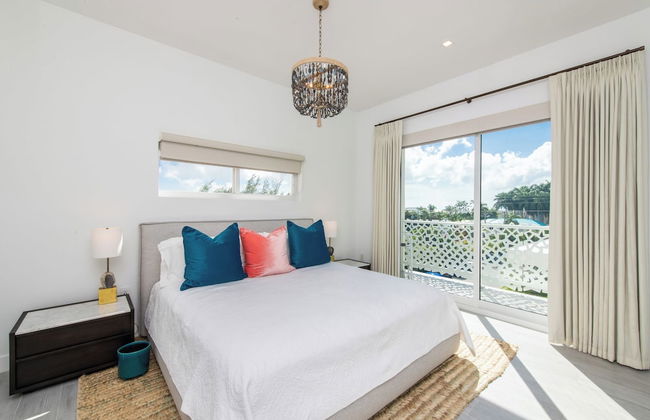
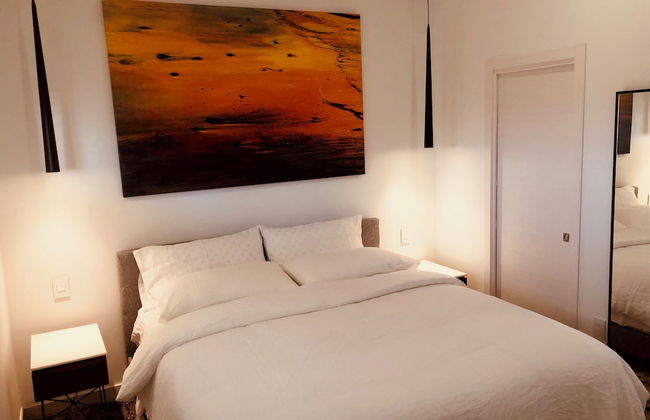
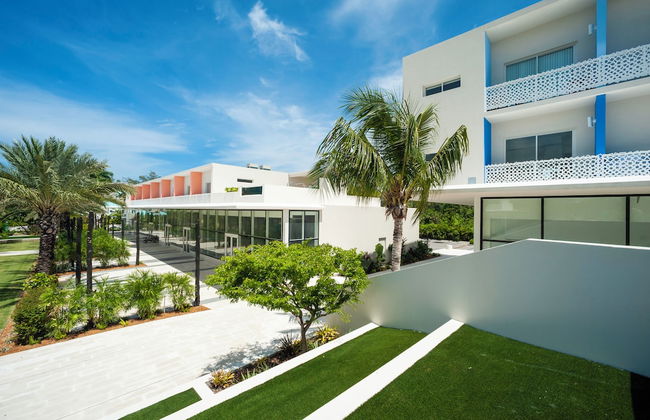
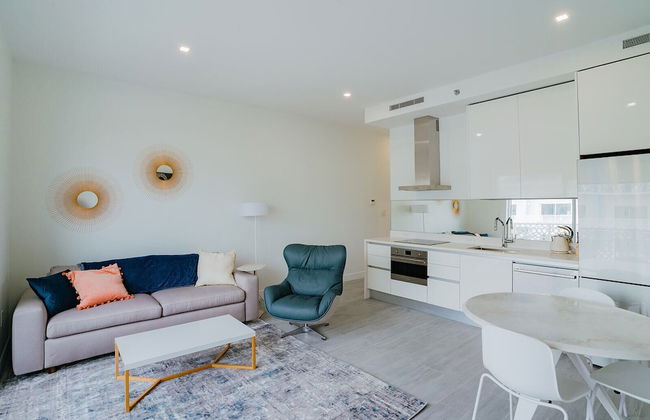
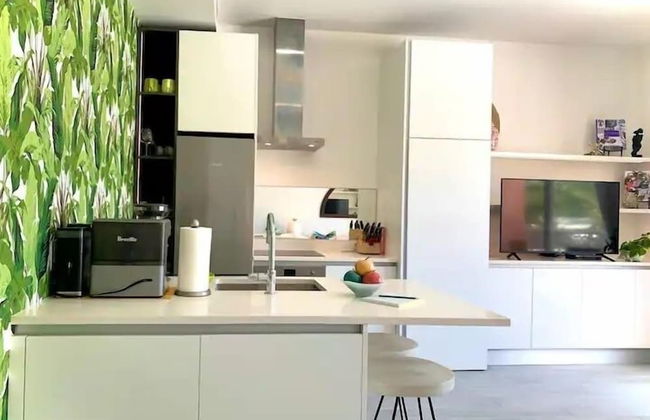
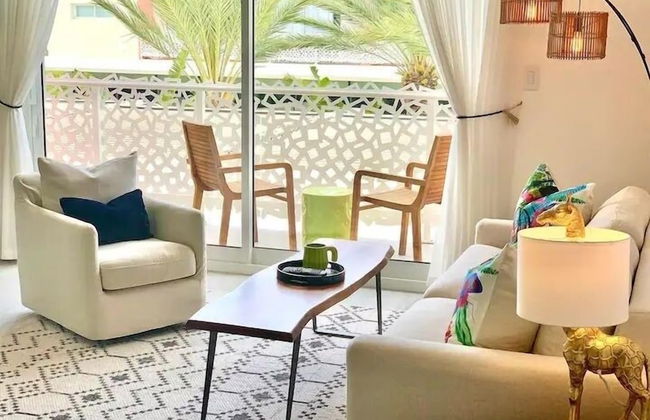

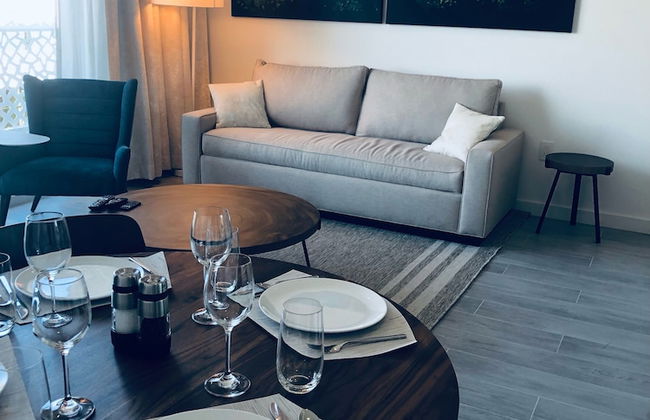

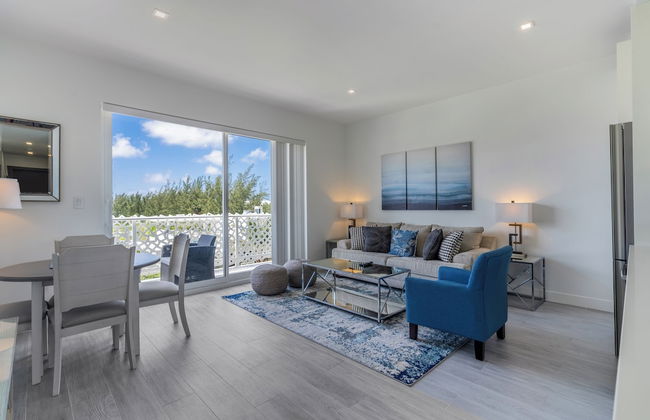
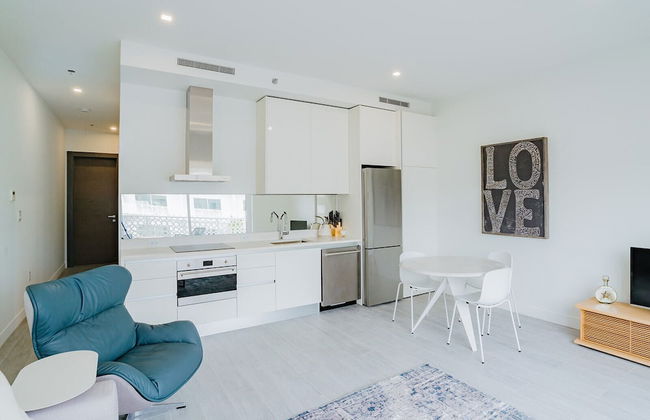


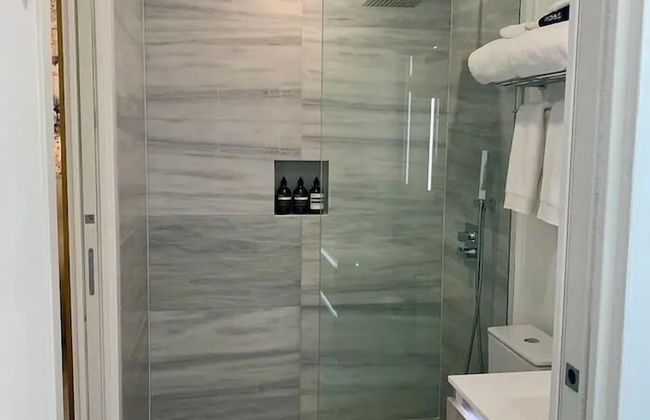

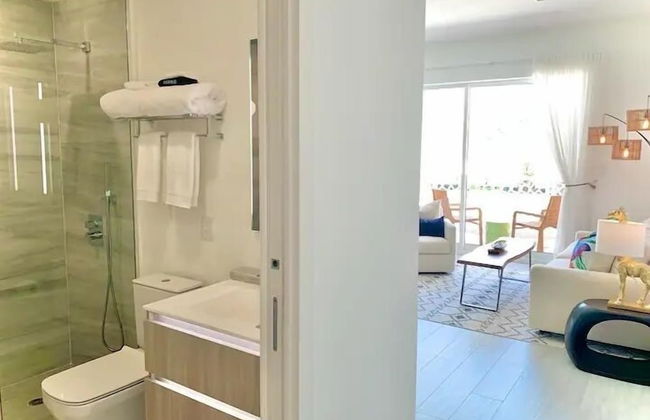
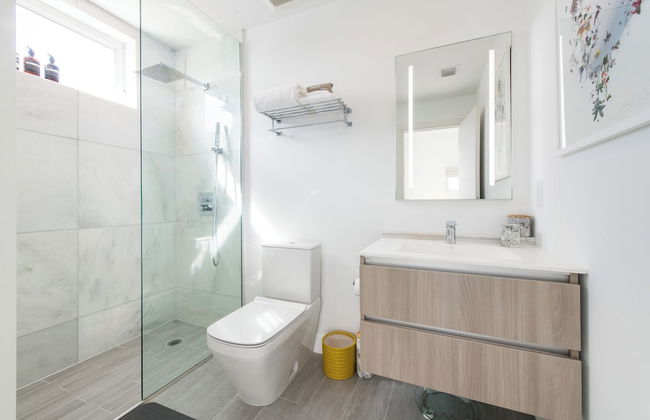


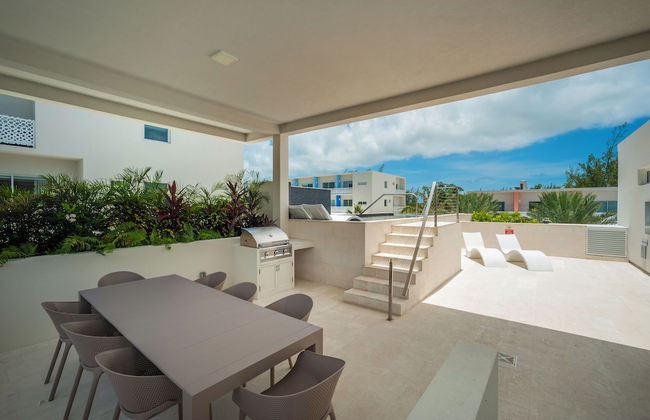


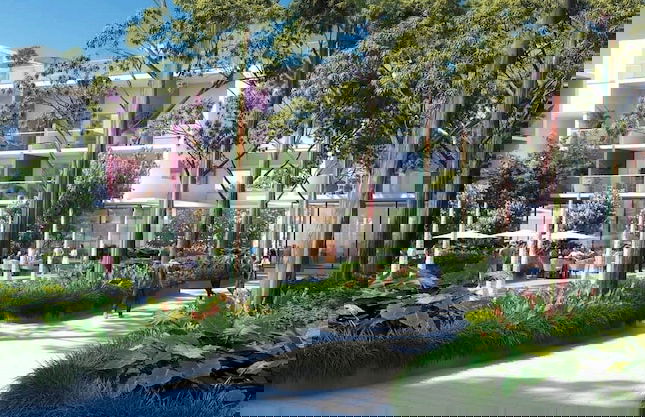
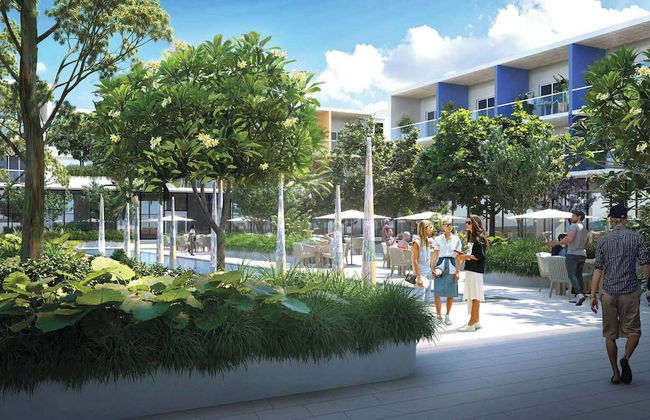
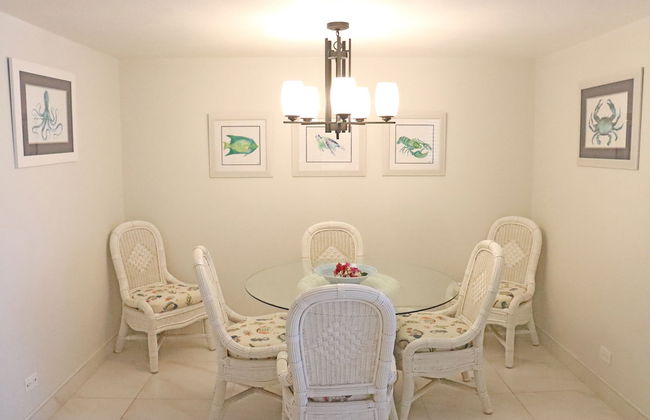
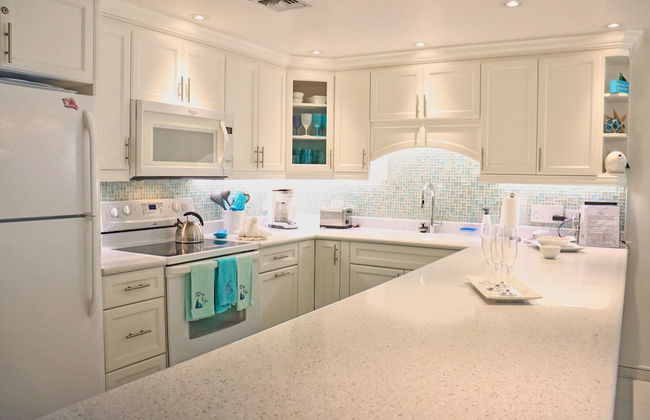
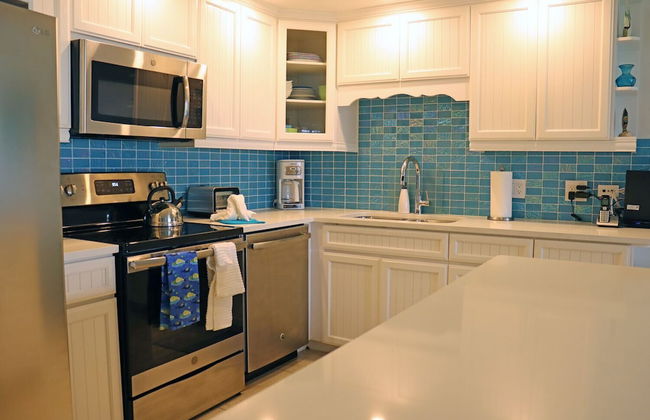
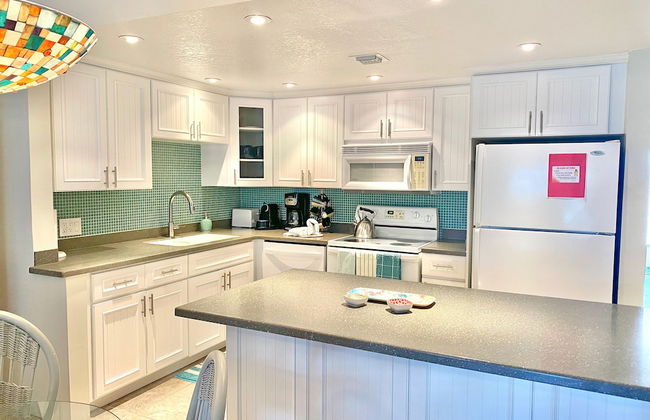
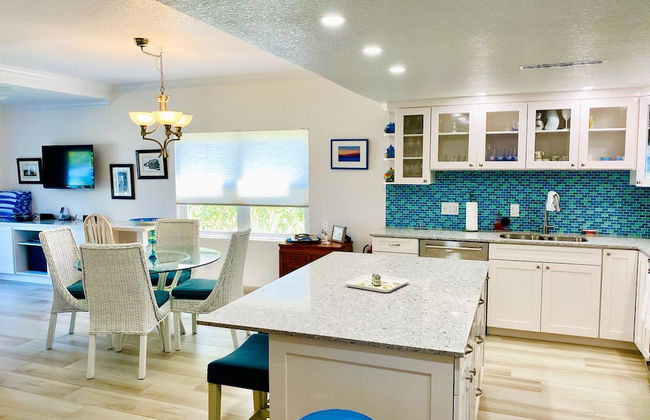
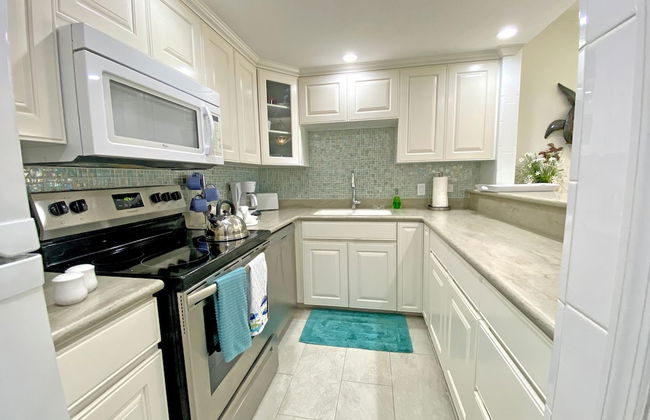
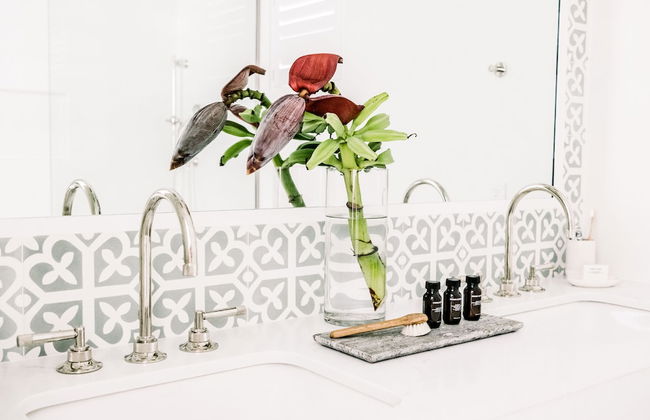
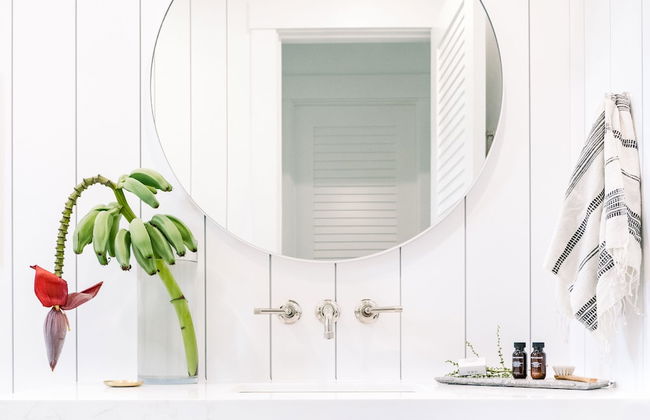
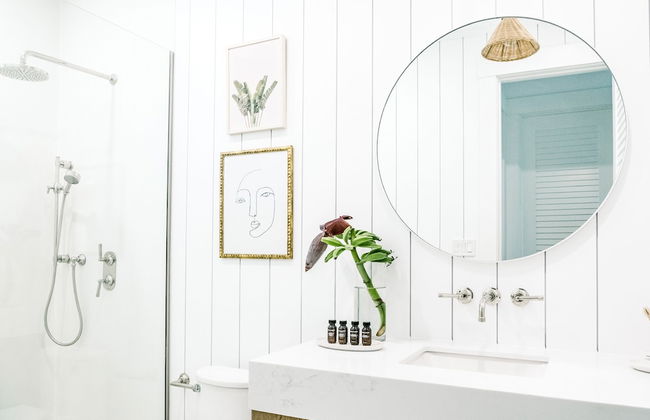
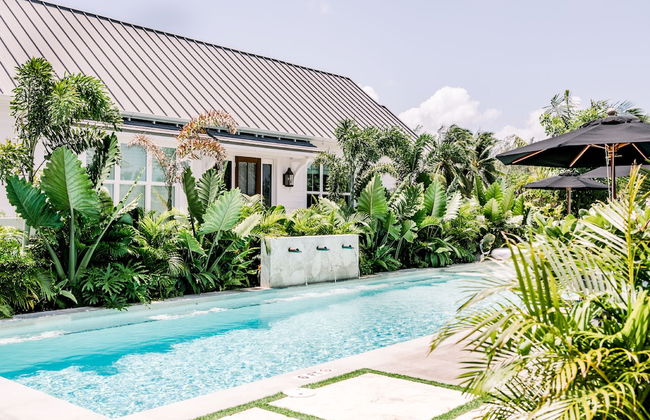
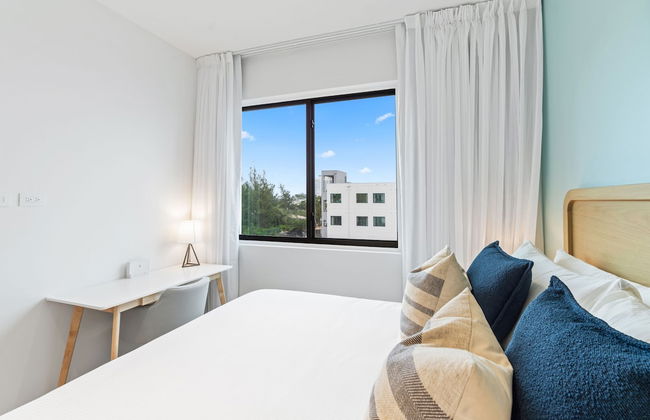
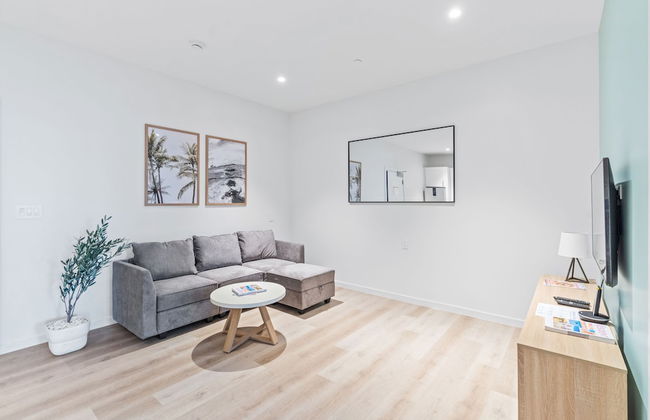
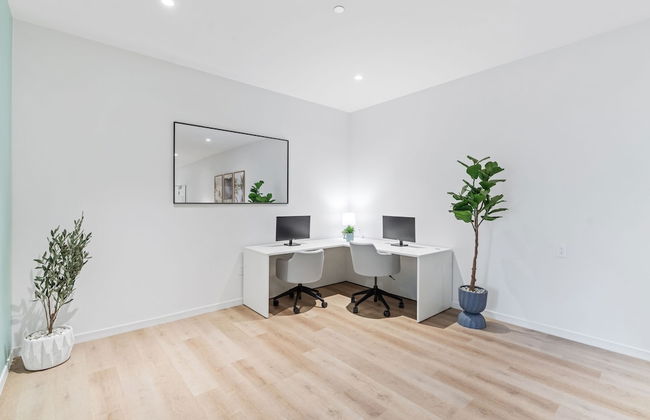
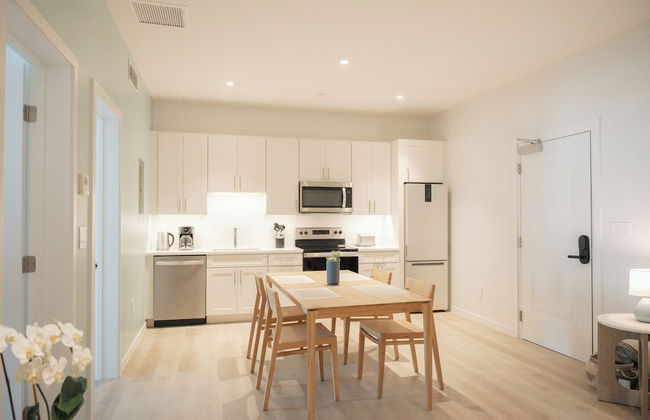
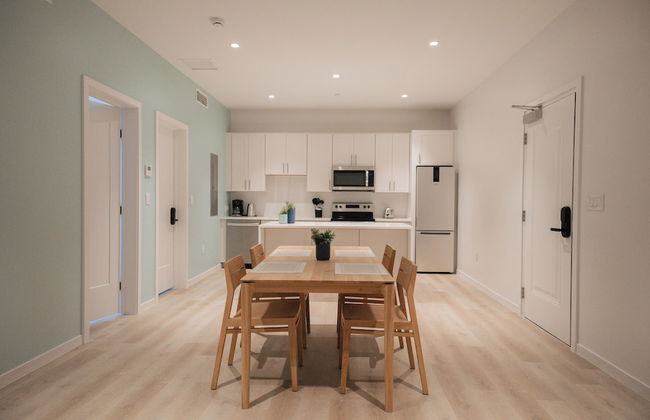
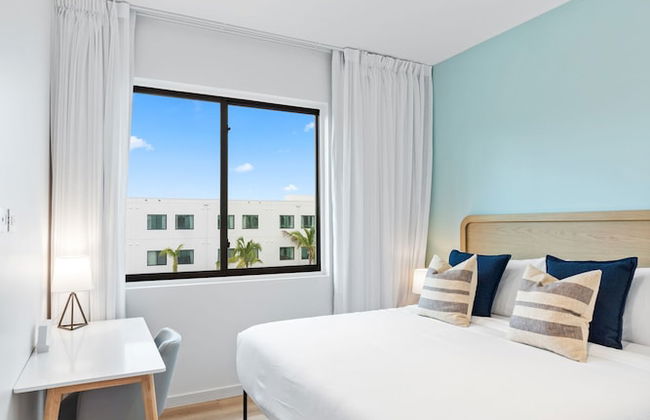
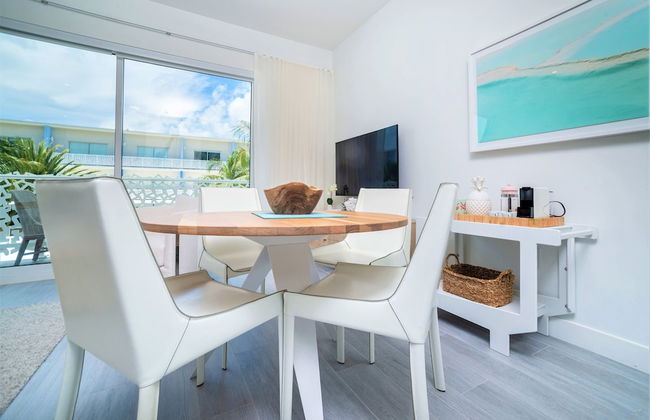
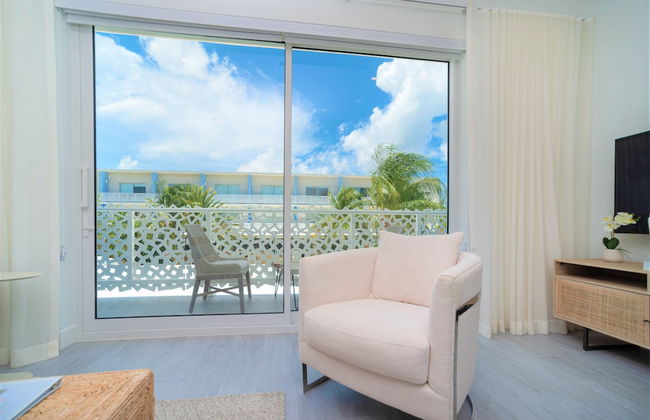
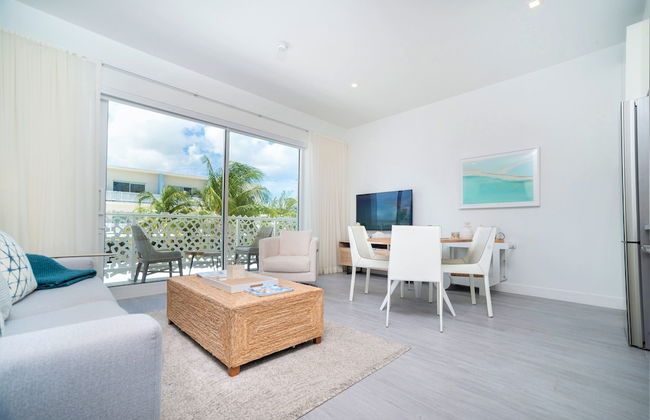
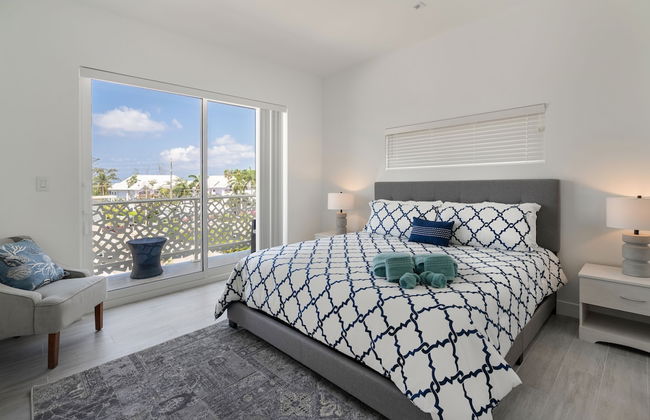
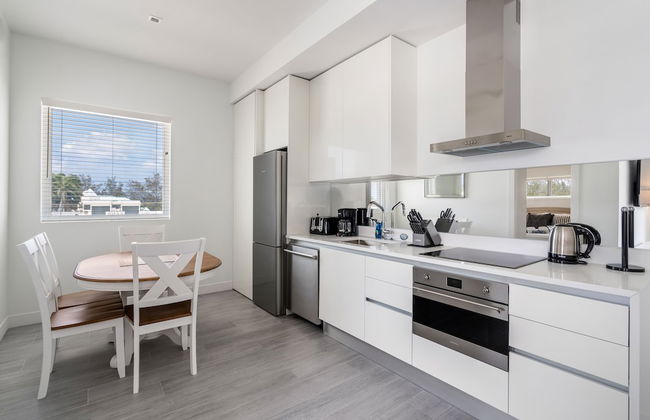
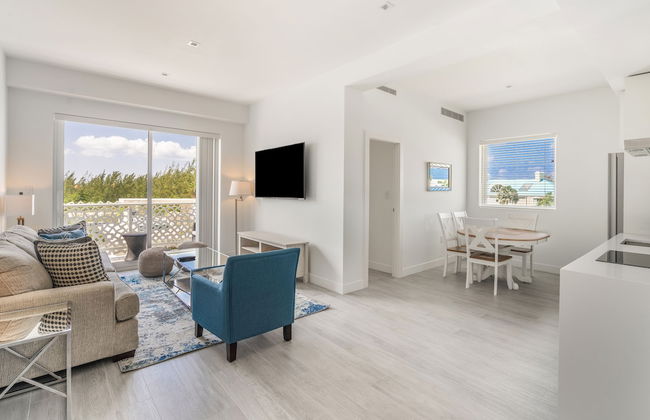
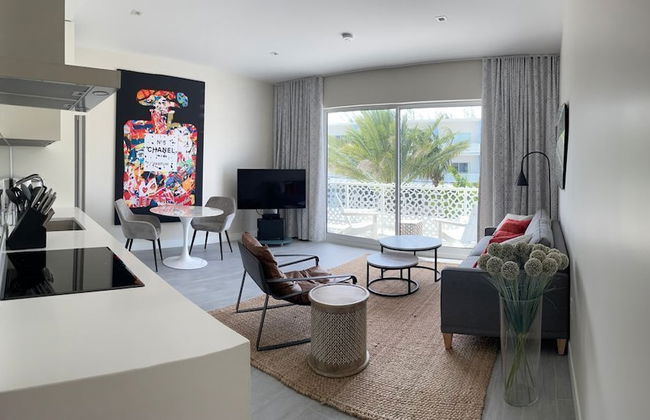
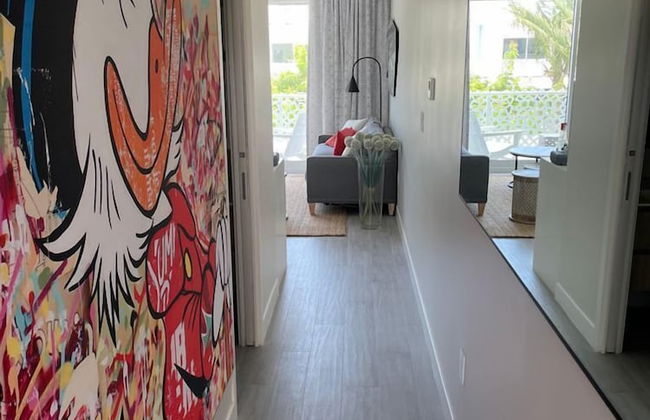
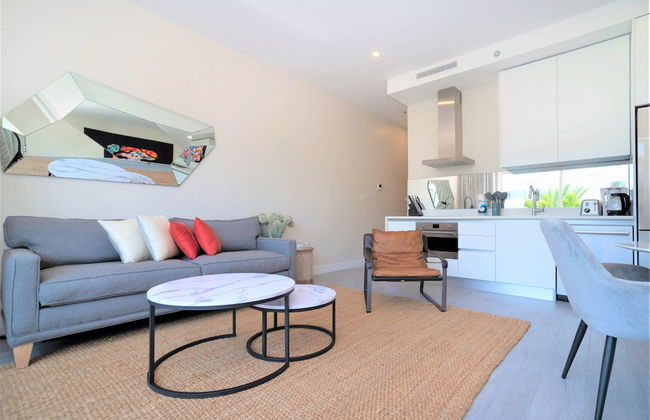
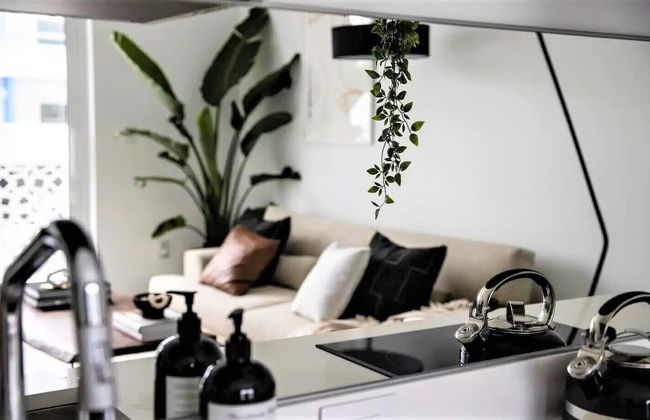
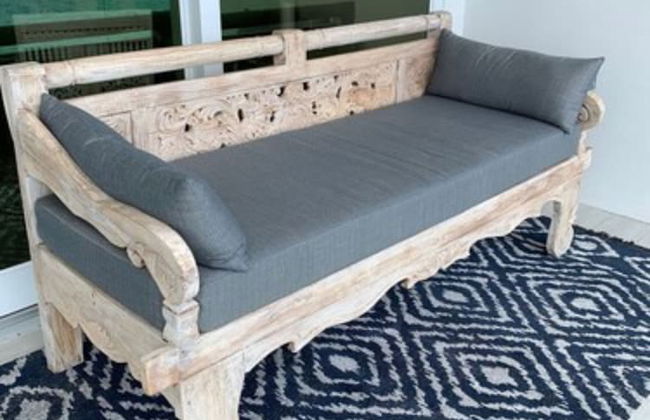
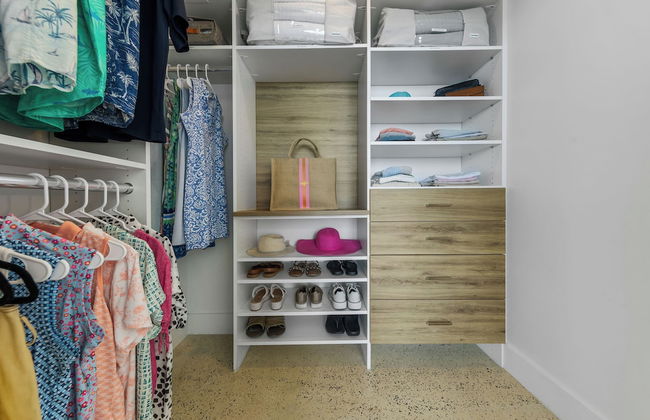
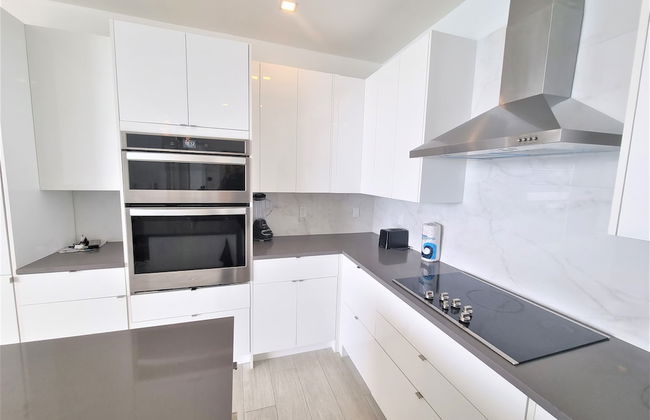
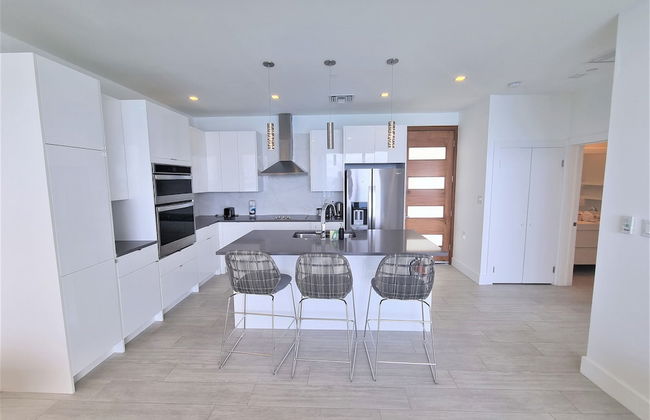
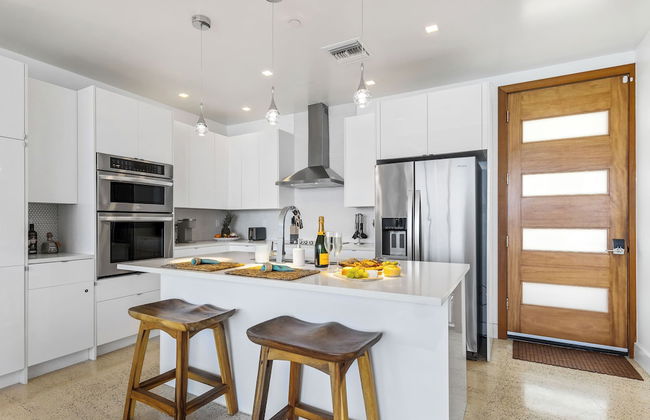
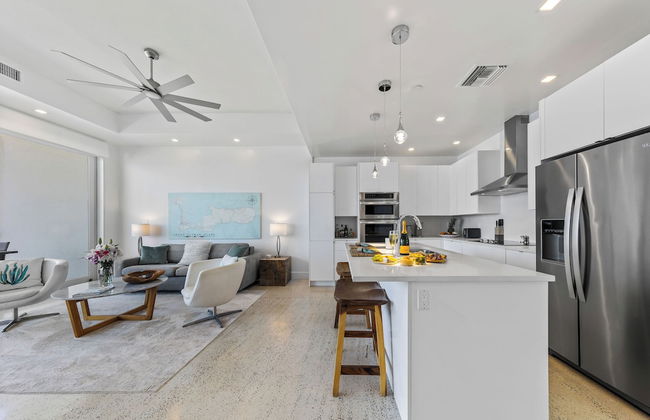
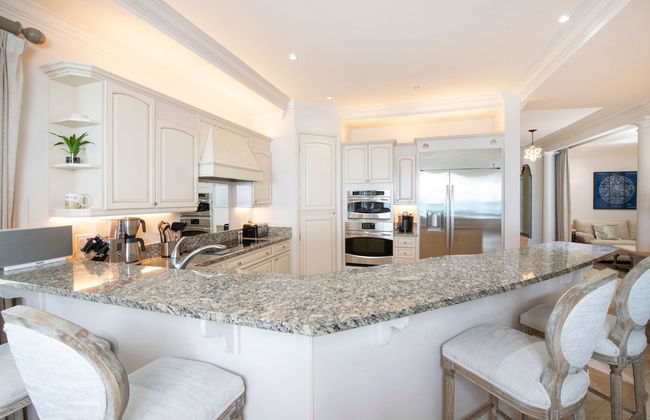
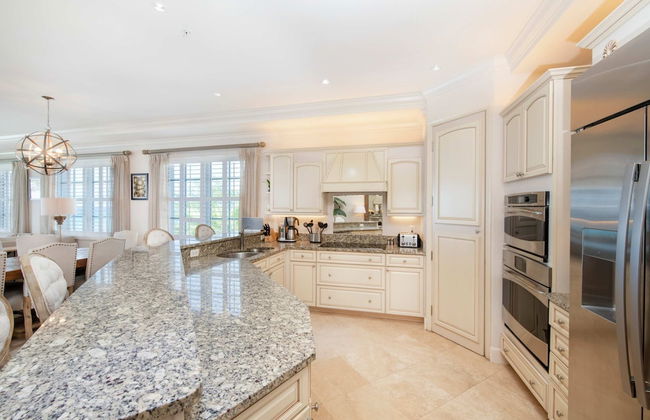
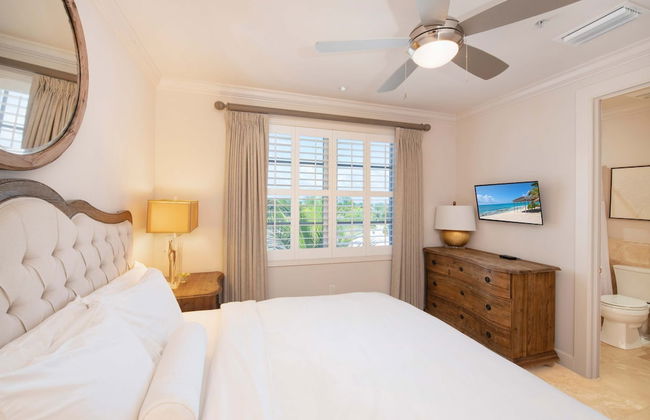
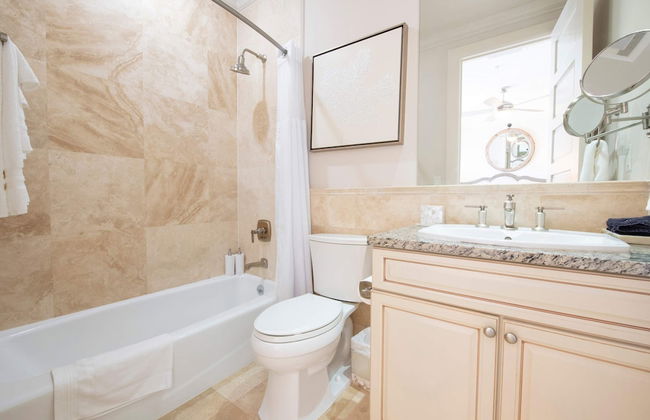
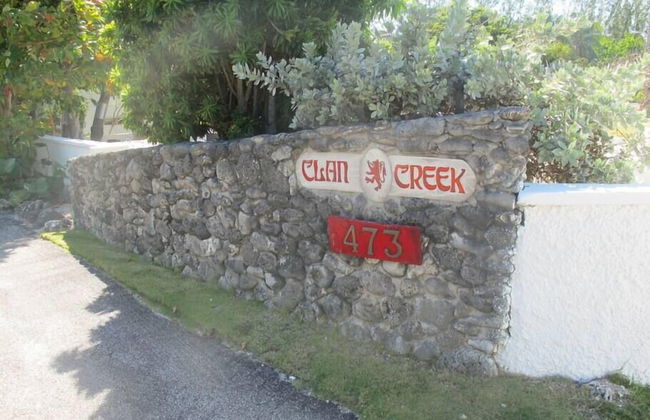
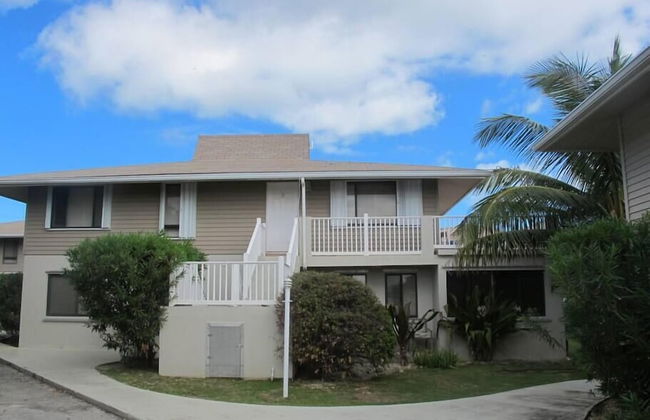
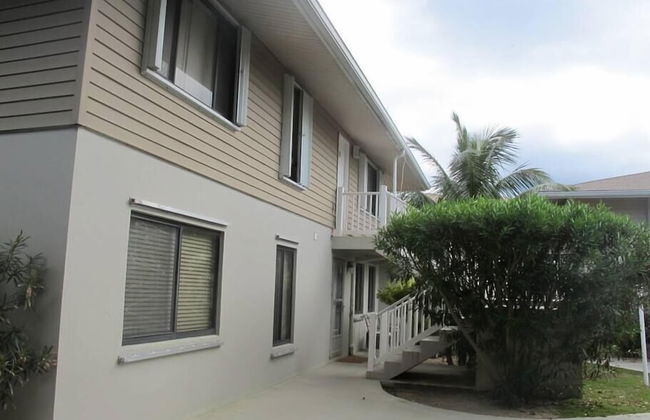
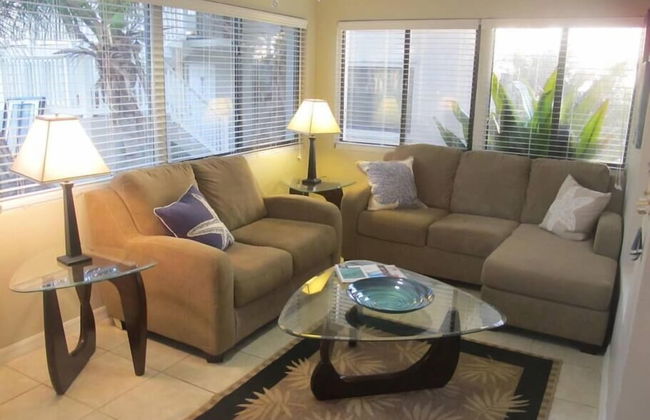
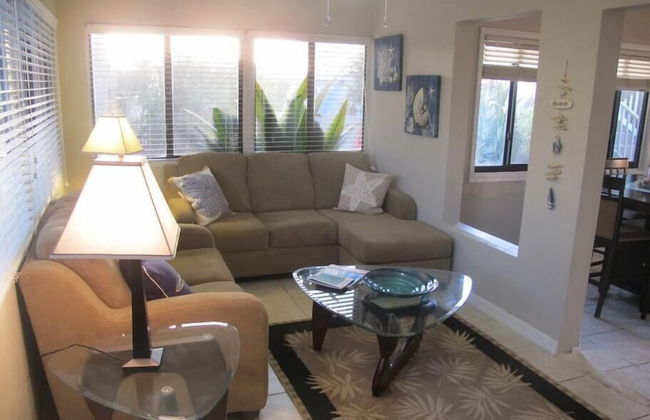
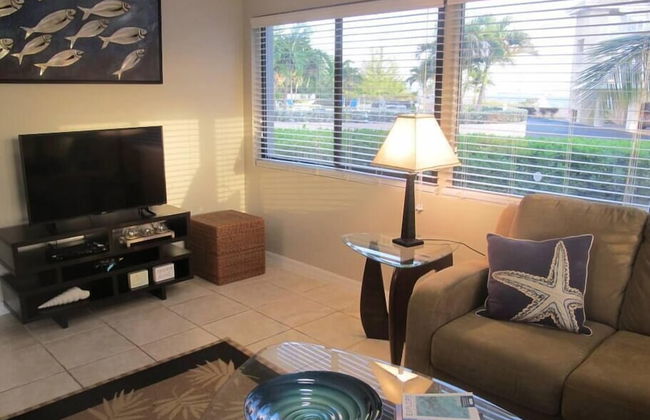
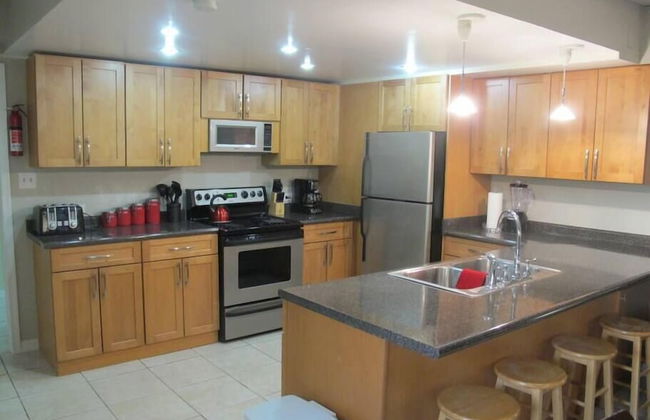
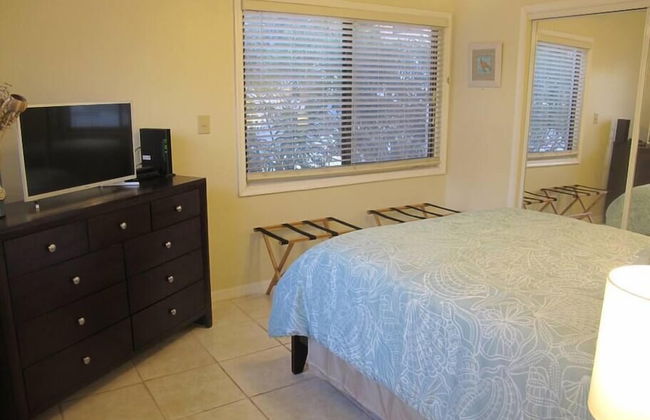
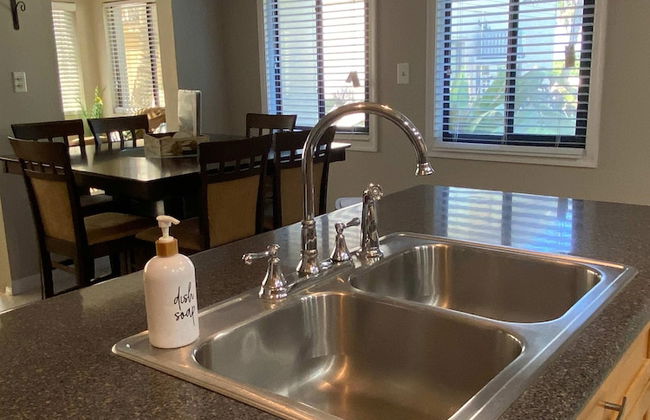
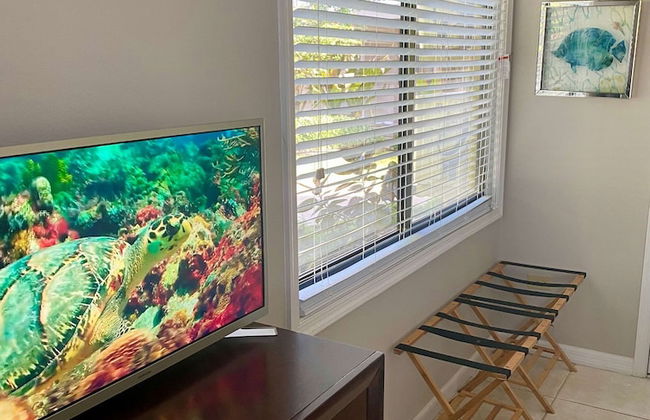
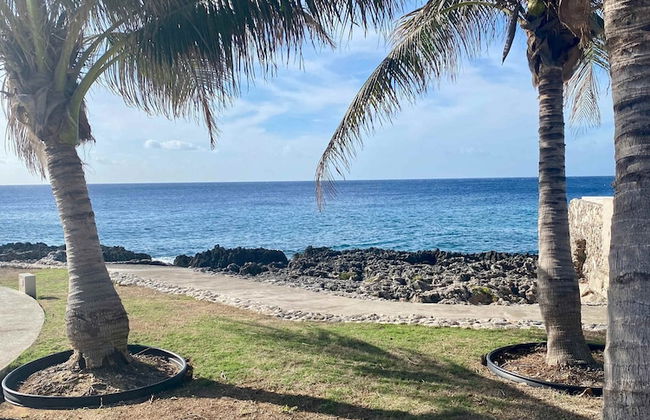
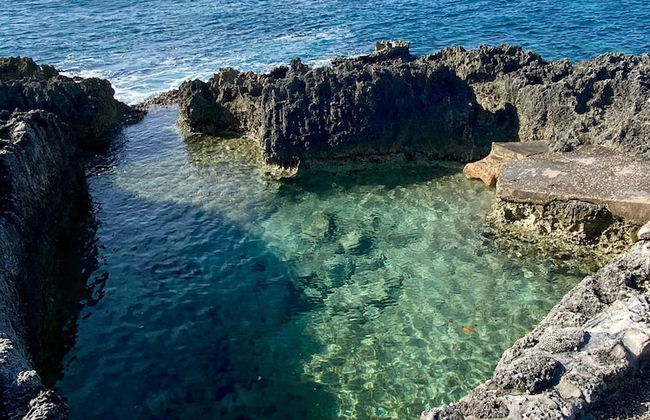
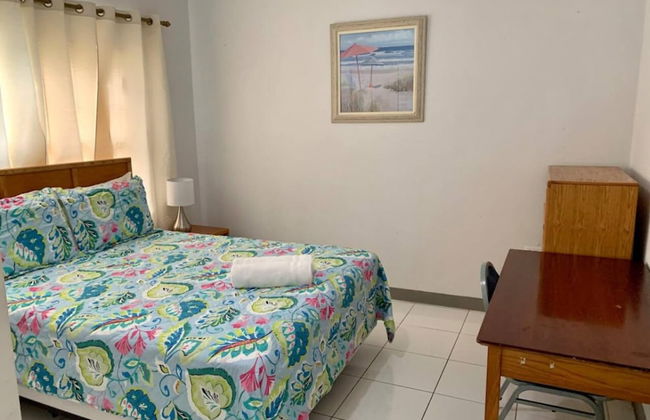
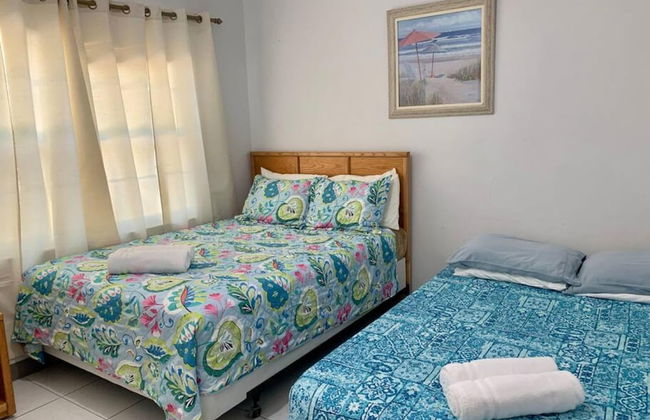
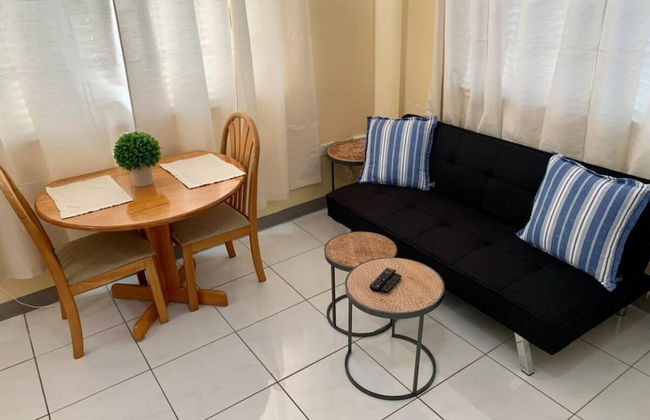
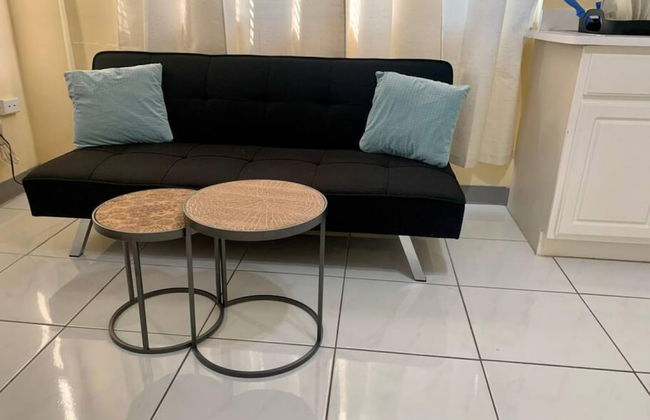
The Grove
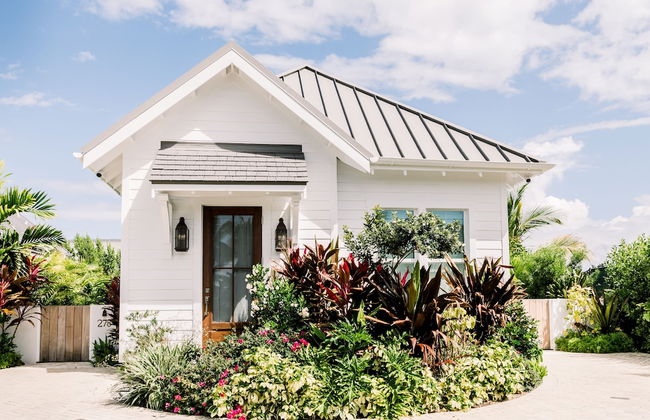
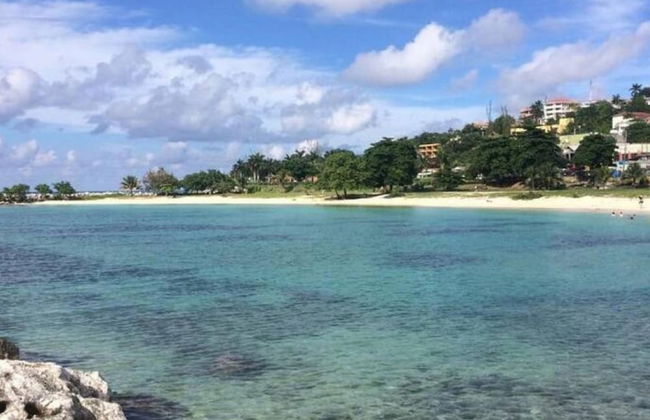
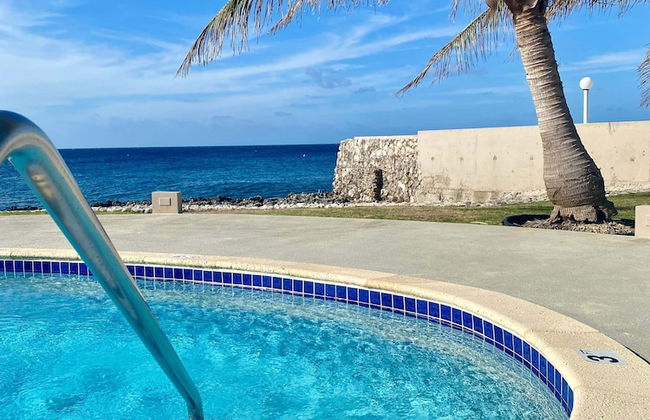
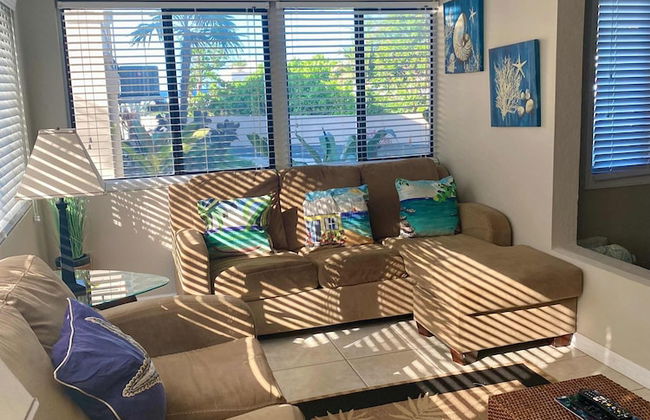
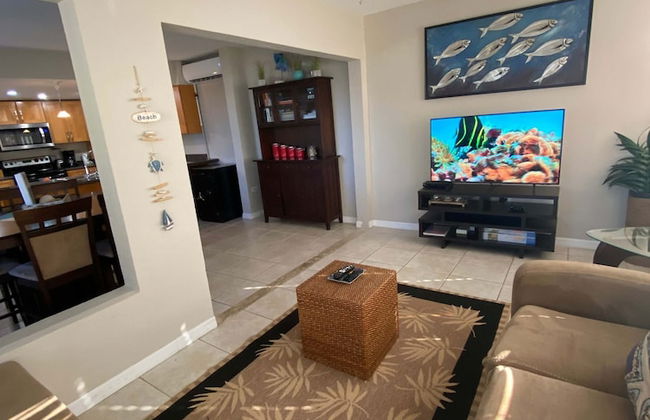
West Bay - Batabano
- 204 M2
- 10 Personen
- Klimaanlage
- Terrasse
- Schwimmbad
- Parkplatz
- Fahrstuhl
- Garten
- Tv
- Waschmaschine
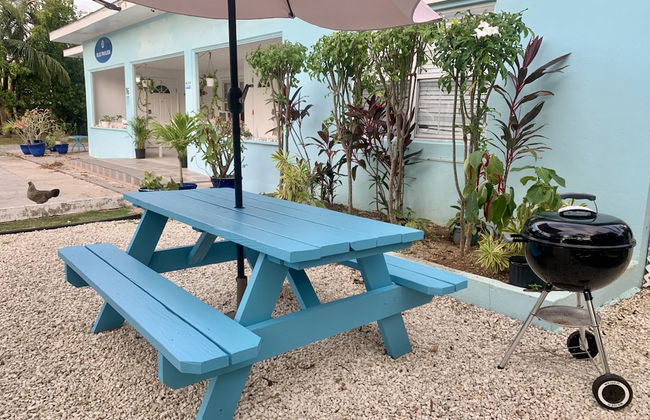
- Barbecue
- Handtücher
- Bettlaken
23 Bewertungen

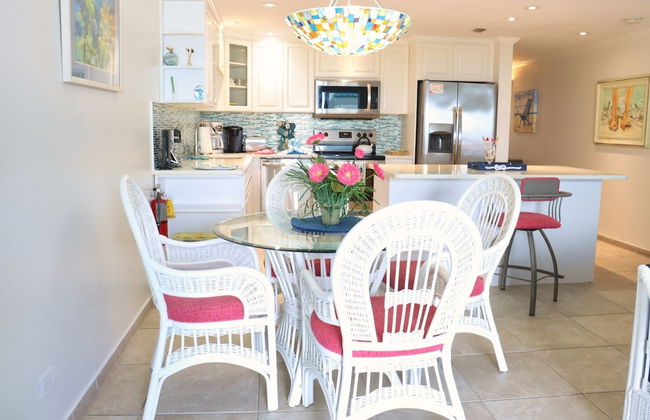


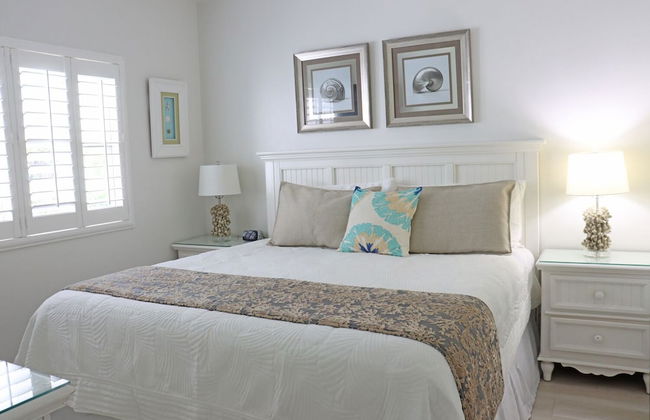


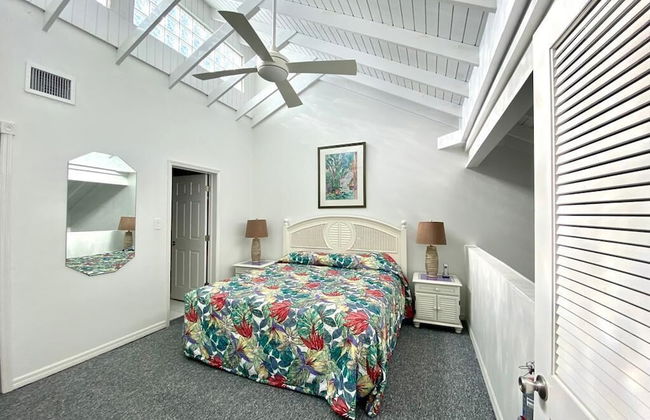


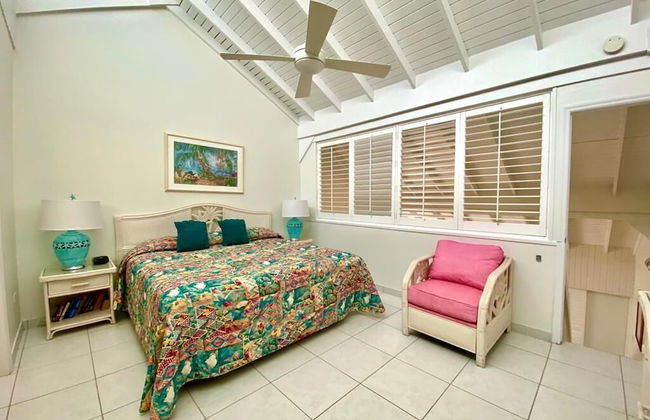
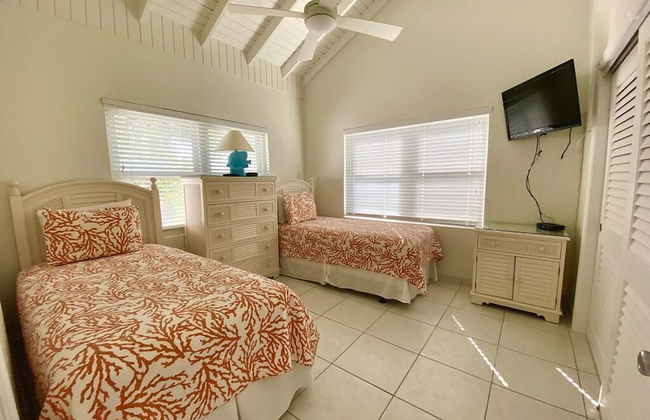


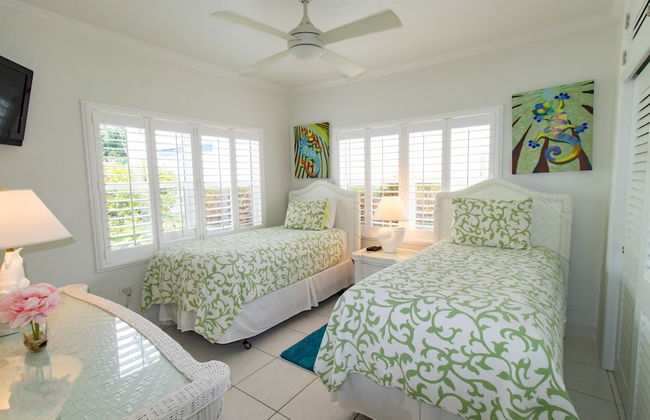


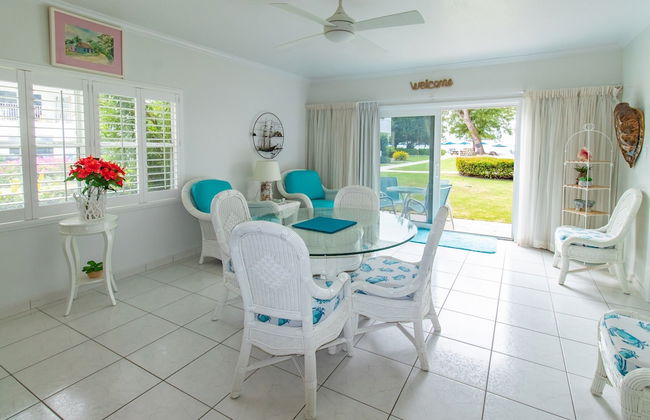
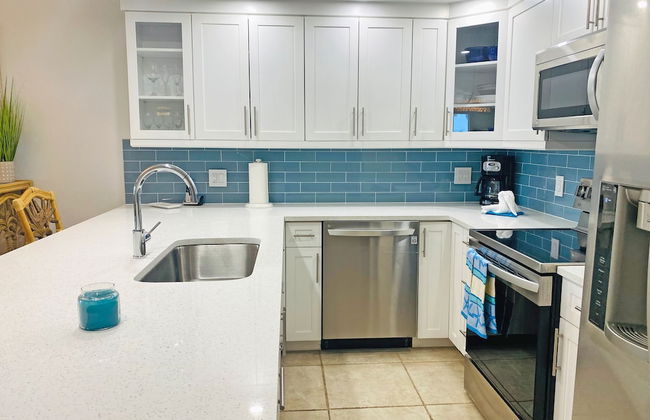
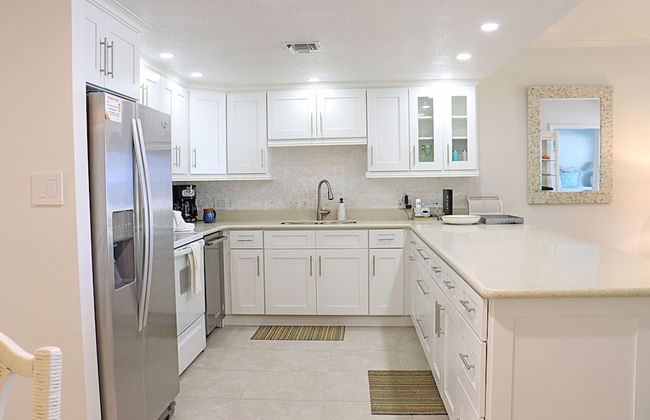


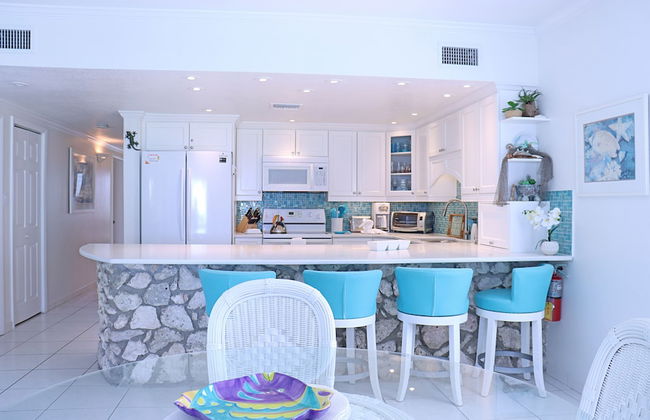


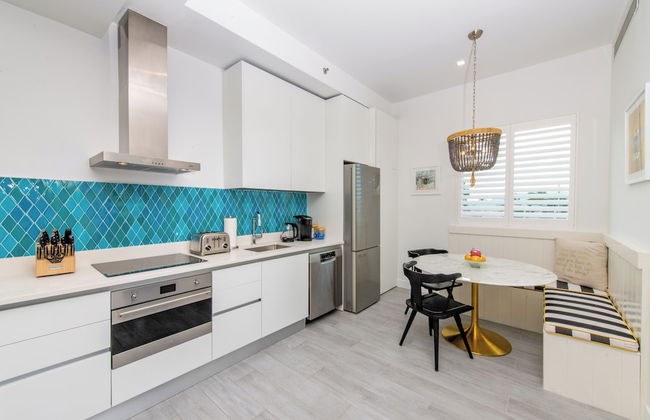
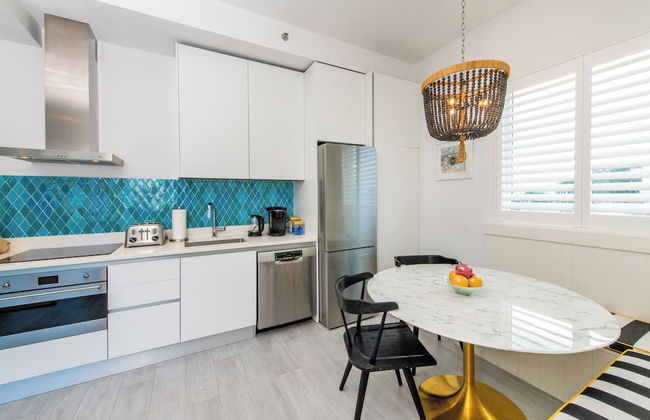
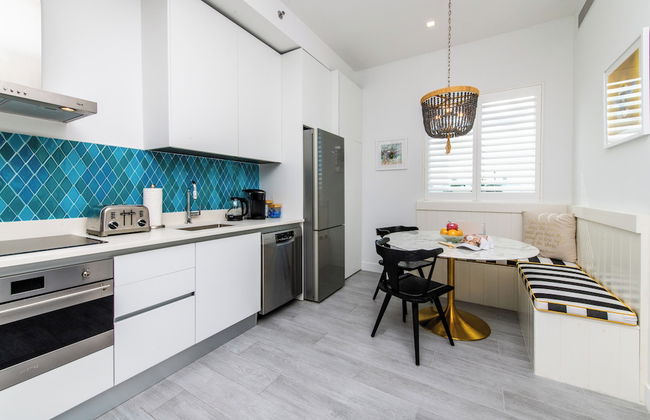
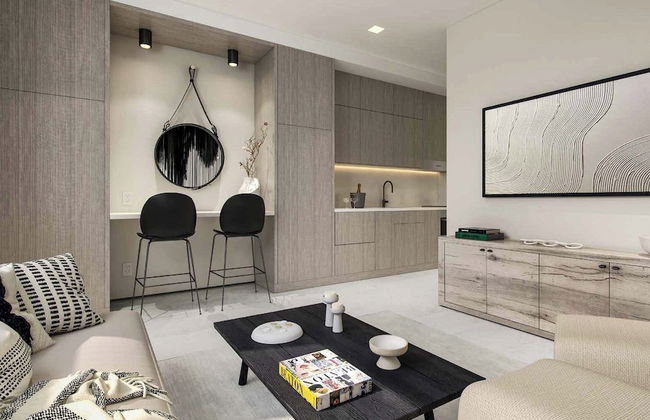
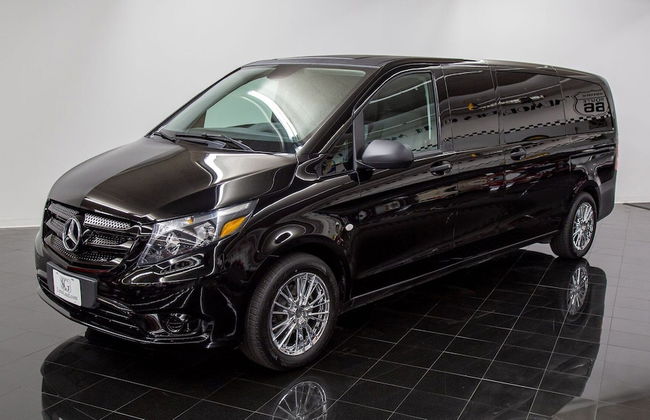
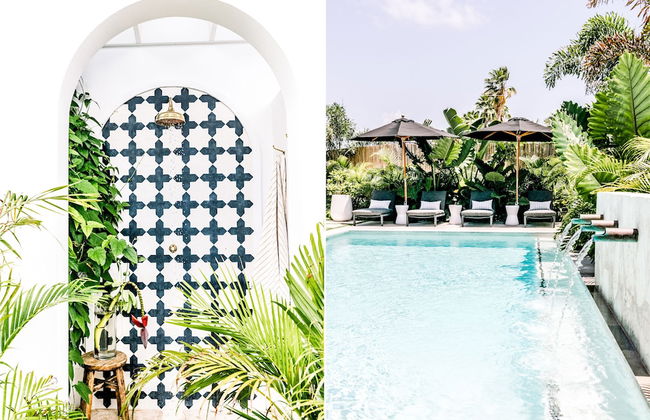
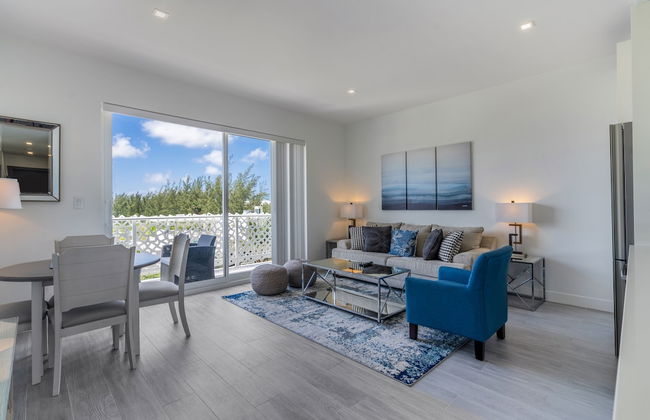
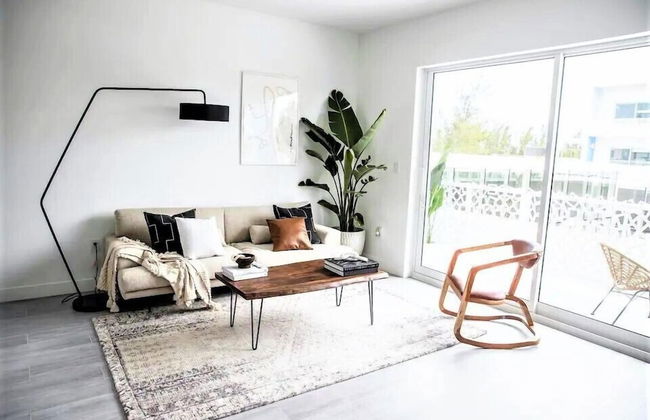
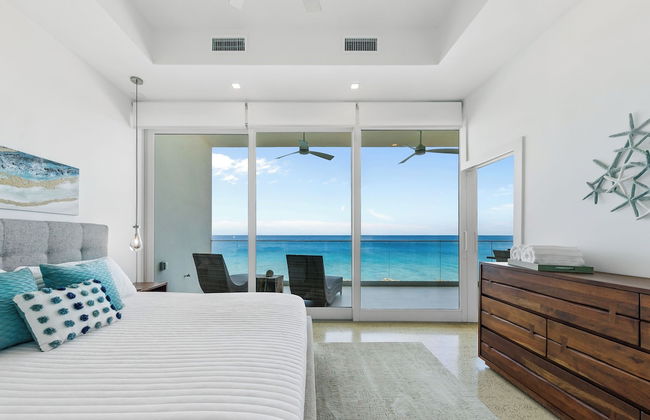
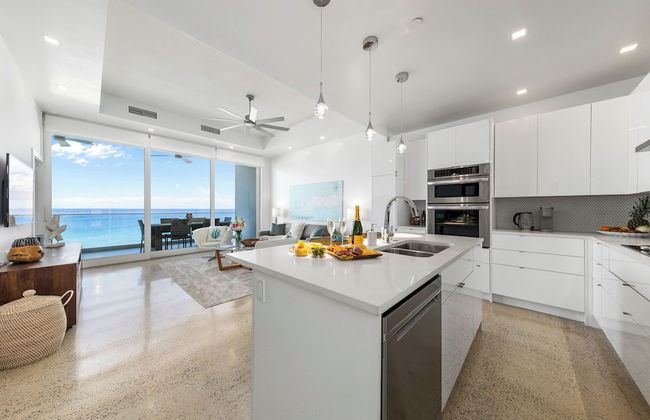
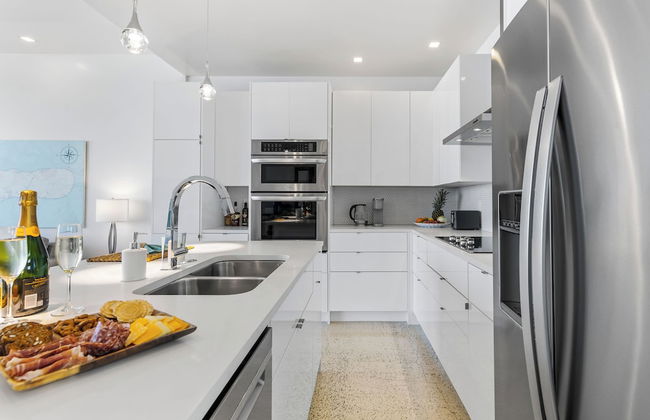
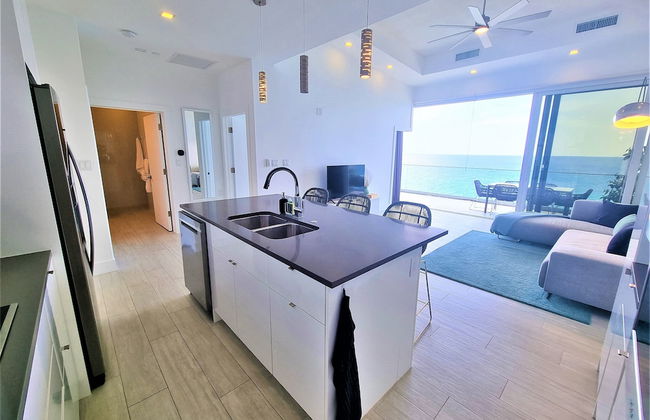
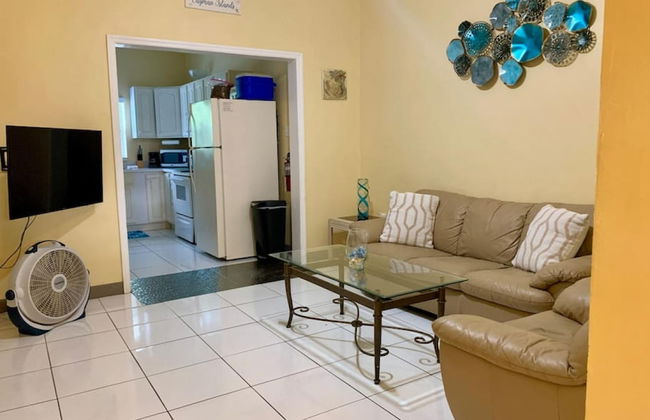
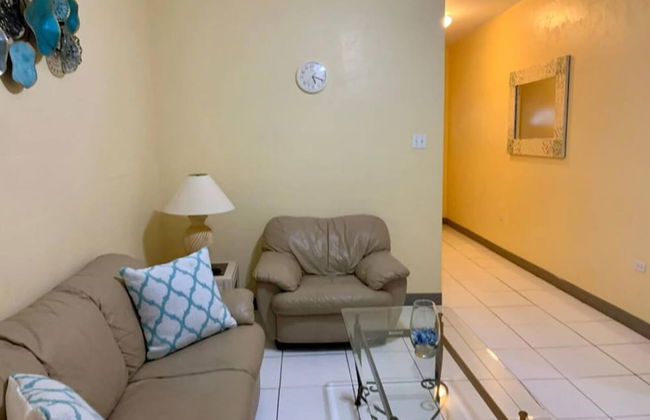
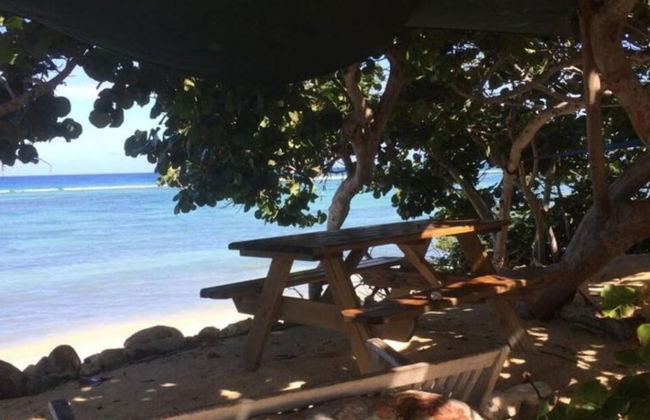
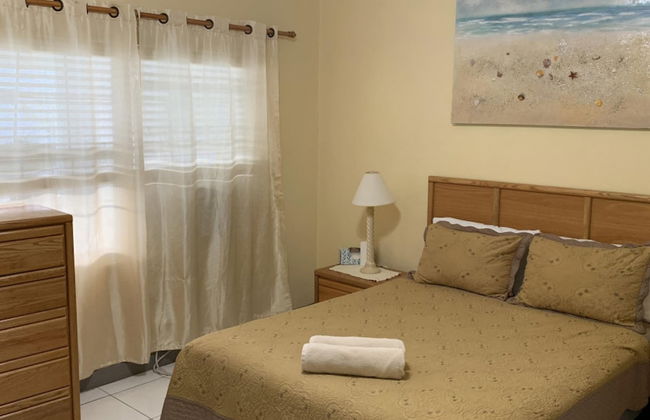
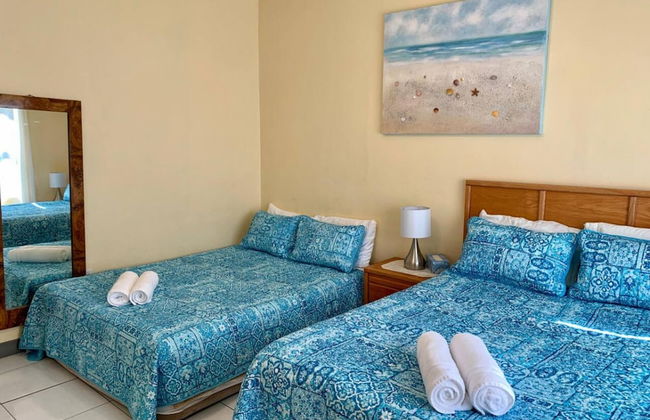
Galleon Villas by Hello Cayman Vacation
West Bay - Batabano
- 7 Personen
- Klimaanlage
- Terrasse
- Parkplatz
- Garten
- Tv
- Waschmaschine
- Barbecue
- Handtücher
- Bettlaken
190 Bewertungen


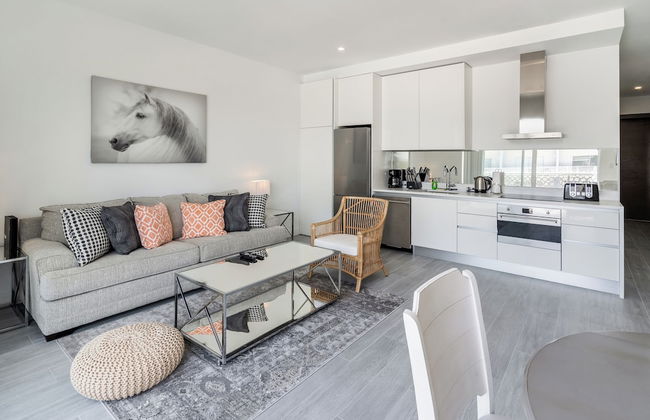
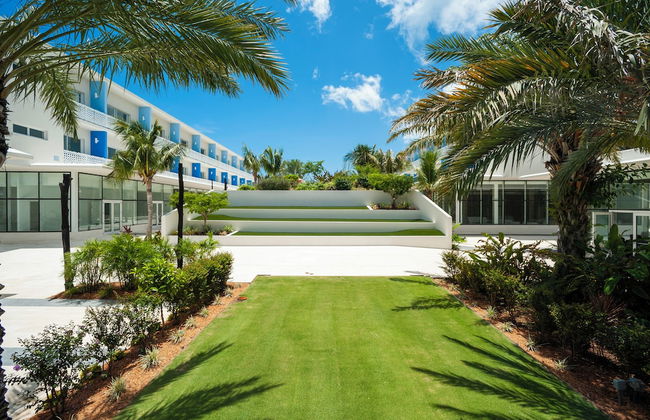
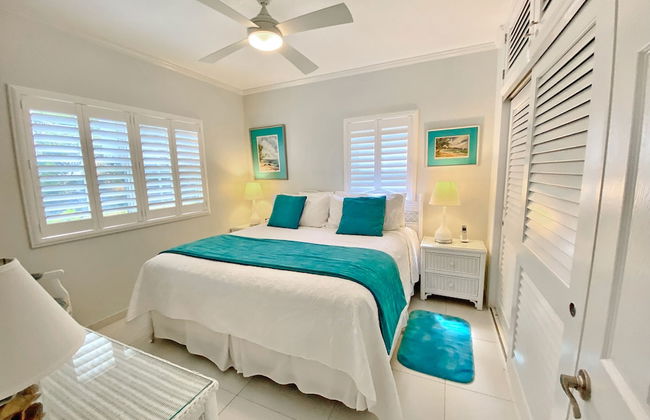
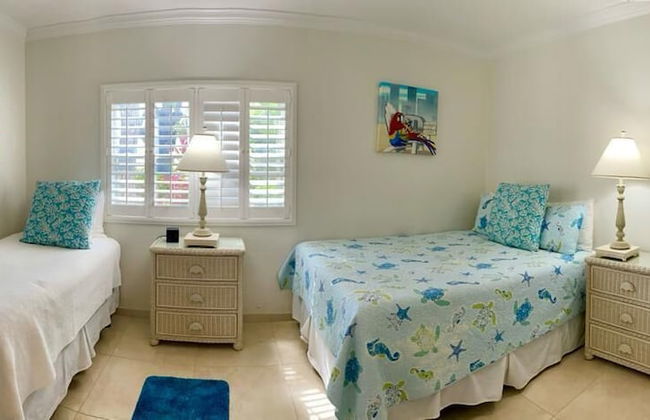
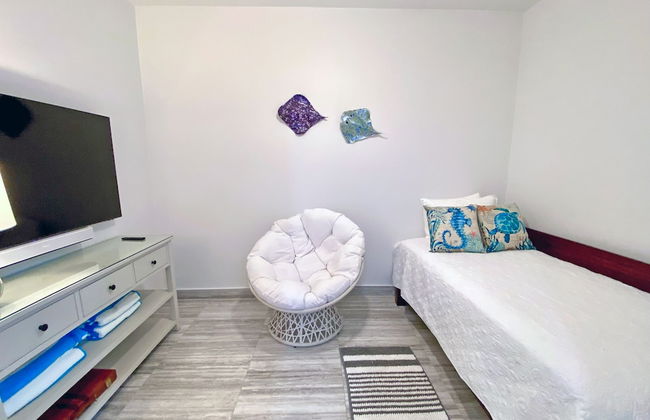
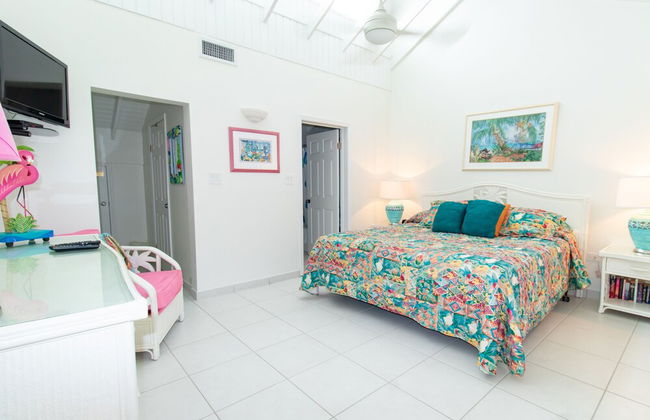
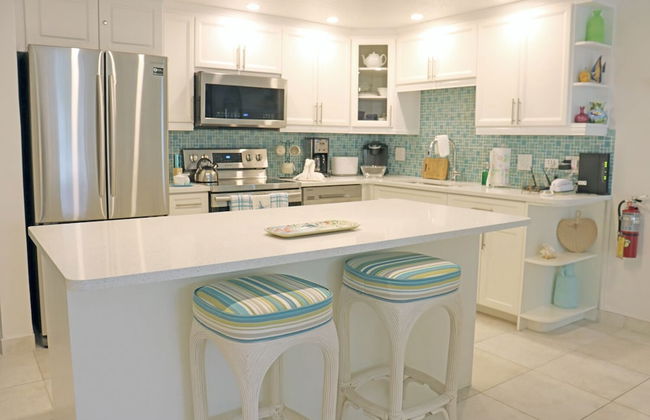
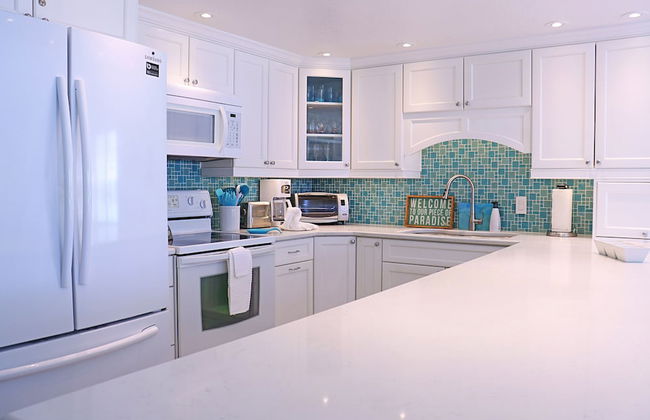
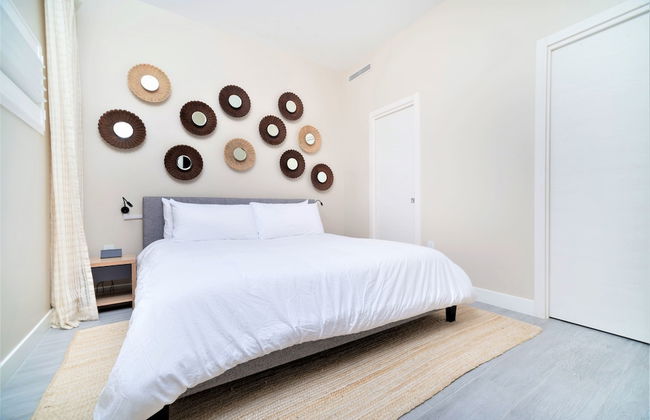
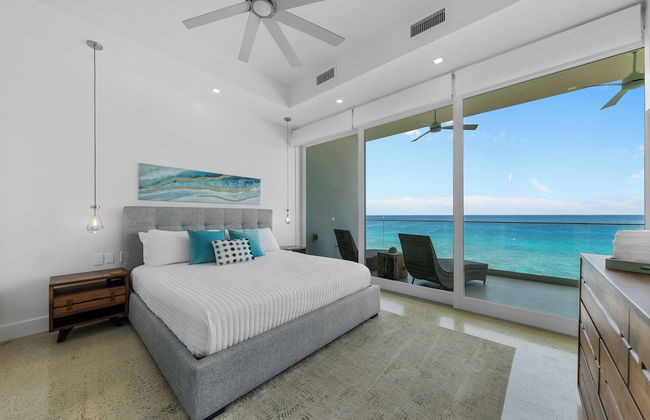
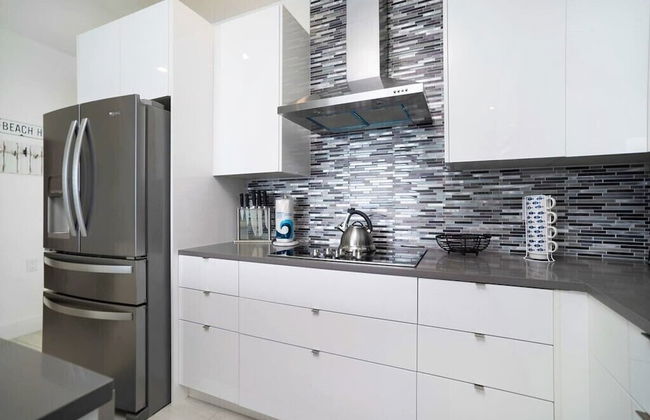
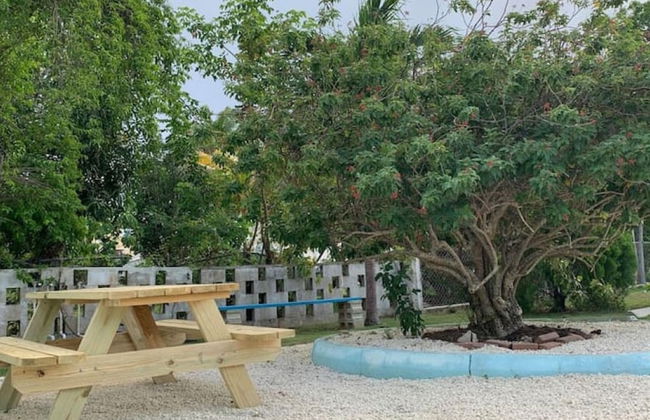
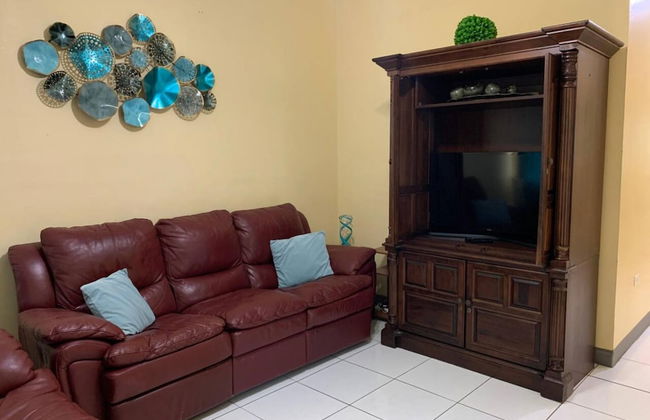
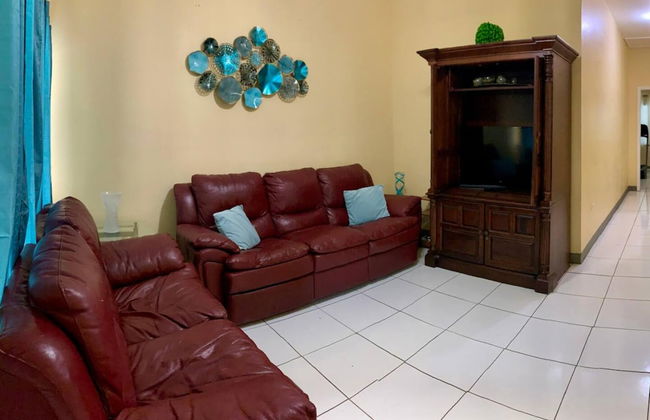
Botanica
West Bay - Batabano
- 130 M2
- 6 Personen
- Terrasse
- Schwimmbad
- Parkplatz
- Waschmaschine
- Handtücher
- Bettlaken
7 Bewertungen


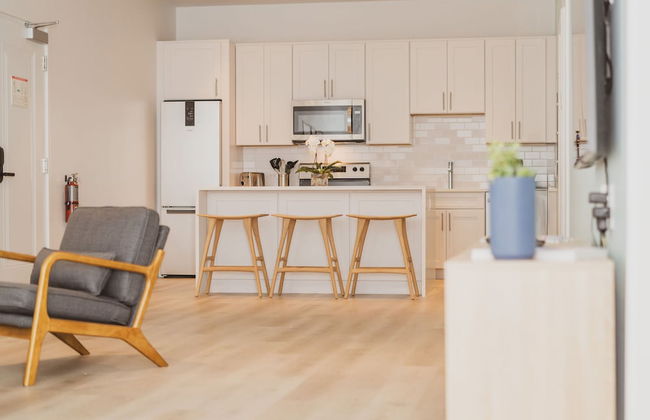


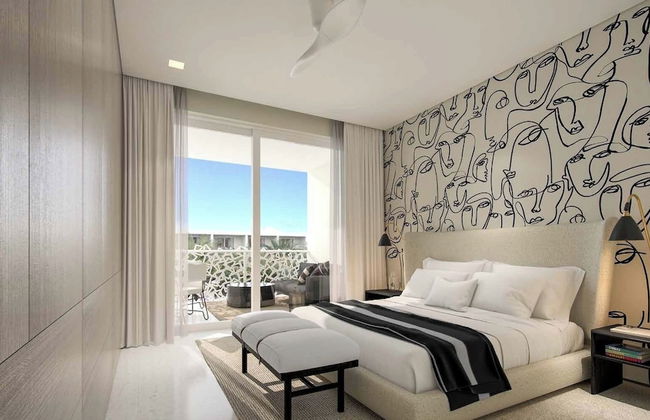
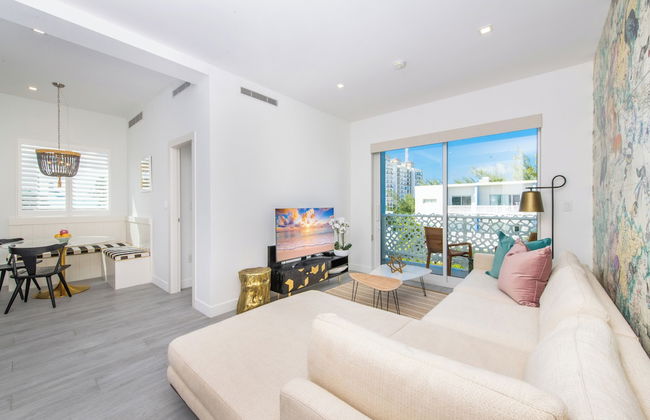
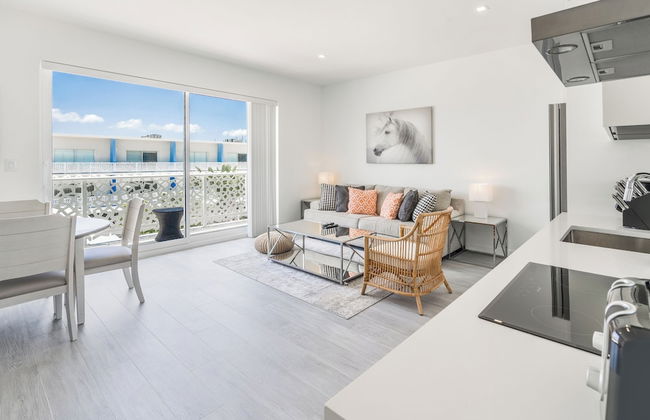
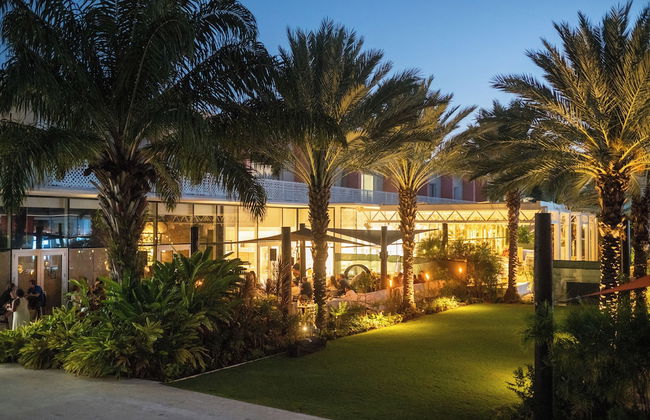
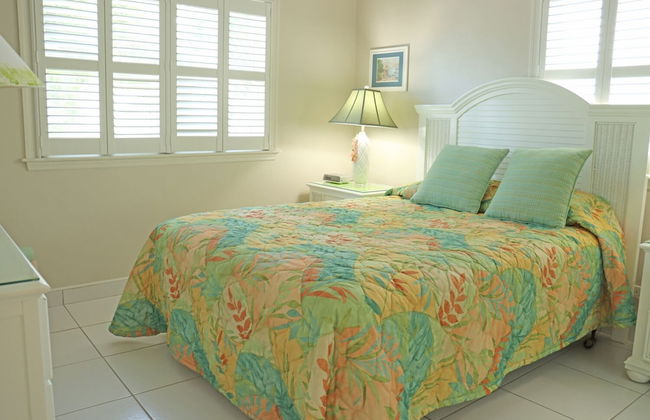
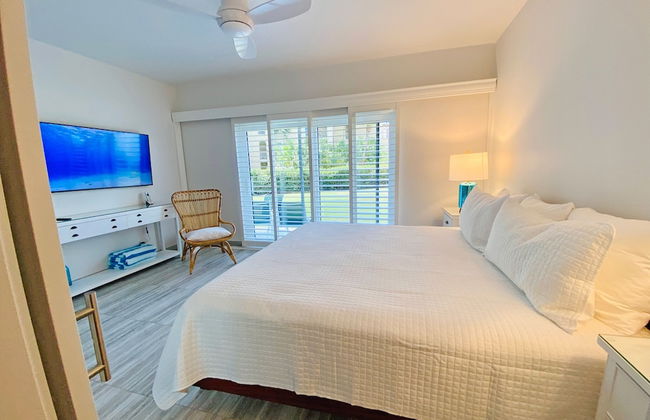
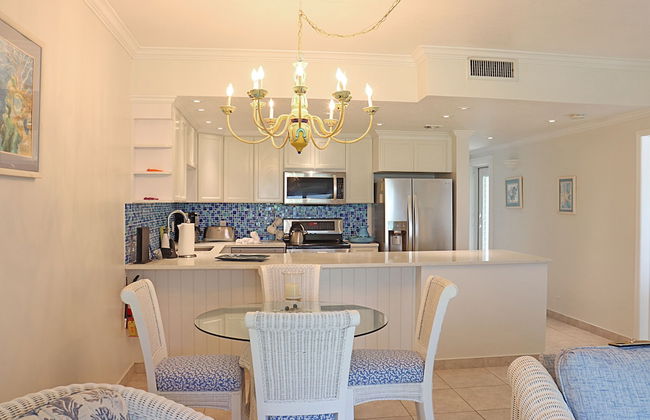
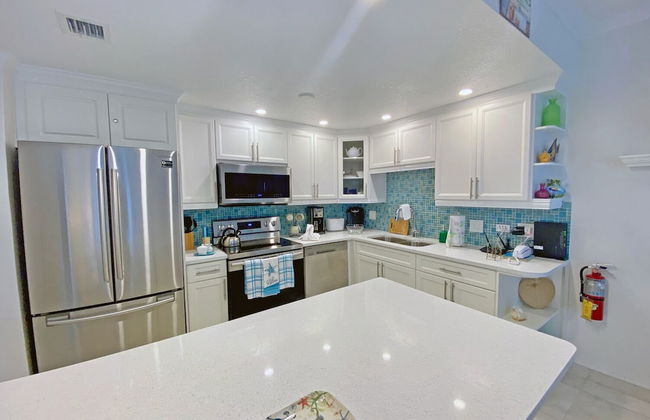
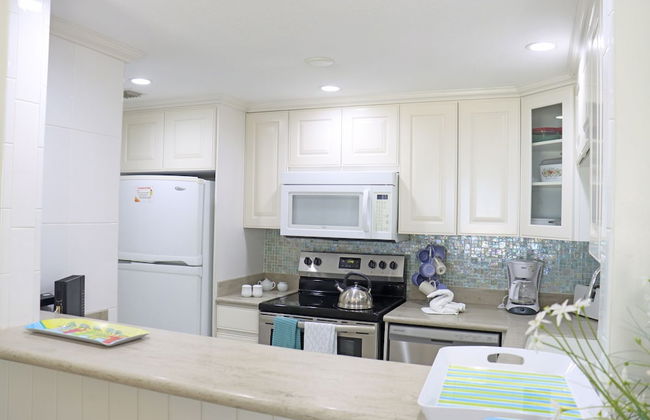
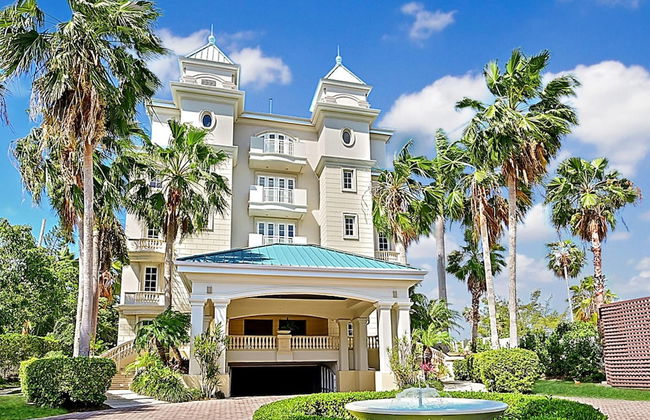
Governors Village Seven Mile Beach Corridor
West Bay - Batabano
- 143 M2
- 8 Personen
- Kochnische
- Klimaanlage
- Schwimmbad
- Parkplatz
- Garten
- Tv
- Handtücher
- Bettlaken
115 Bewertungen


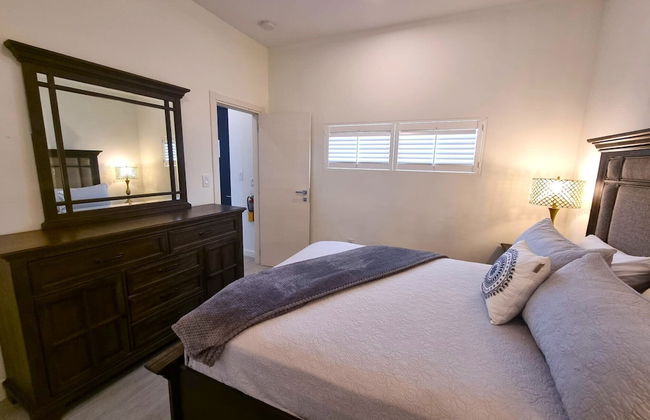


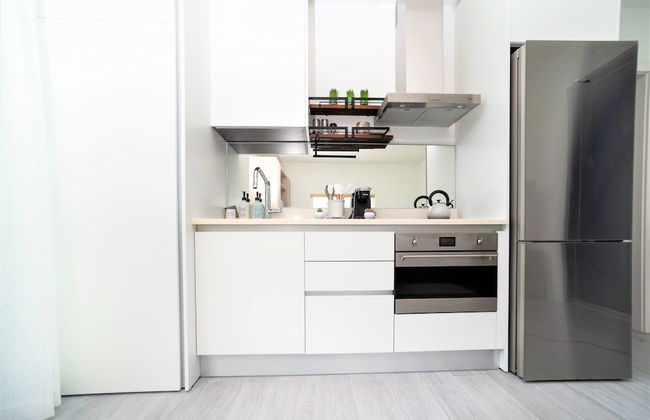
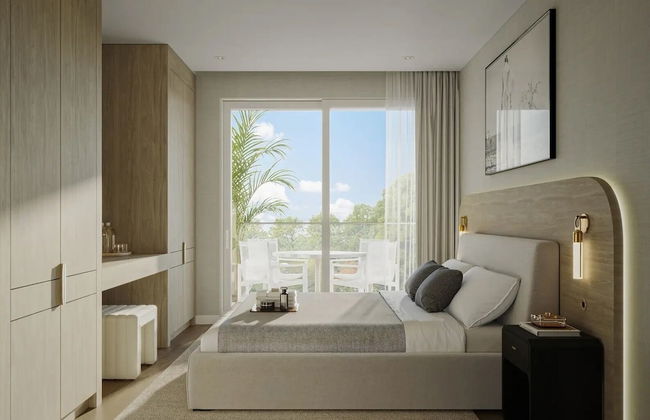
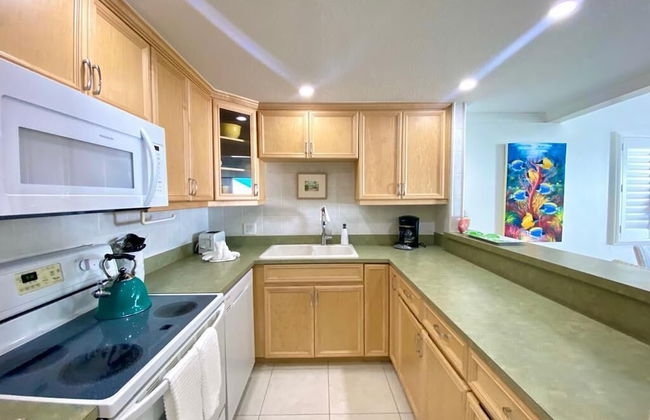
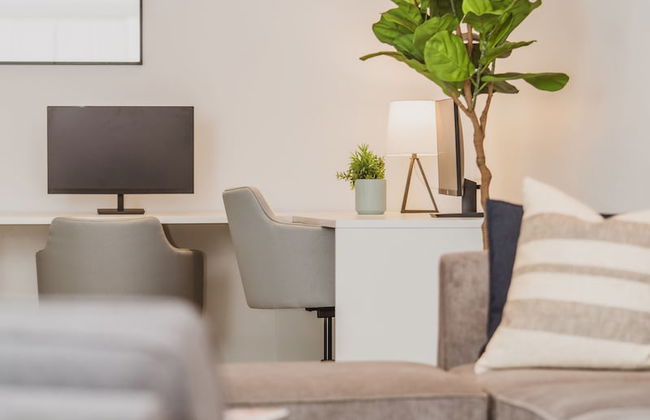
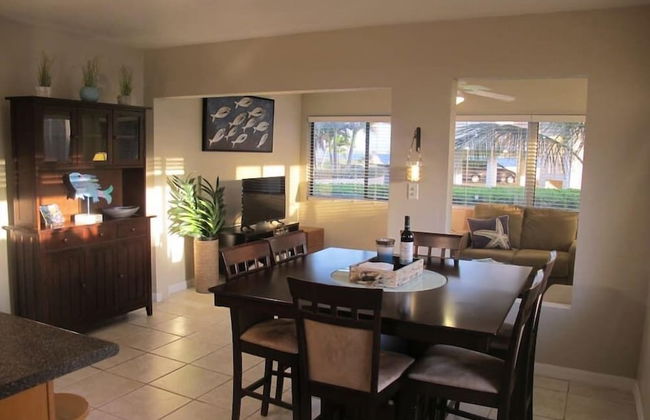
Cayman Luxury Rentals at The Grove
West Bay - Batabano
- 63 M2
- 4 Personen
- Klimaanlage
- Terrasse
- Schwimmbad
- Parkplatz
- Balkon
- Garten
- Tv
- Waschmaschine
- Handtücher
- Bettlaken
33 Bewertungen
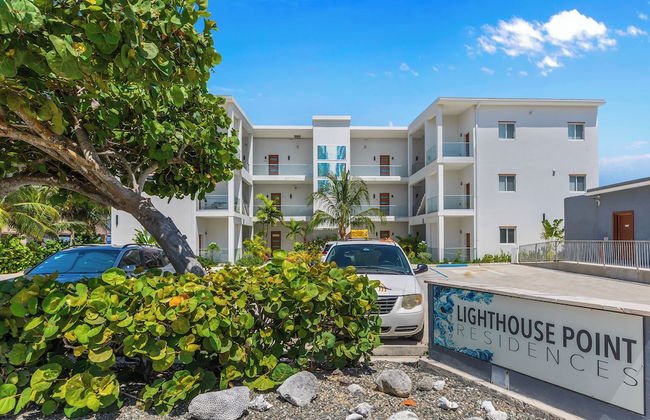
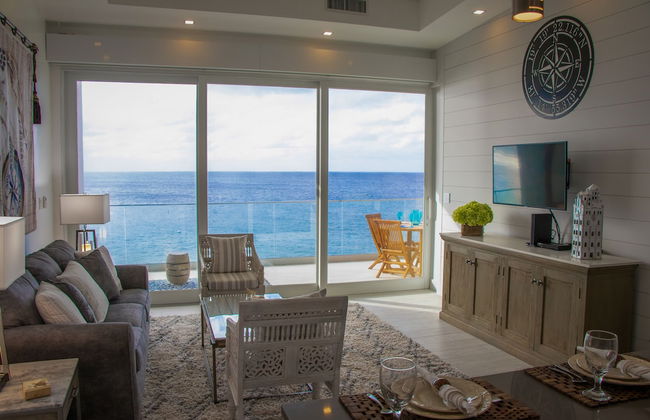
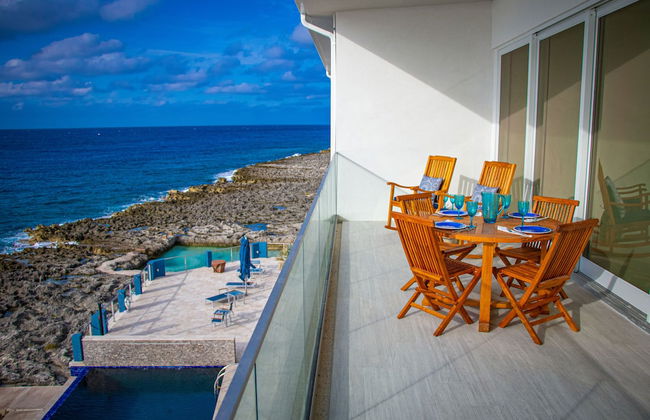


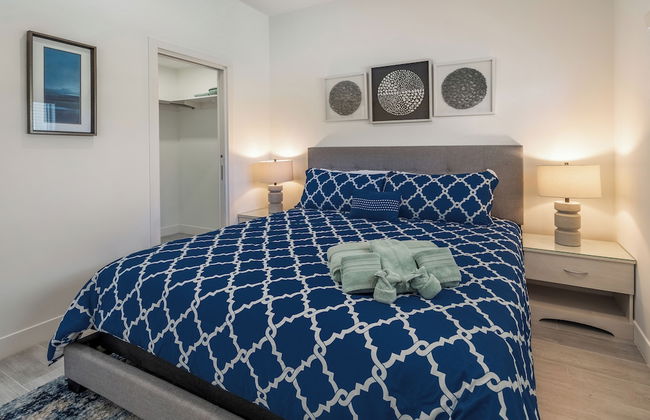
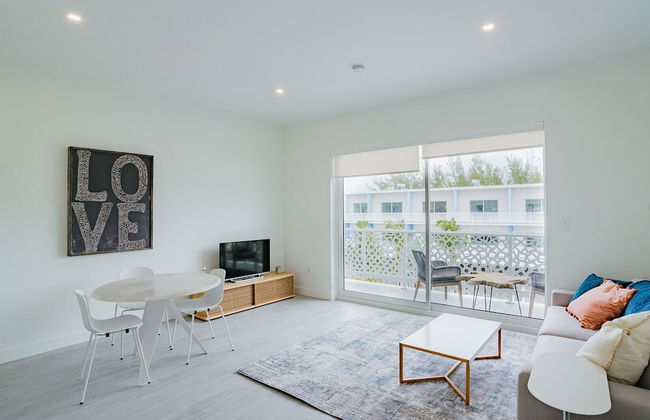
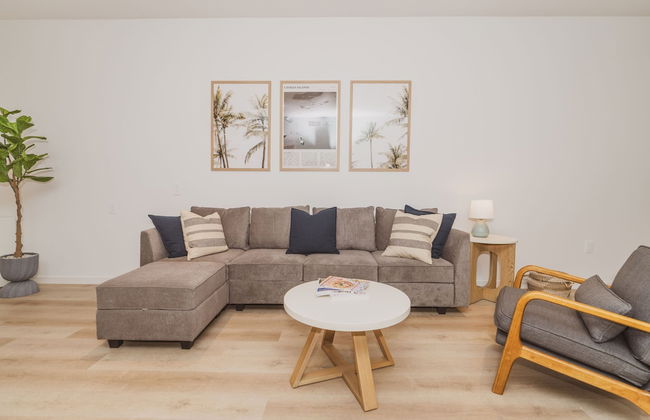
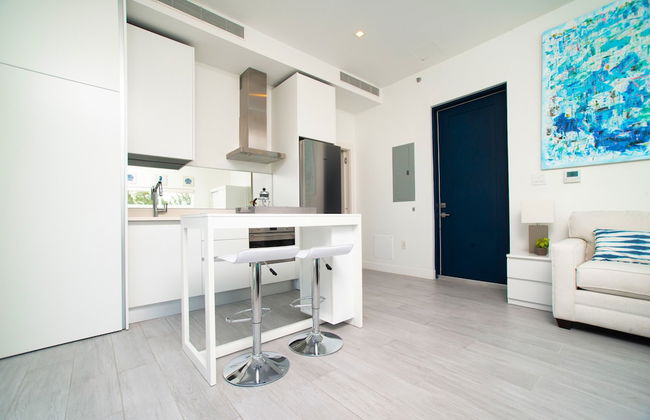
Lighthouse Point Residences
West Bay - Hell
- 167 M2
- 7 Personen
- Klimaanlage
- Schwimmbad
- Parkplatz
- Fahrstuhl
- Balkon
- Tv
- Barbecue
- Handtücher
- Bettlaken
1 Bewertung


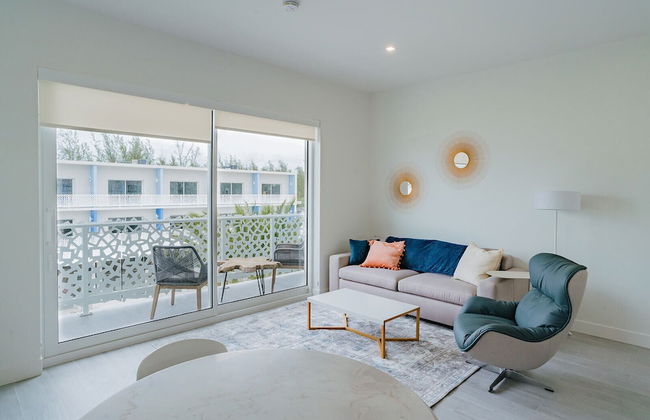
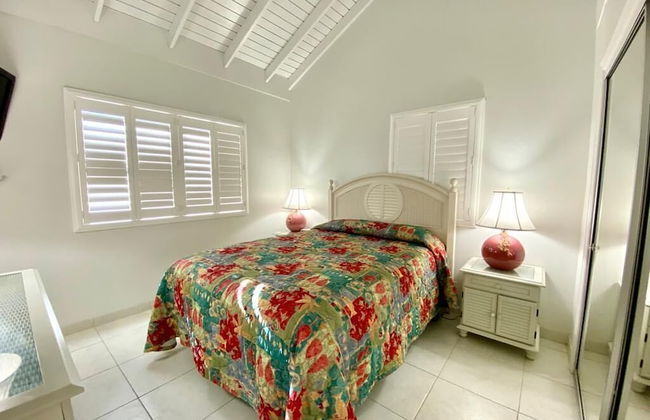
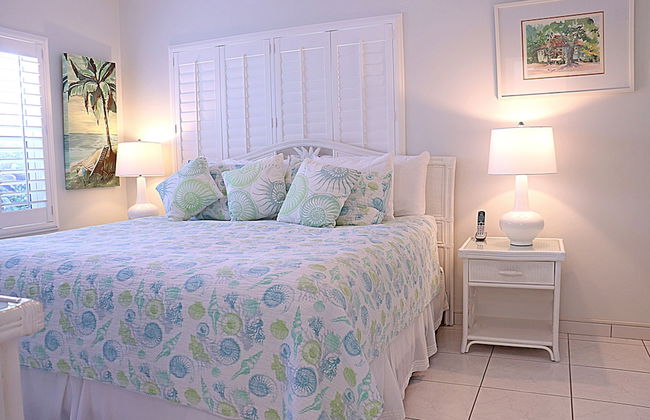
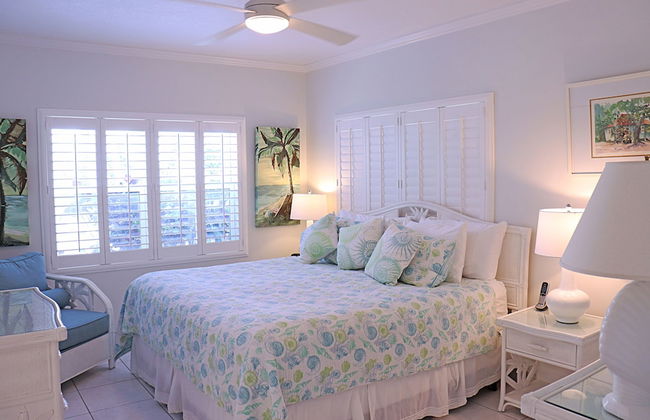
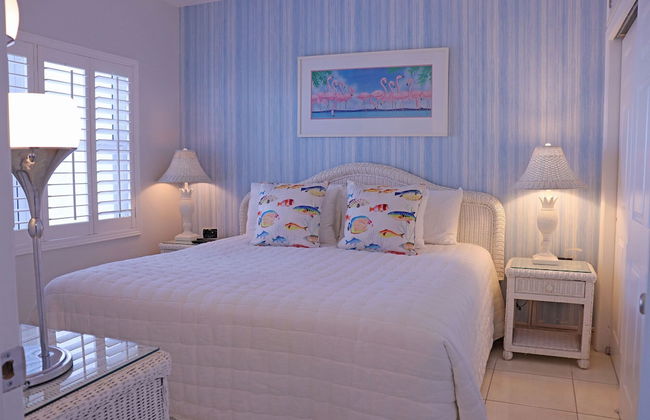
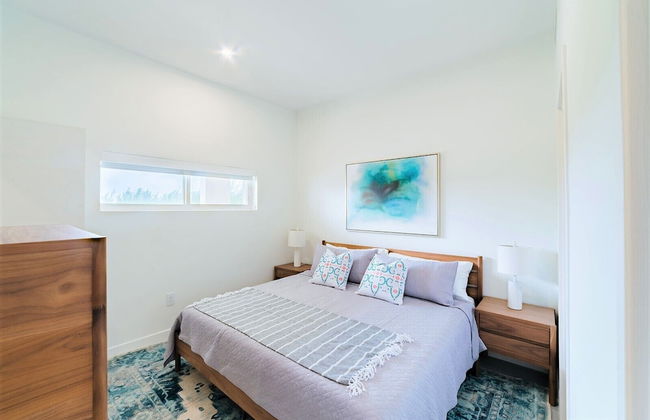
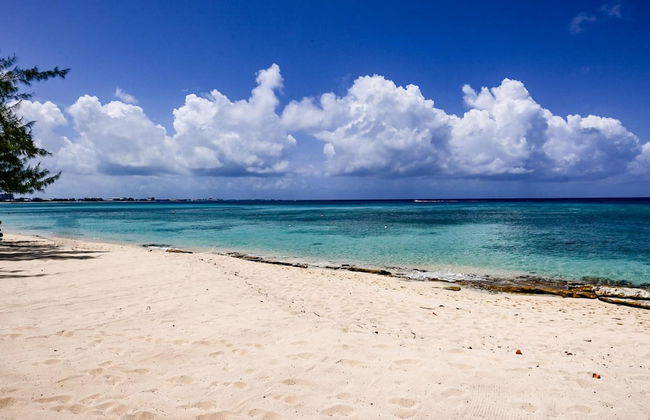
La Concha
West Bay - Mt Pleasant
- 92 M2
- 5 Personen
- Klimaanlage
- Heizung
- Terrasse
- Schwimmbad
- Parkplatz
- Tv
- Handtücher


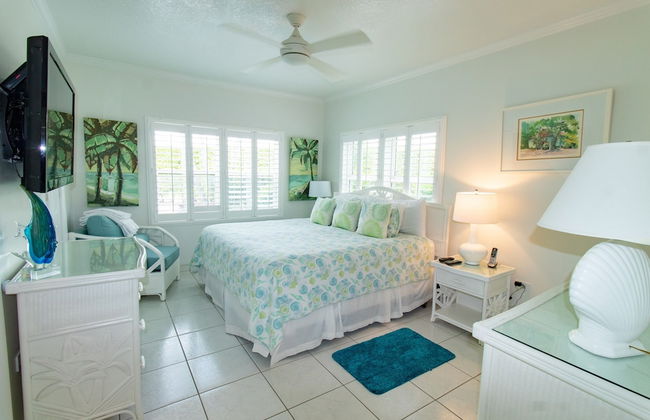
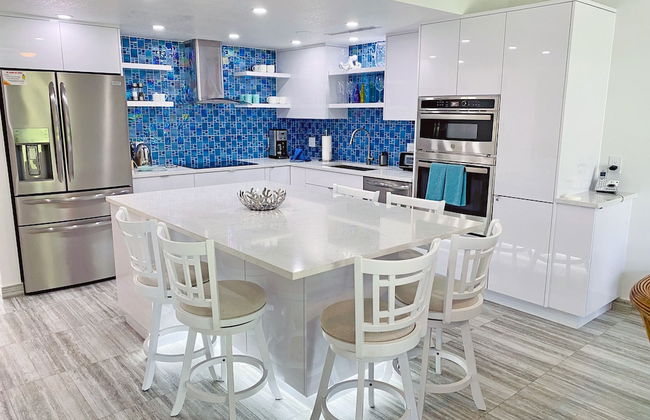
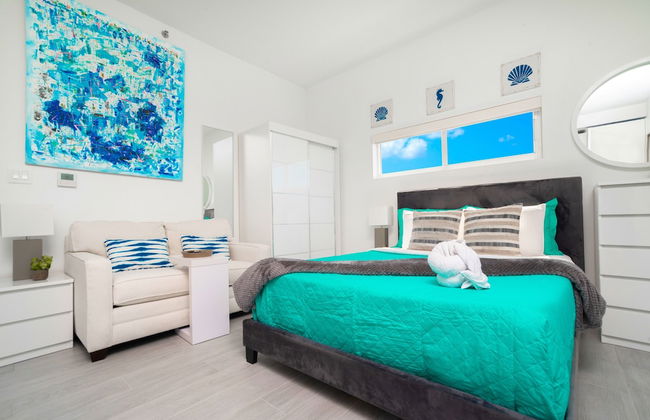
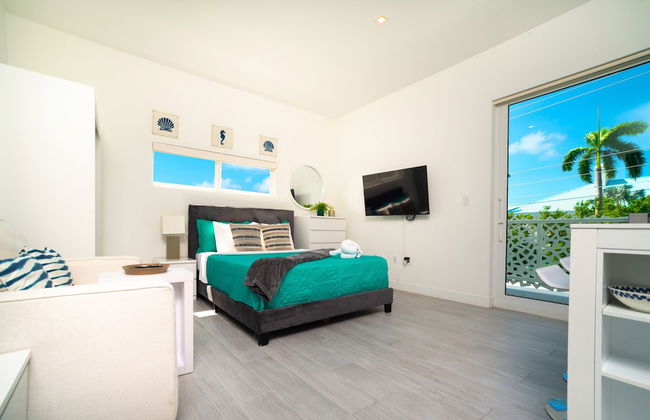
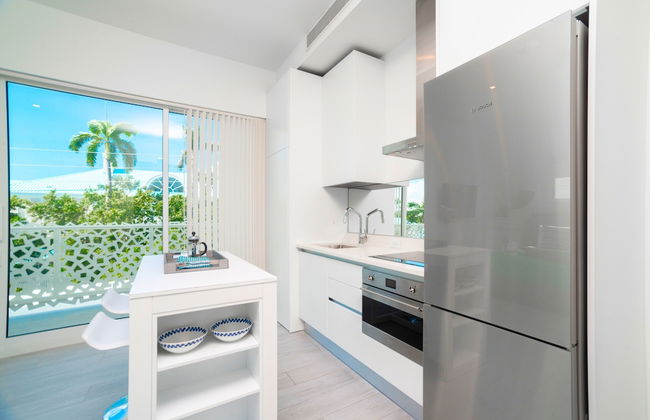
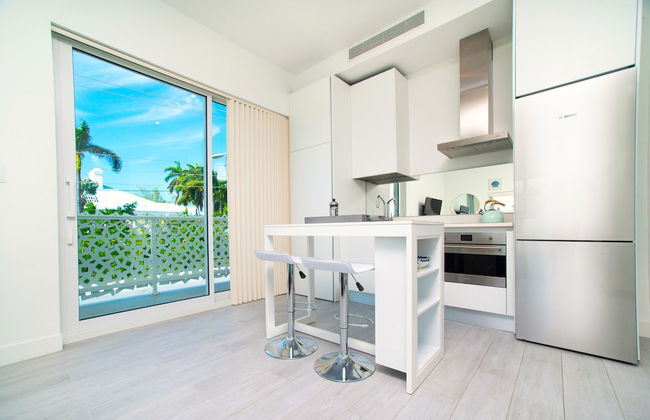
Seabreeze 8 - Luxury 4-bedroom on Seven Mile Beach
West Bay - Batabano
- 10 Personen
- Klimaanlage
- Schwimmbad
- Parkplatz
- Balkon
- Garten
- Tv
- Waschmaschine
- Barbecue
- Handtücher
- Bettlaken


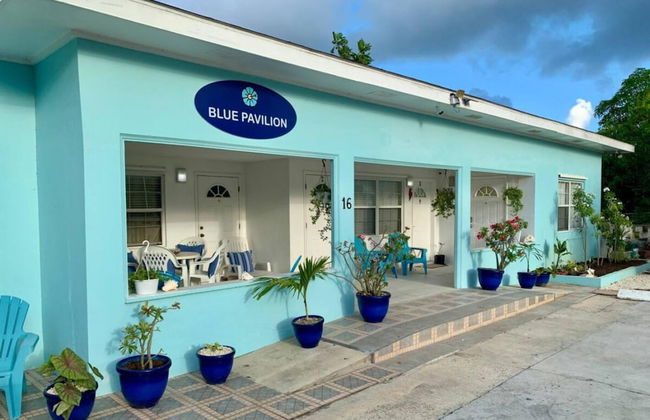


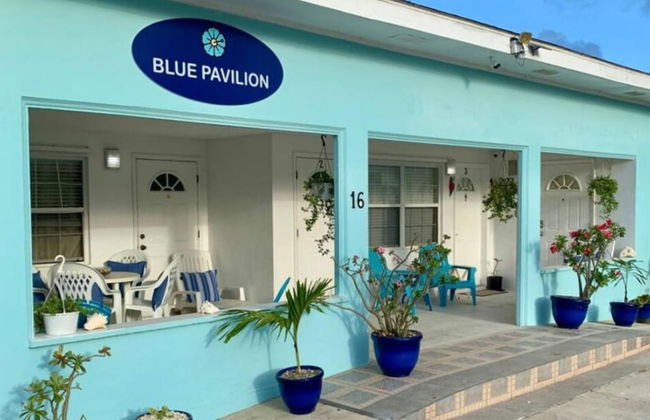


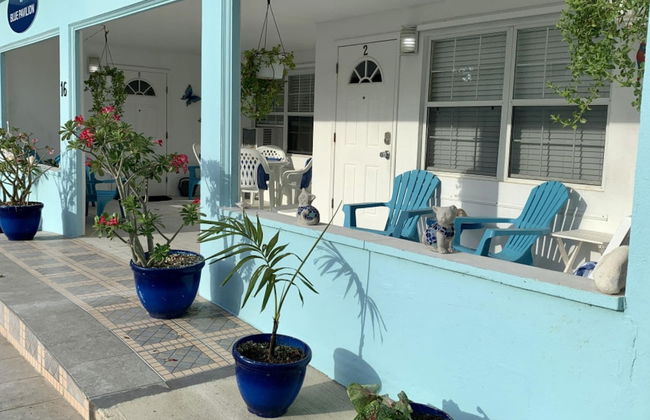
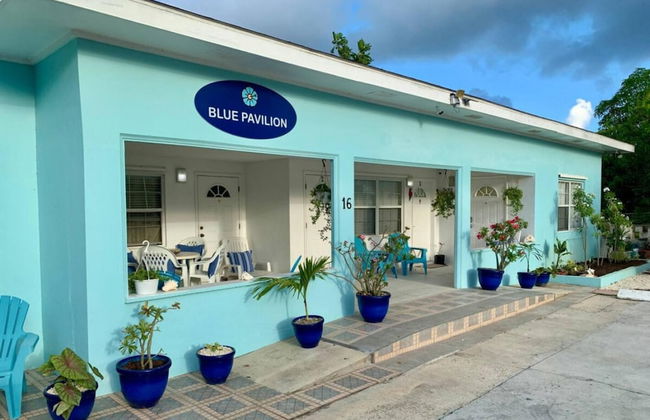
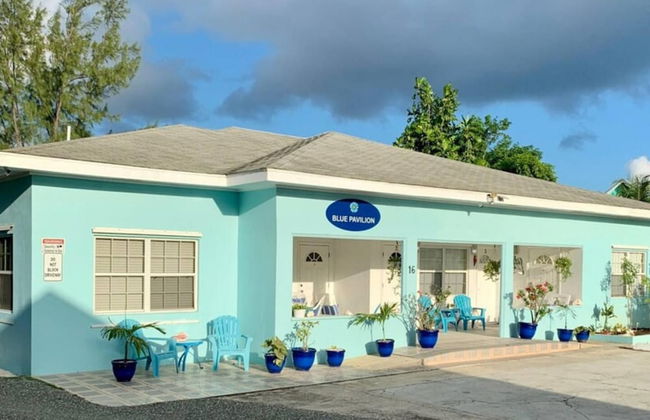
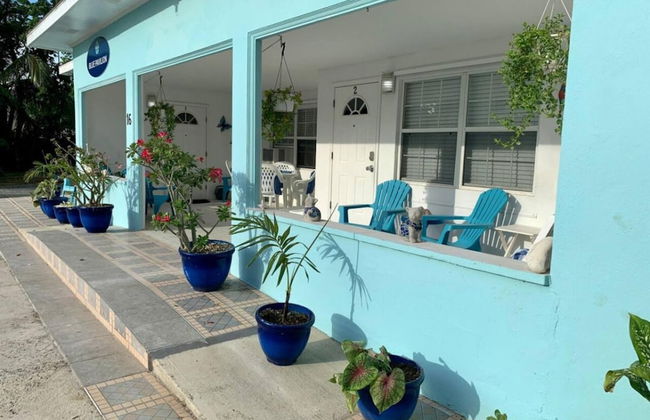
S2 BP Steps to Beach
West Bay - Hell
- 75 M2
- 6 Personen
- Klimaanlage
- Heizung
- Parkplatz
- Balkon
- Garten
- Tv
- Waschmaschine
- Handtücher
- Bettlaken


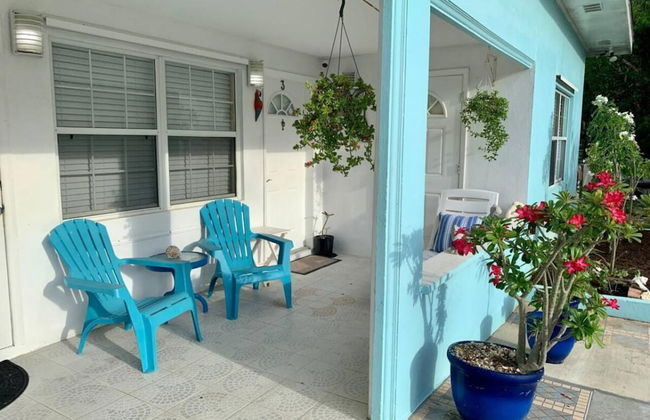
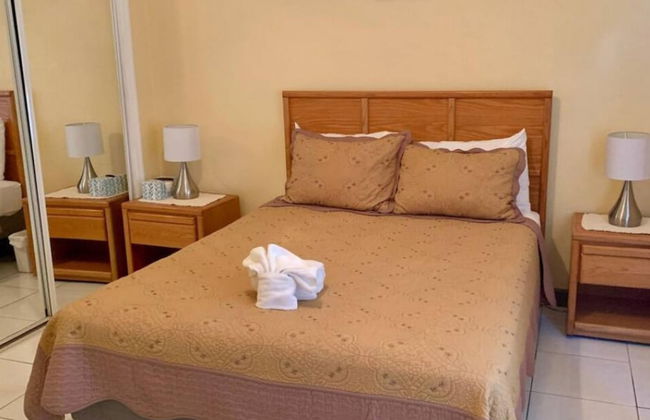
S4 BP Steps to Beach
West Bay - Hell
- 38 M2
- 3 Personen
- Klimaanlage
- Heizung
- Parkplatz
- Garten
- Tv
- Waschmaschine
- Handtücher
- Bettlaken
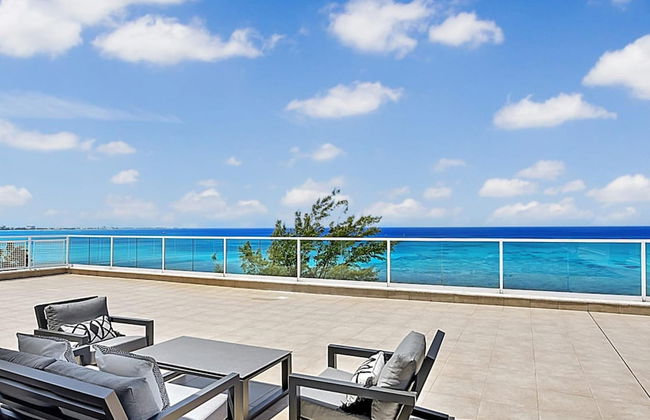
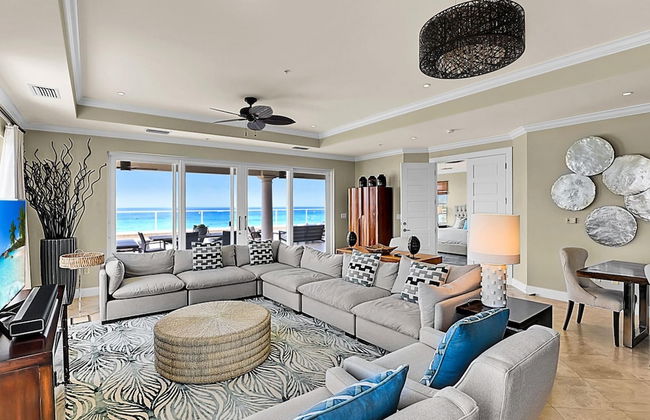
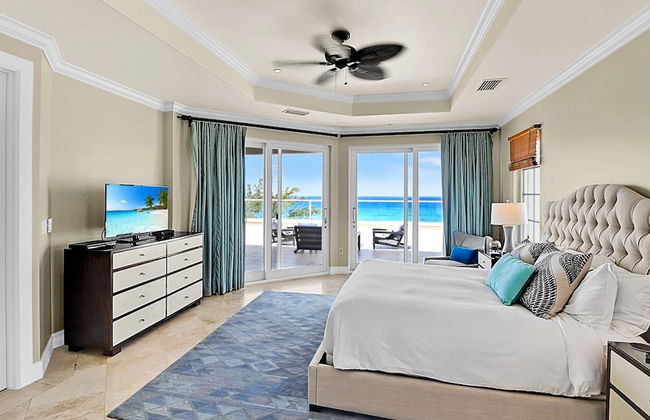

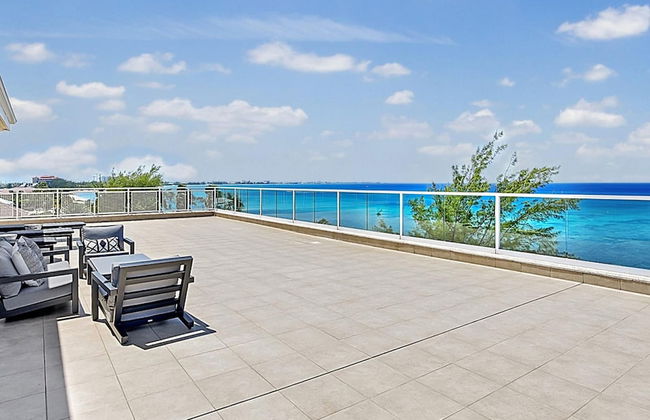
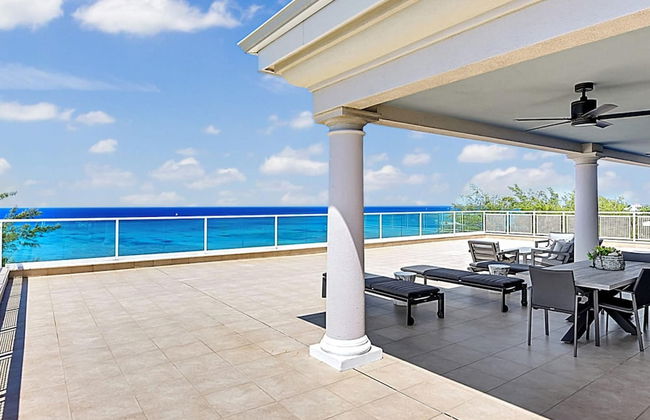
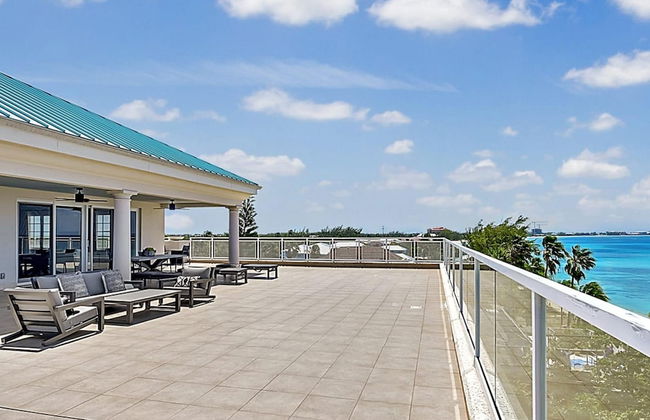
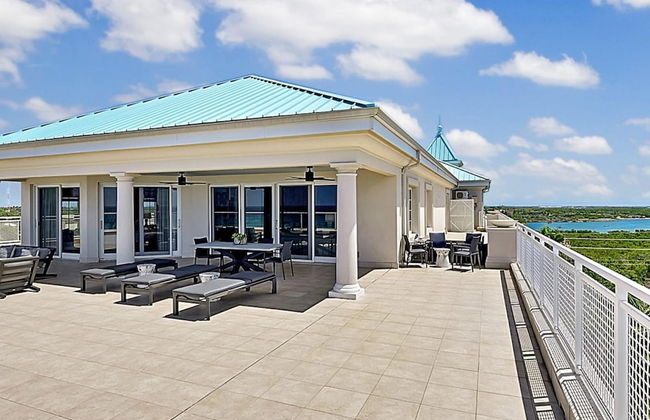
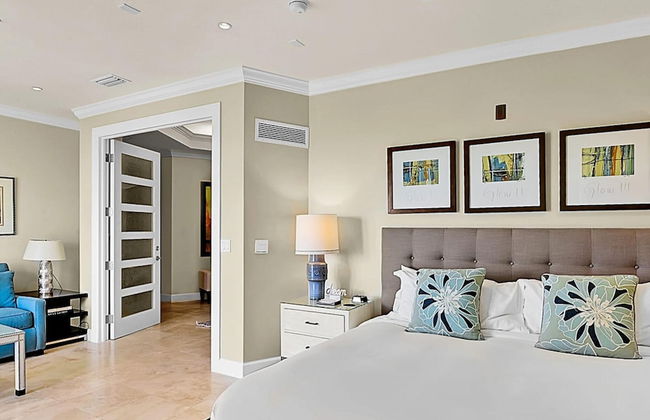
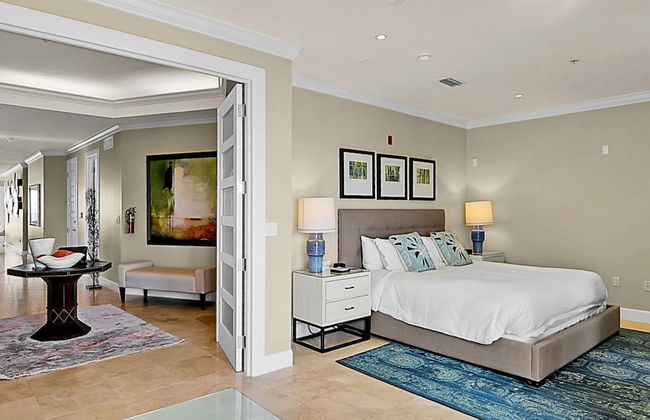
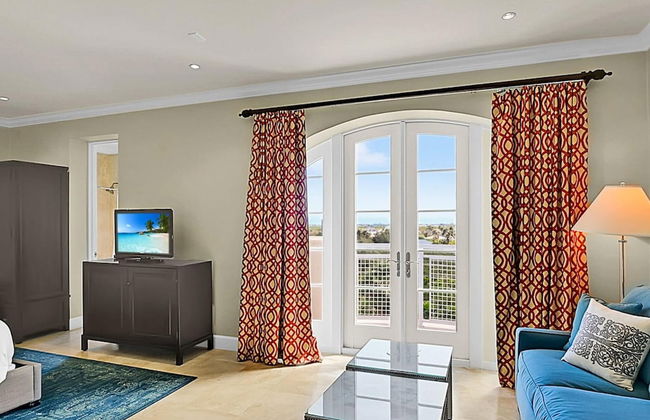

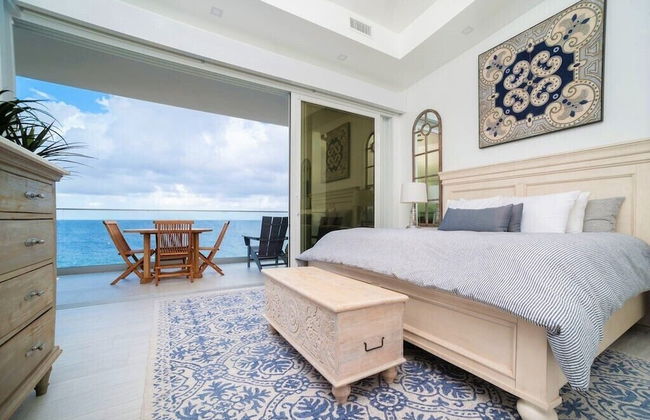
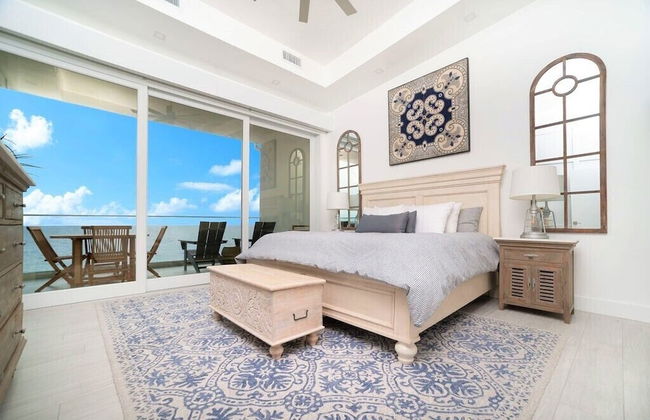
Luxury Penthouse Condo With 360 Oceanviews
West Bay - Batabano
- 10 Personen
- Klimaanlage
- Parkplatz
- Balkon
- Tv
- Waschmaschine
- Barbecue
- Handtücher
- Bettlaken


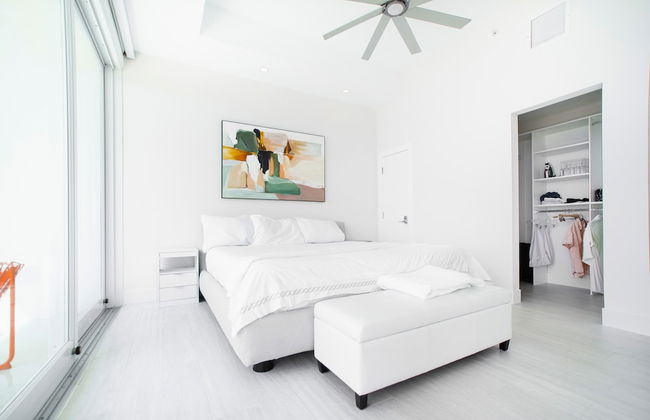
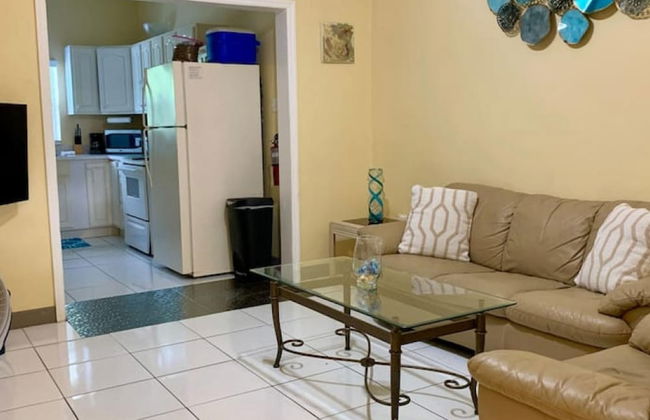
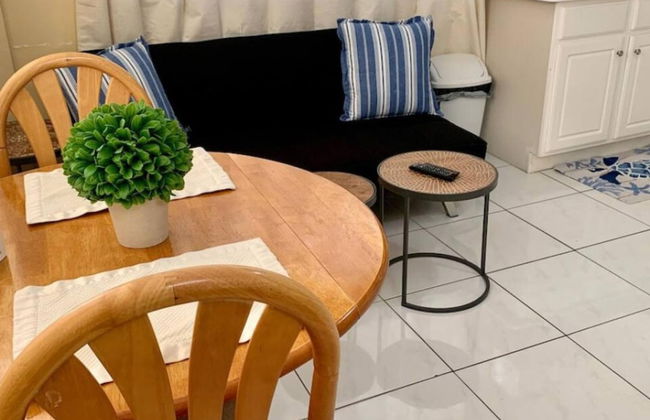
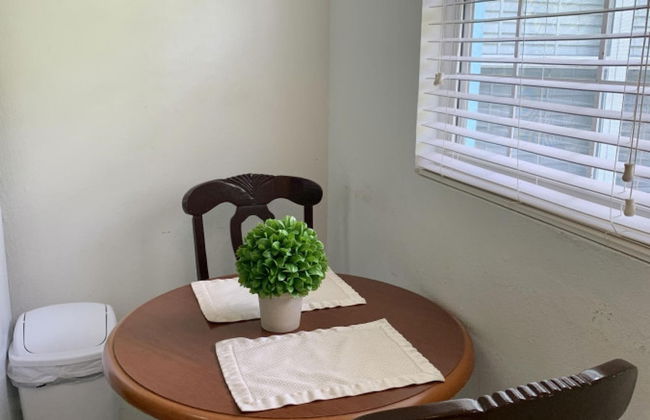
Fabulous one Bedroom in West Bay
West Bay - Hell
- 4 Personen
- Klimaanlage
- Parkplatz
- Tv
- Waschmaschine
- Handtücher
- Bettlaken


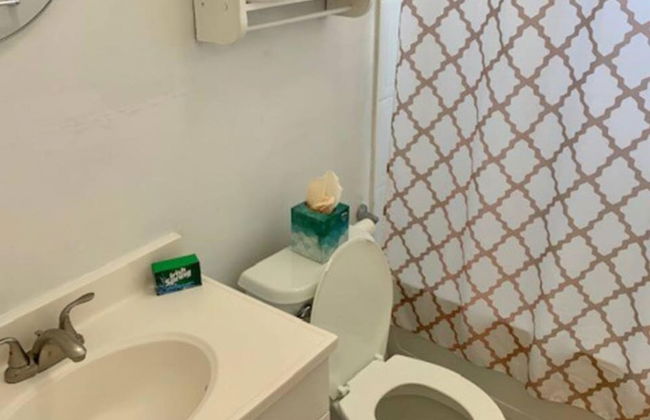


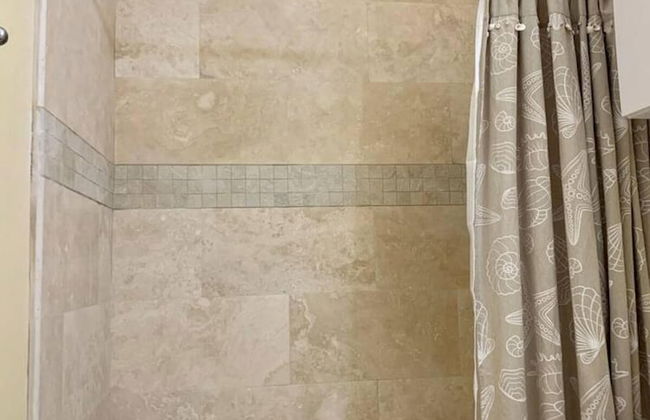
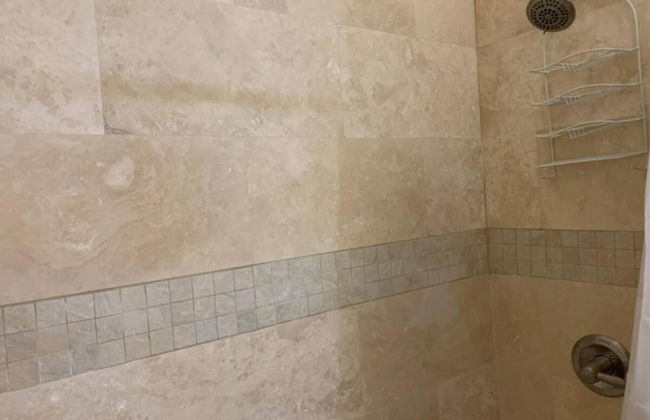
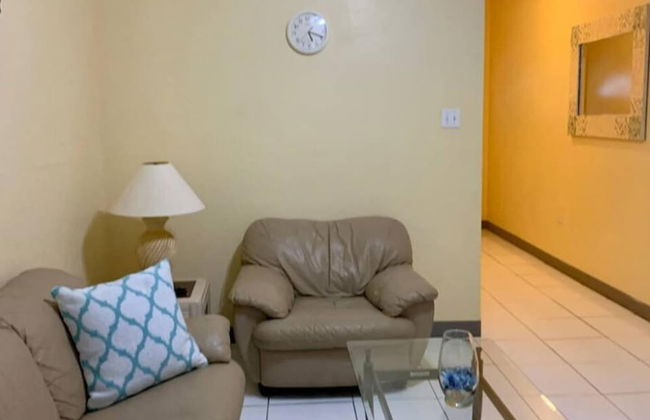
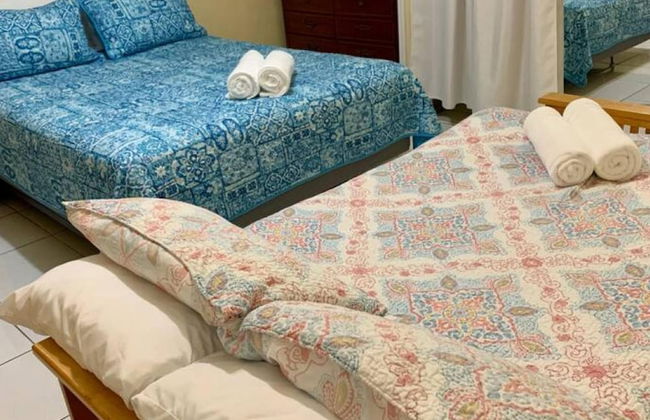
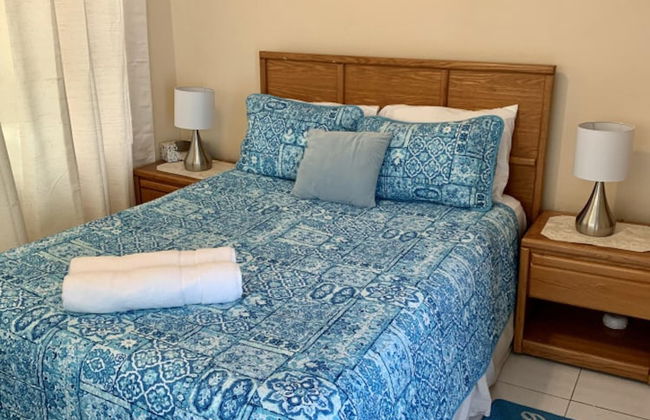
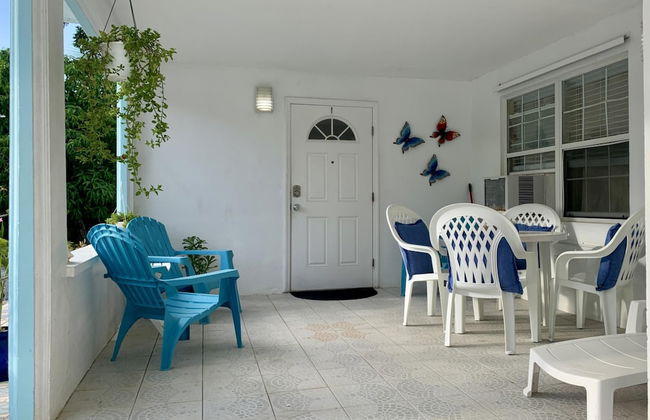
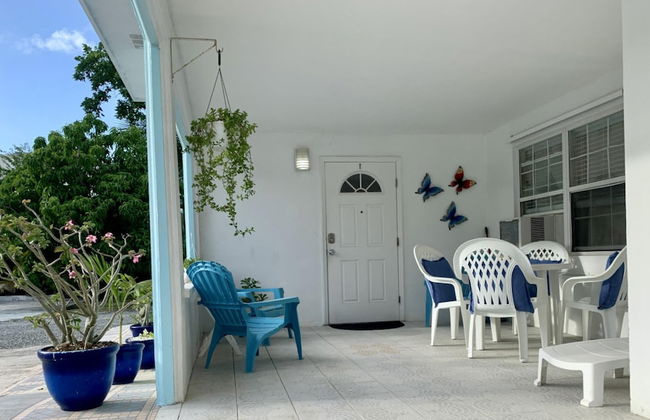
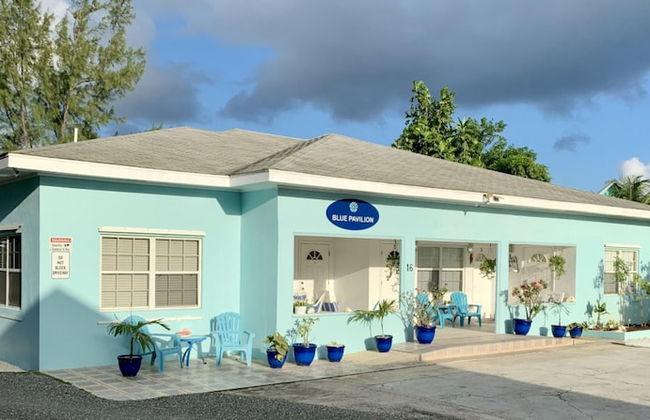
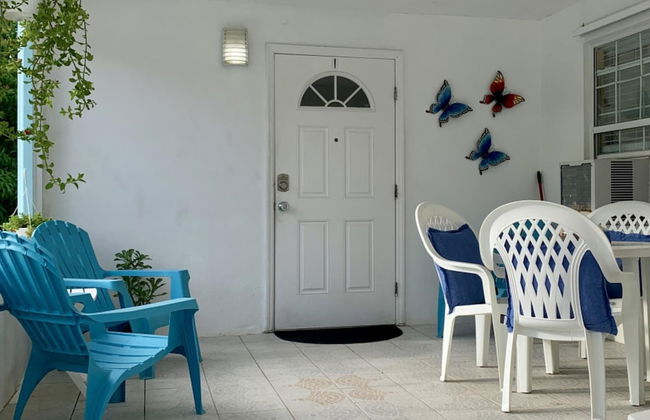
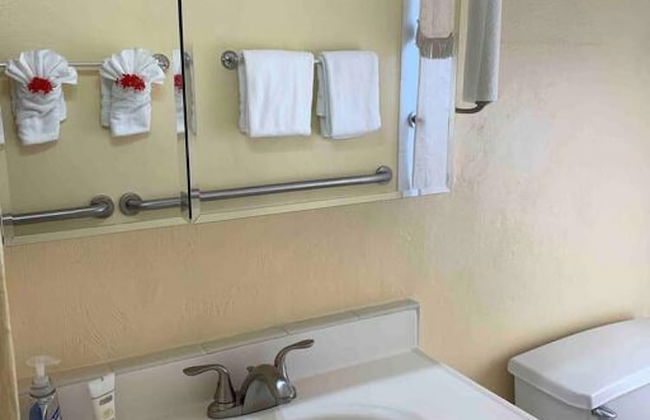
S1 BP Steps to Beach
West Bay - Hell
- 60 M2
- 4 Personen
- Klimaanlage
- Parkplatz
- Balkon
- Garten
- Tv
- Waschmaschine
- Handtücher
- Bettlaken


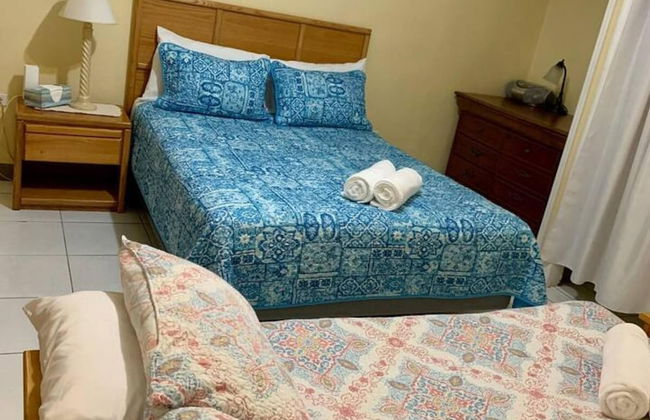
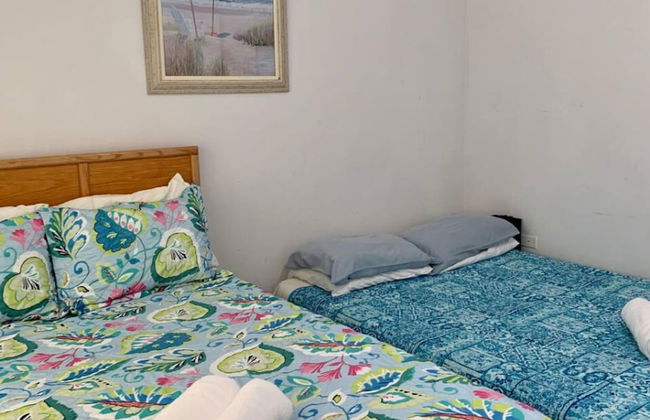
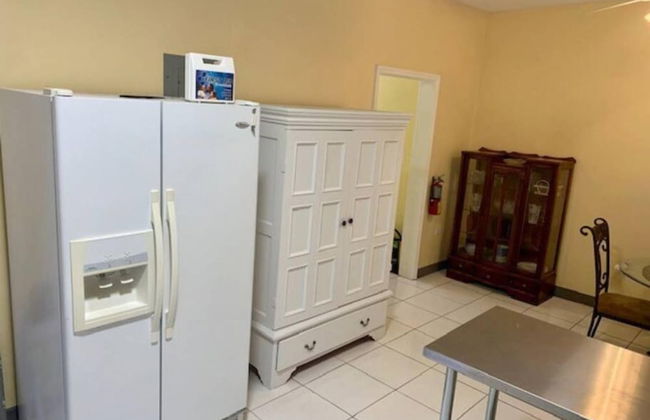
3 Suites Free Breakfast Steps to Beach
West Bay - Hell
- 279 M2
- 10 Personen
- Klimaanlage
- Parkplatz
- Garten
- Tv
- Waschmaschine
- Handtücher
- Bettlaken


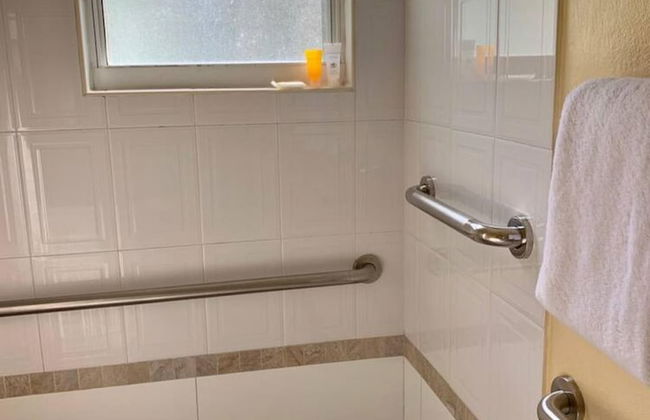


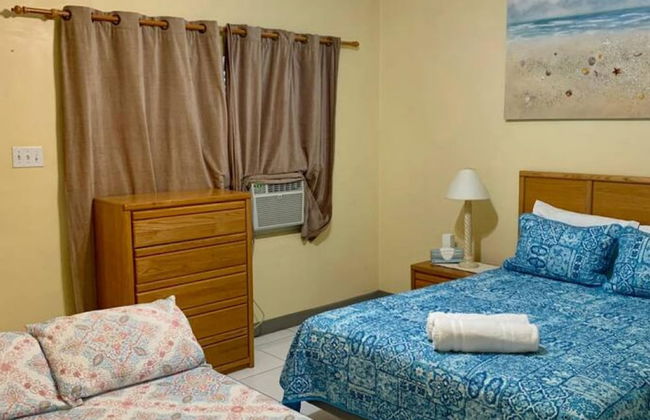
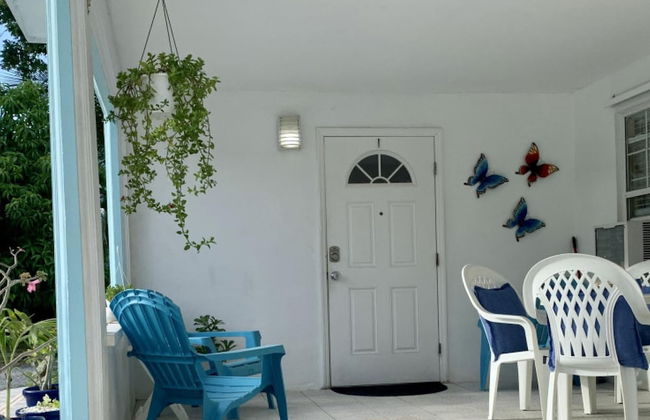
S3 BP Steps to Beach
West Bay - Hell
- 89 M2
- 6 Personen
- Klimaanlage
- Parkplatz
- Garten
- Tv
- Waschmaschine
- Handtücher
- Bettlaken