

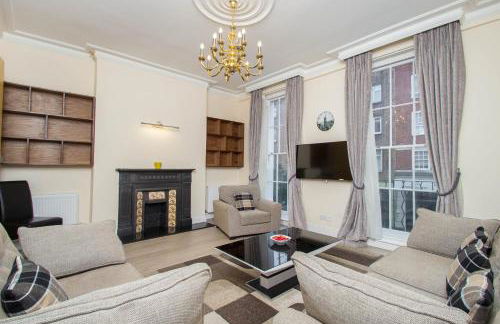


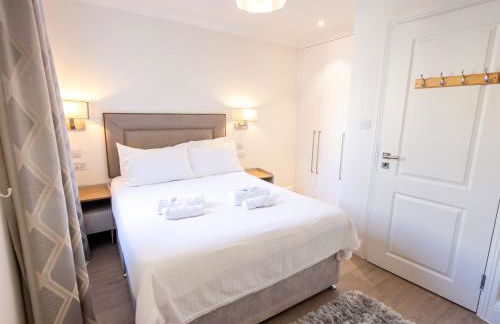


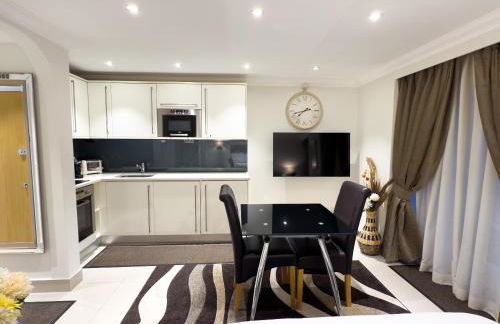


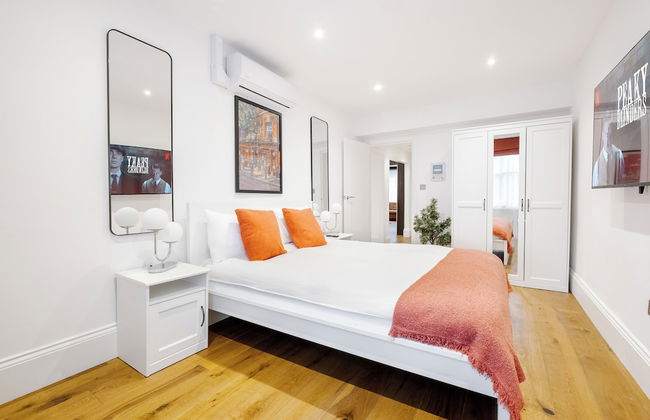
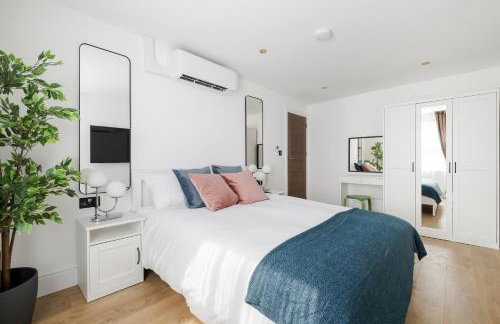
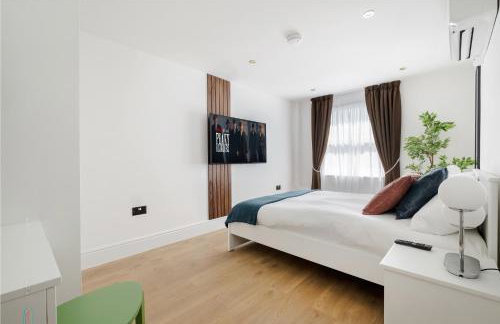
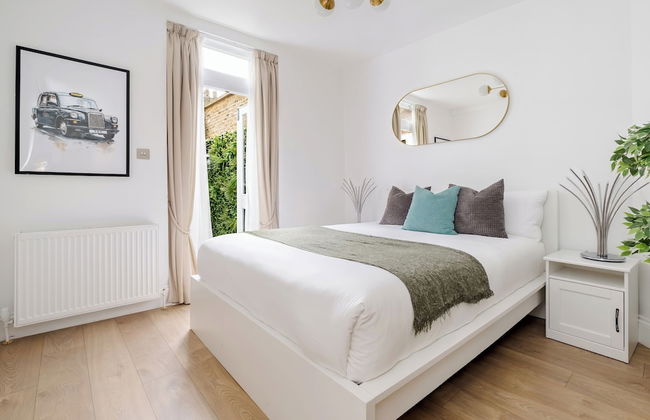
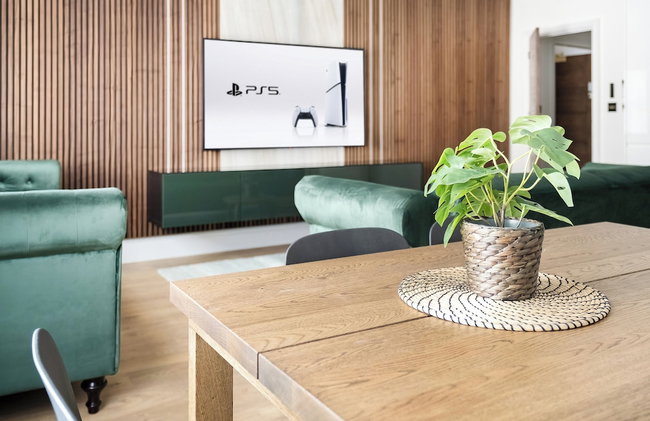
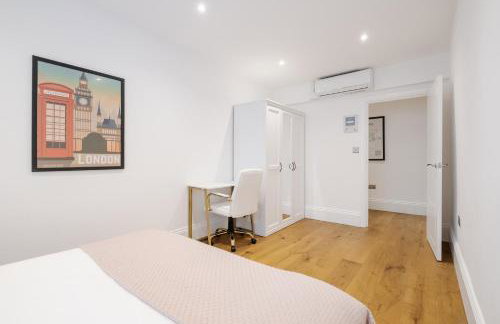
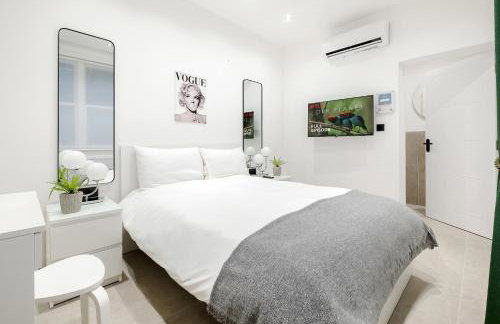
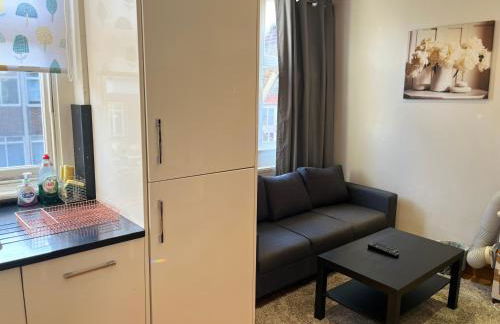
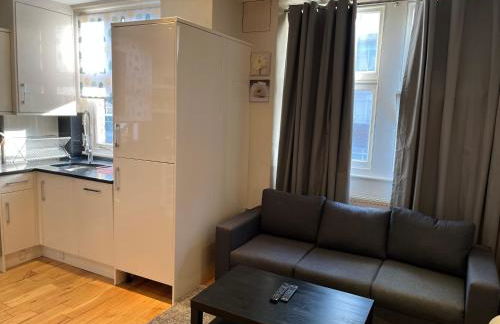
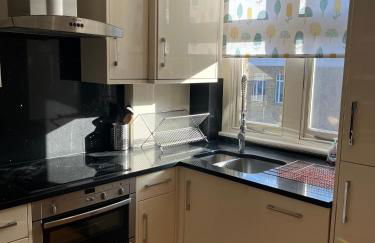
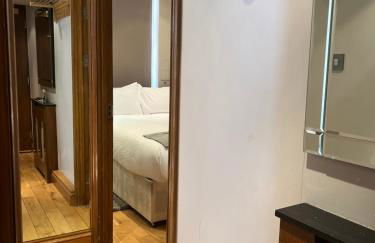
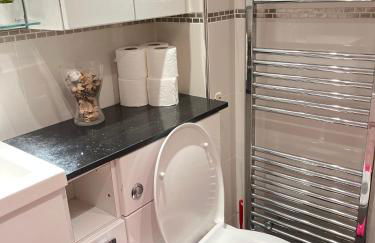
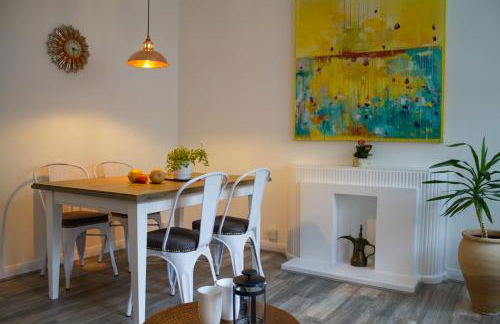
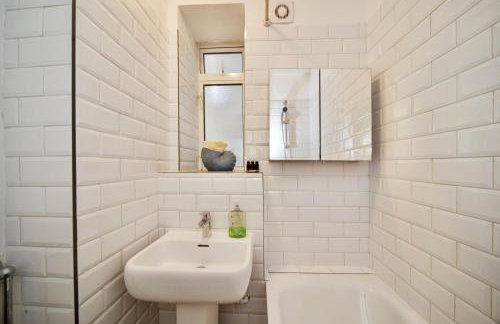
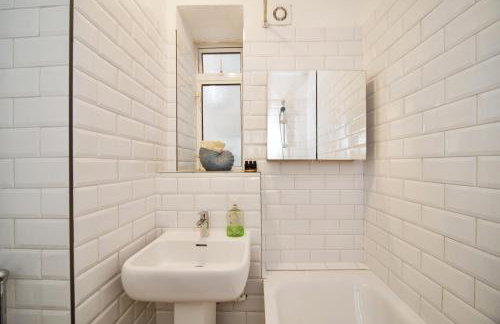
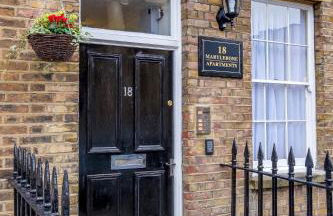
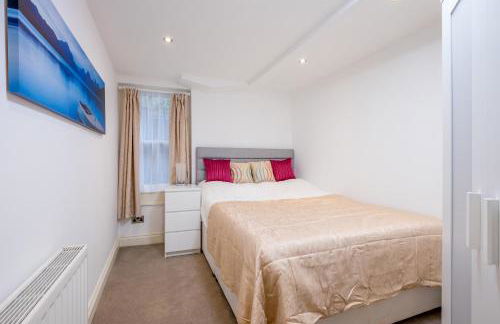
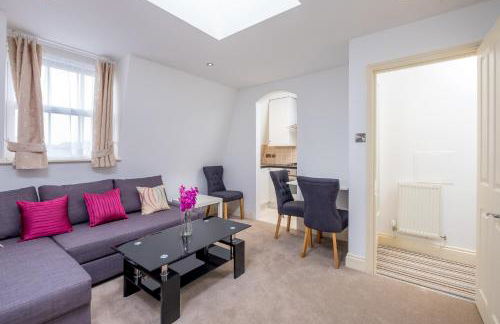
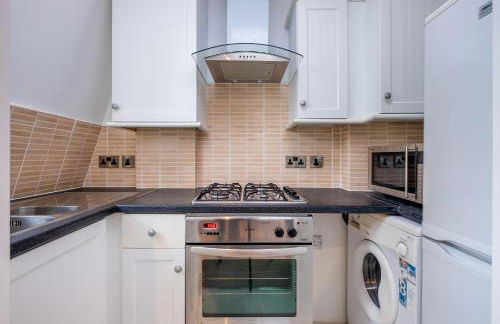
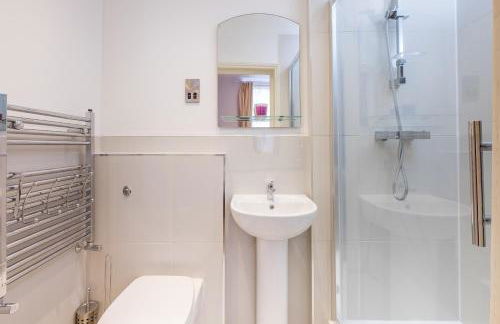
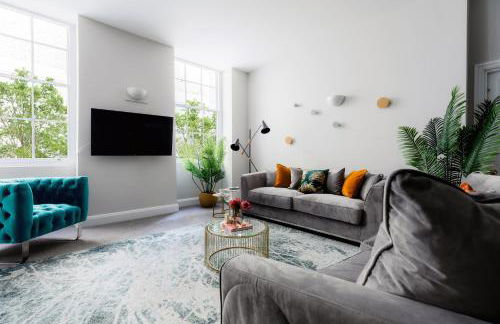
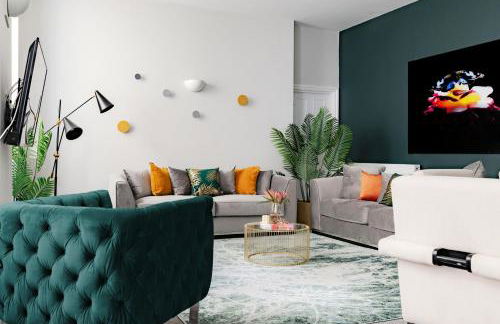
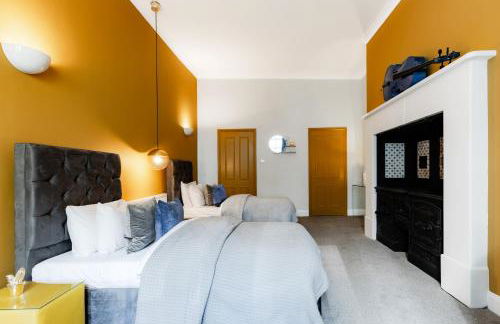
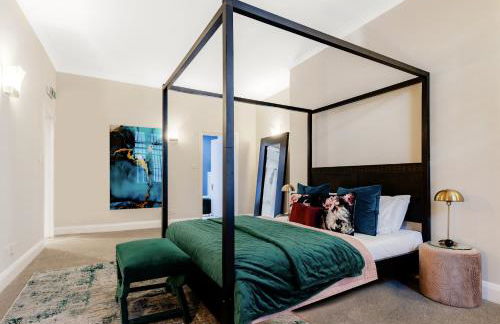
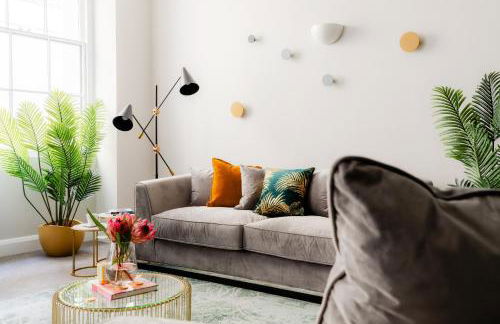
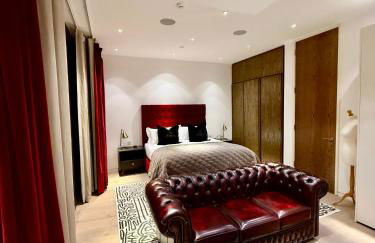
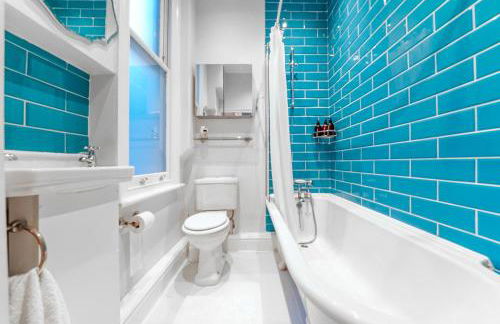
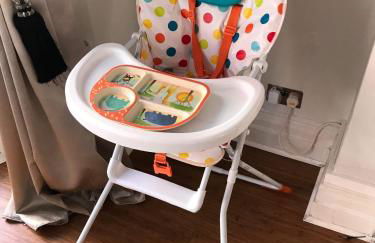
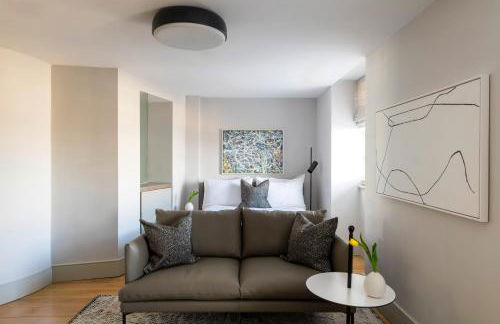
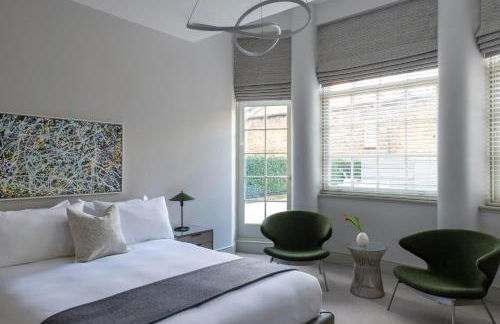
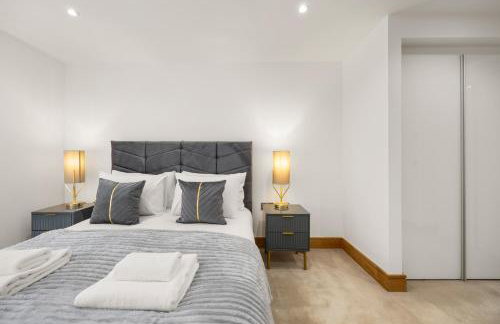
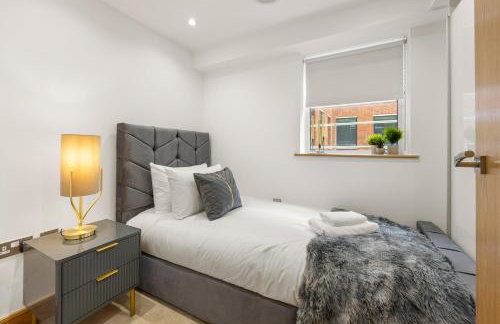
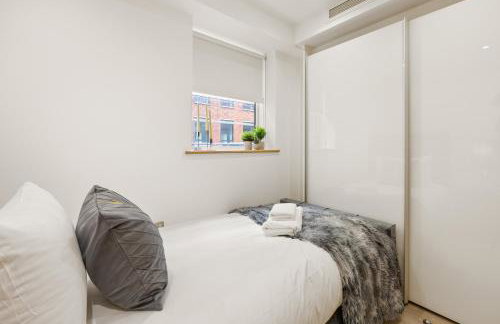
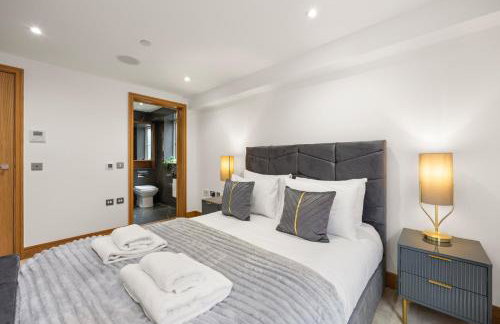
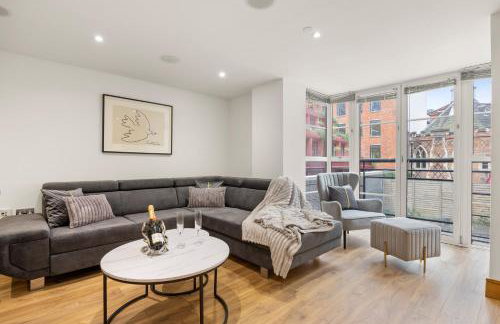
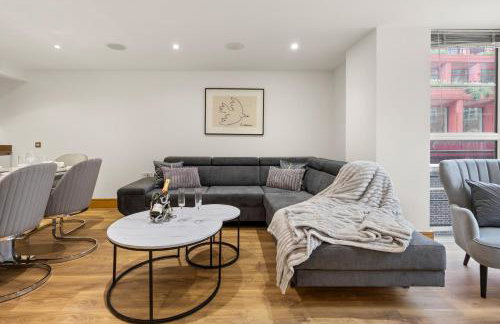
Marylebone Village Apartments
London - Marylebone - 2.3 km vom Zentrum
- 35 M2
- 1 Schlafzimmer
- 4 Personen
- Heizung
- Parkplatz
- Tv
- Waschmaschine
- Handtücher
- Bettlaken


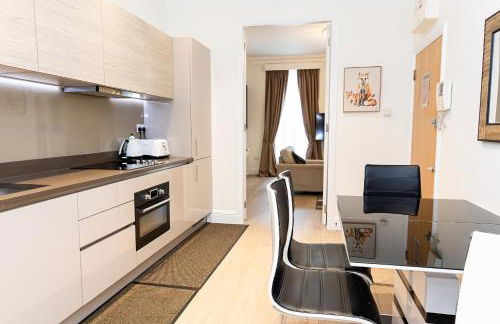
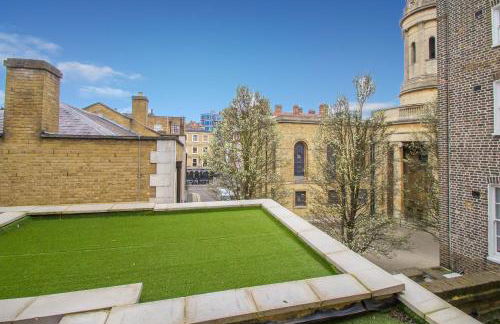
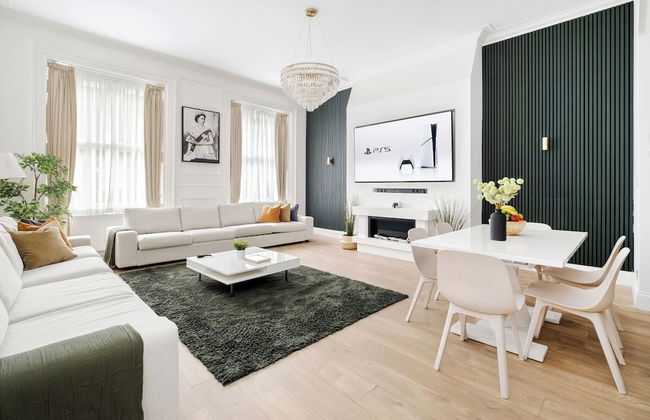
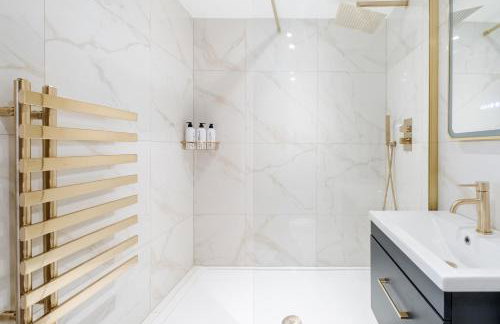
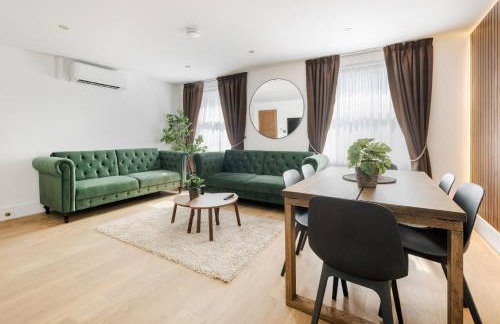
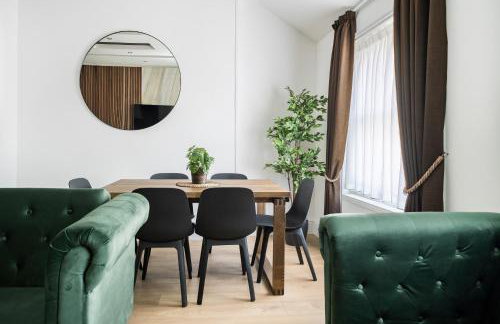
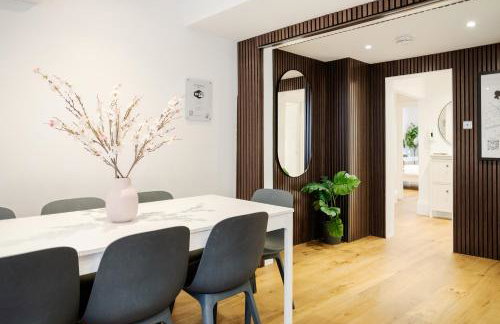
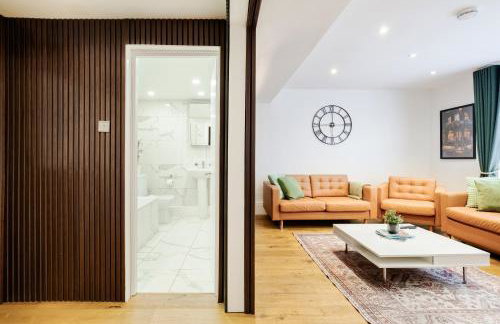
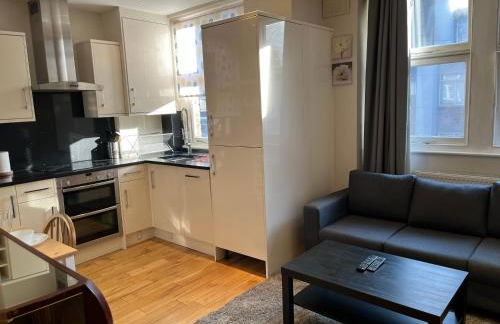
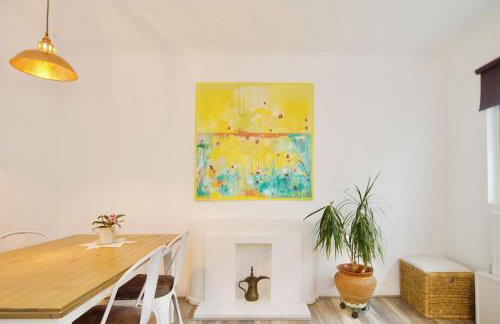
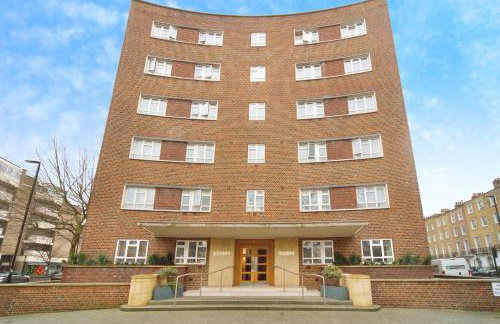
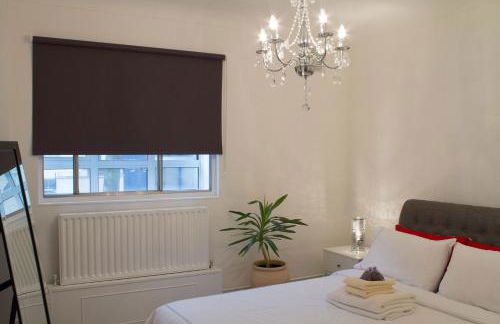
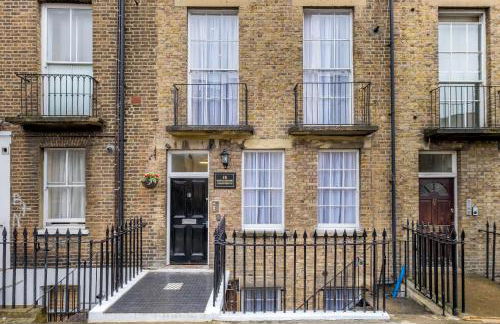
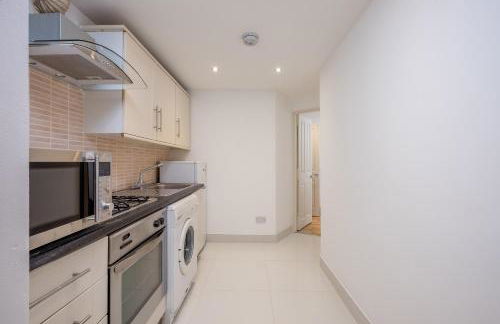
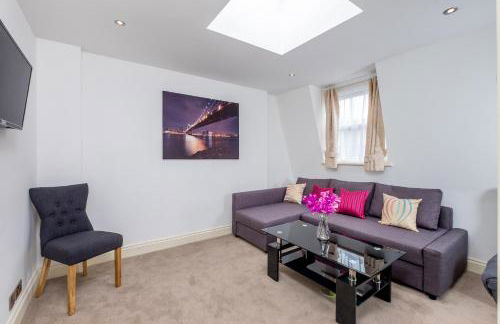
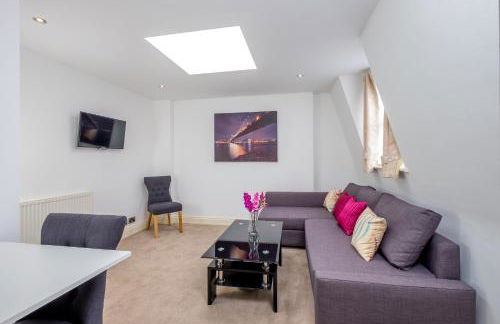
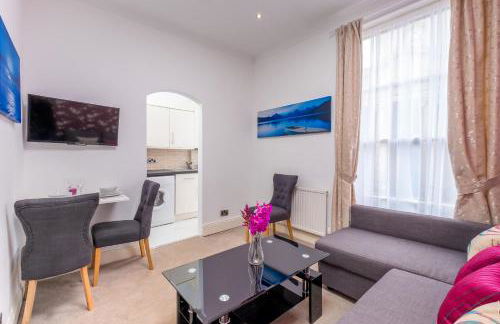
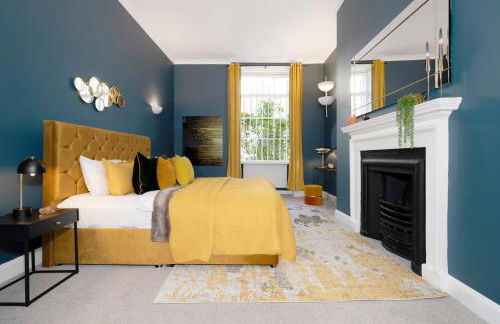
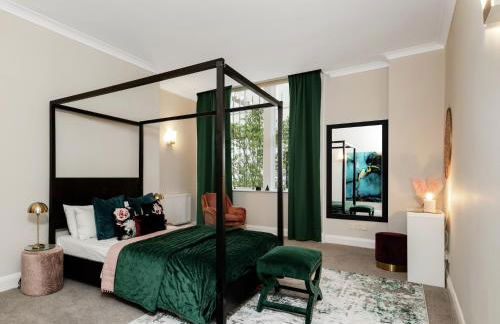
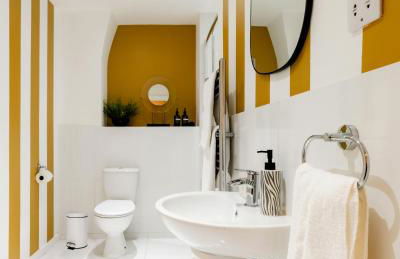
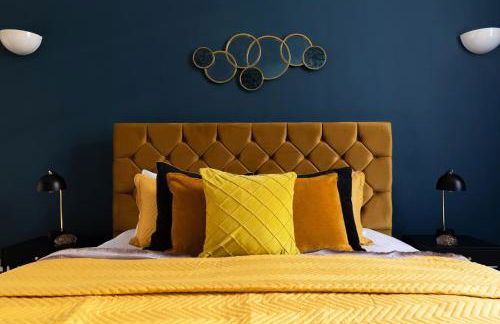
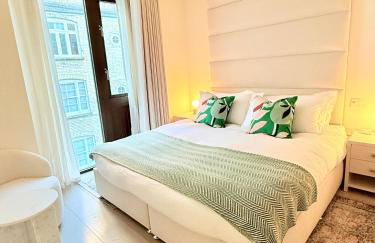
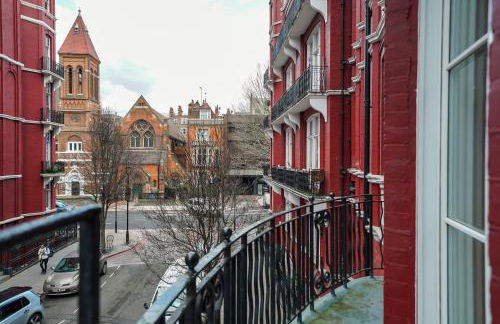
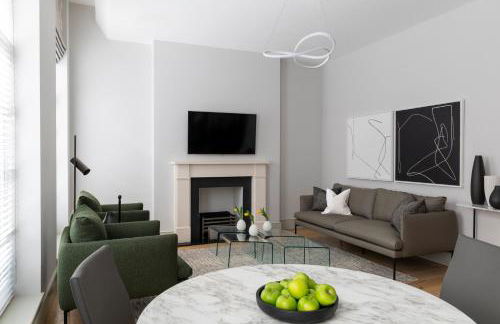
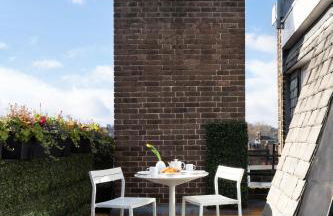
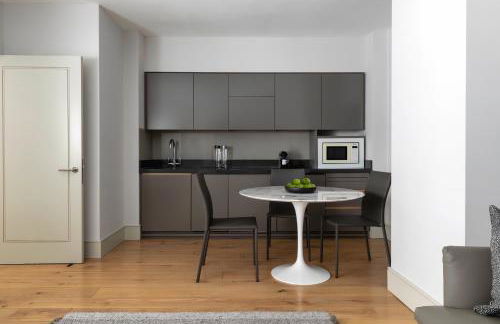
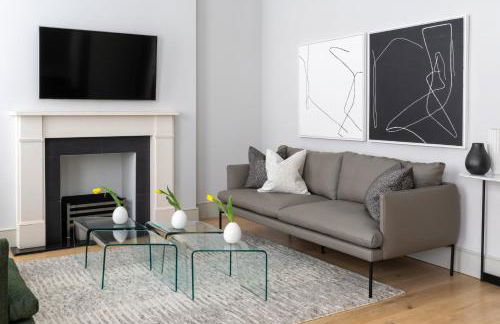
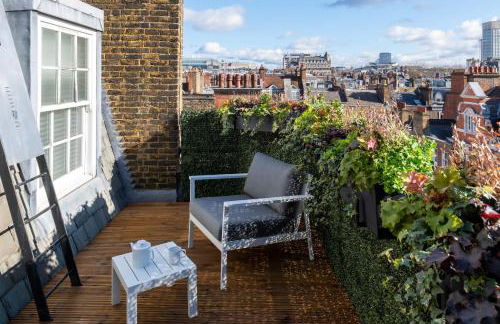
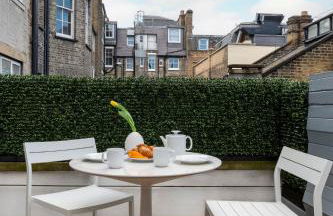
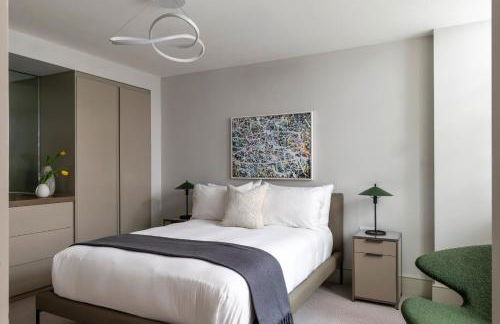
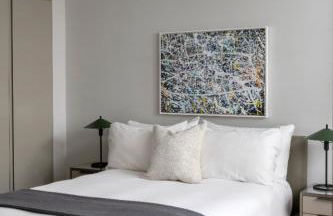
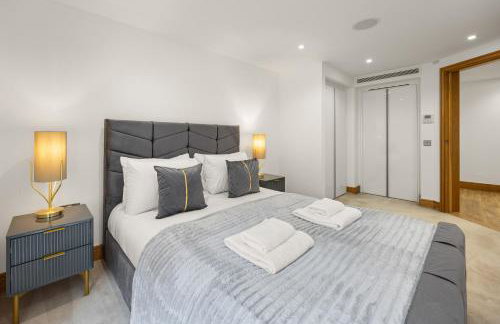
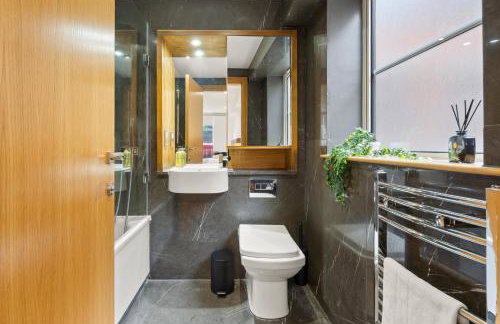
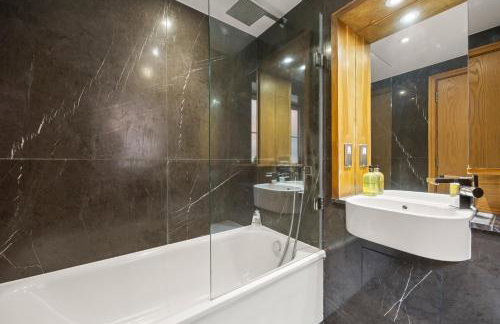
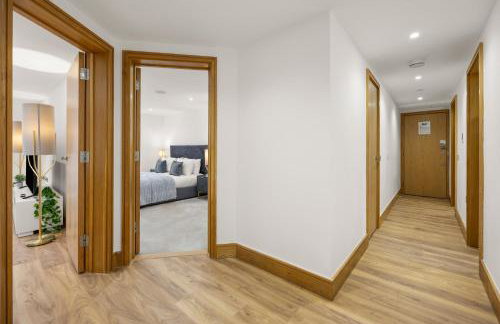
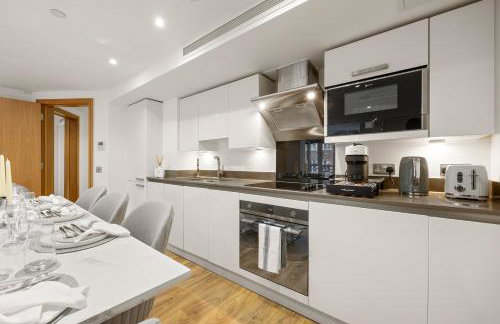
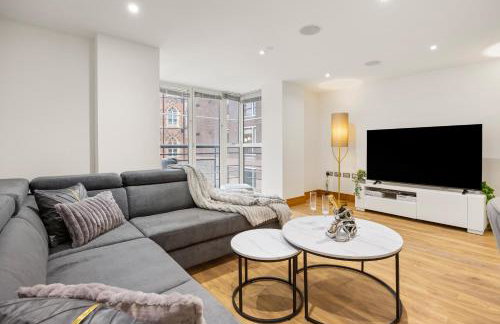
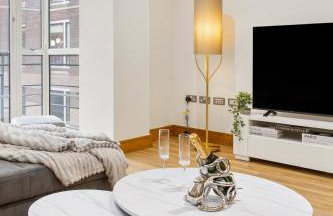
Marylebone Executive Apartments
London - Marylebone - 2.3 km vom Zentrum
- 50 M2
- 1 Schlafzimmer
- 4 Personen
- Heizung
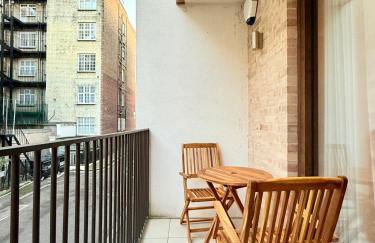
- Terrasse
- Parkplatz
- Tv
- Waschmaschine
- Handtücher
- Bettlaken


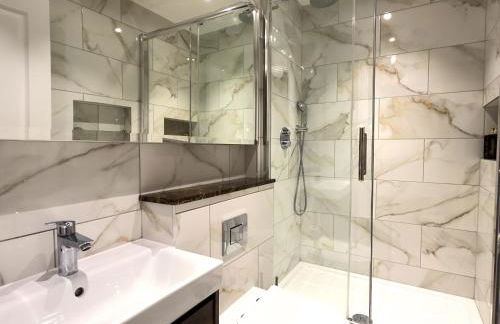
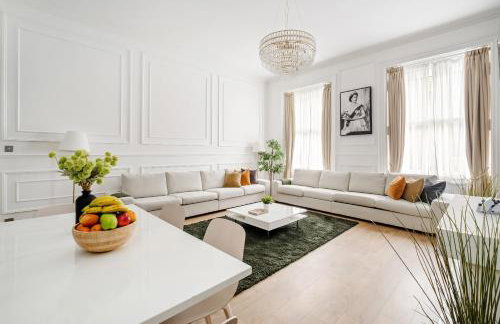
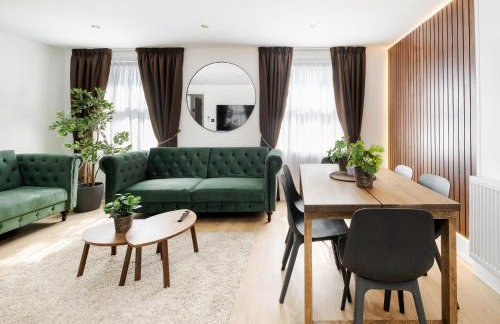
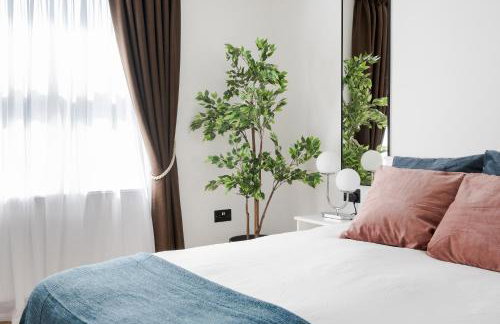
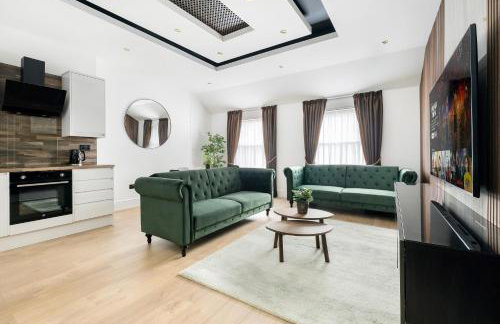
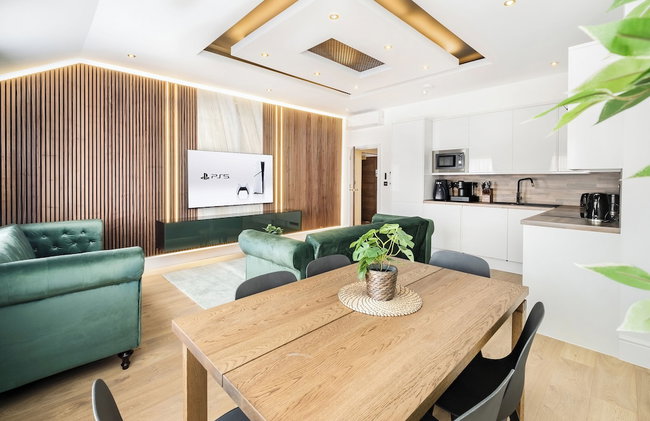
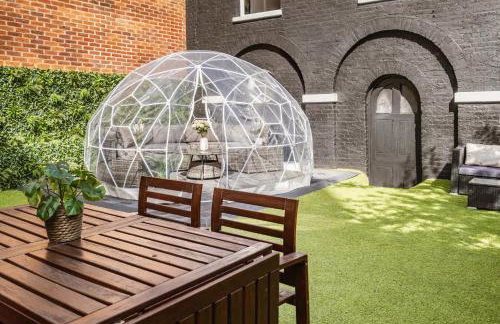
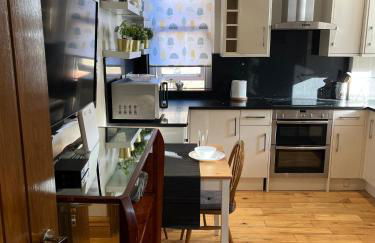
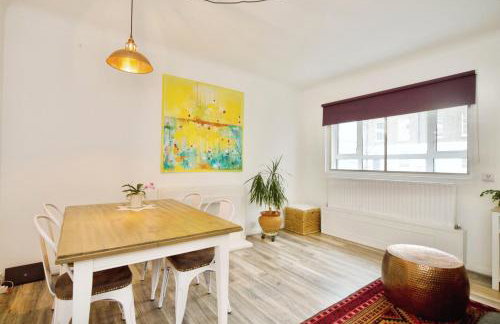
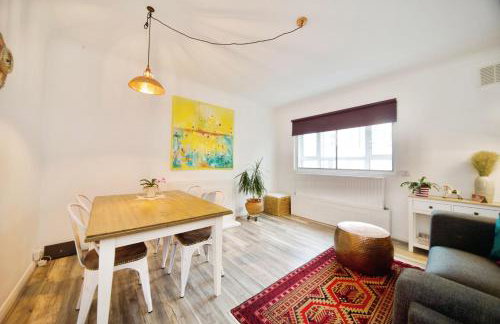
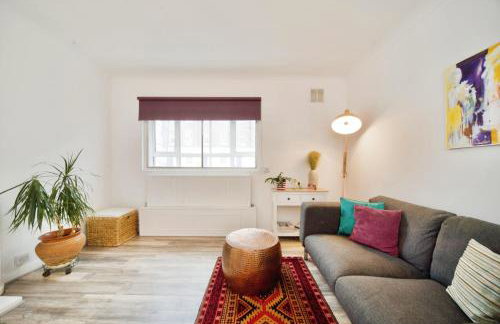
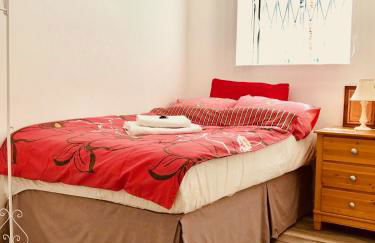
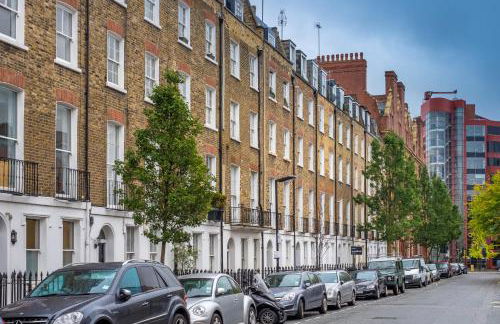
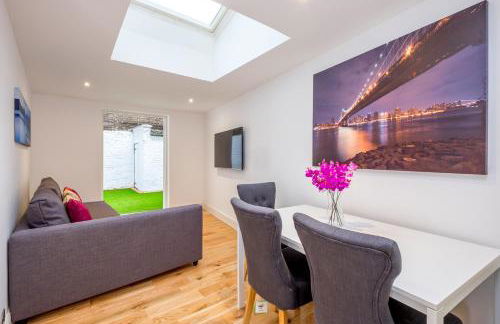
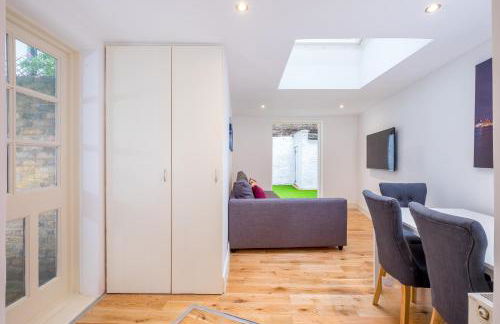
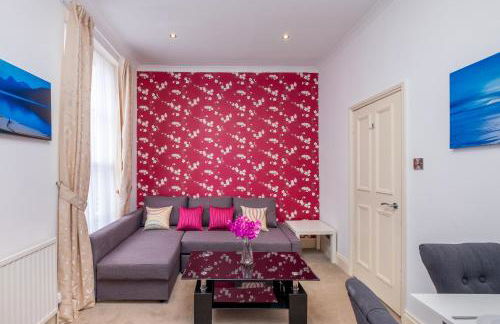
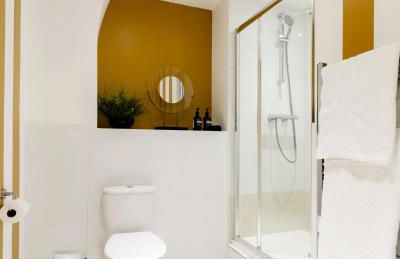
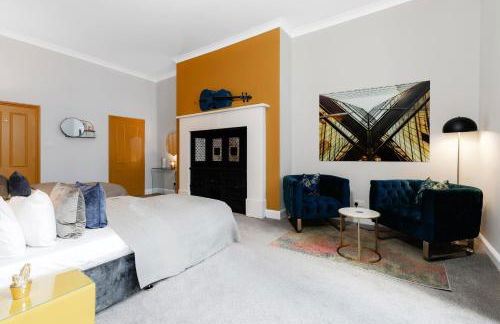
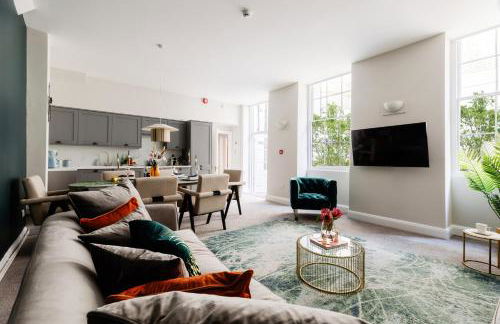
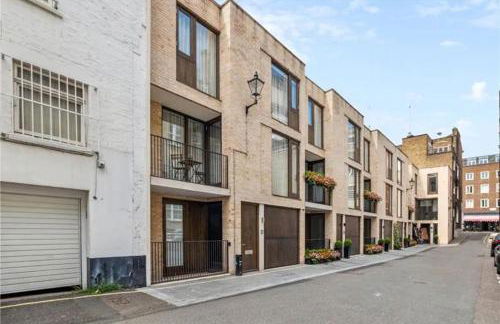
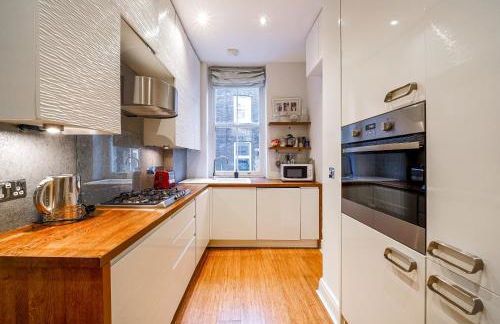
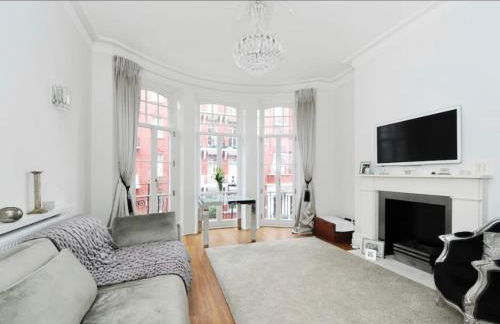
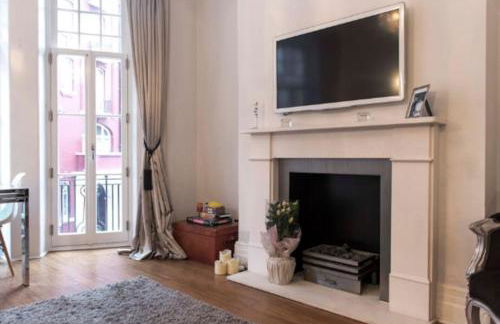
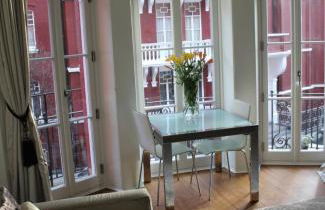
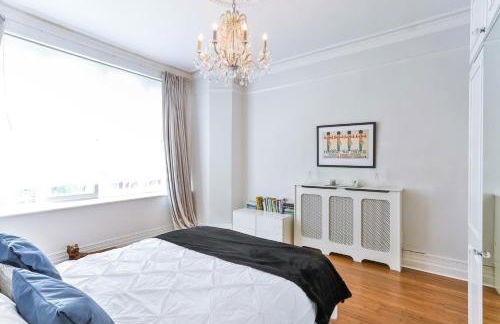
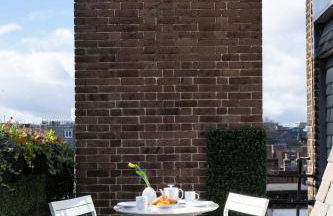
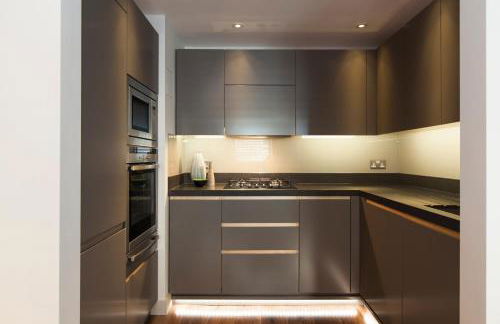
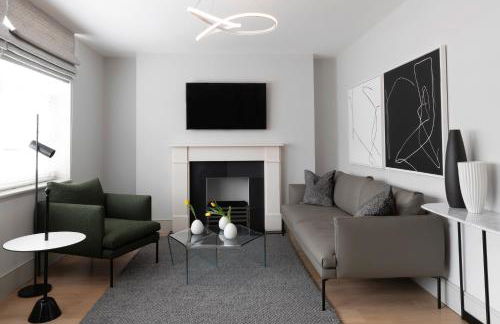
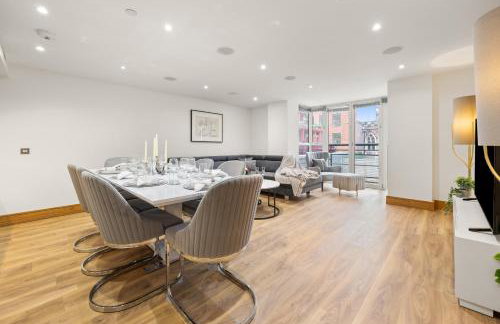
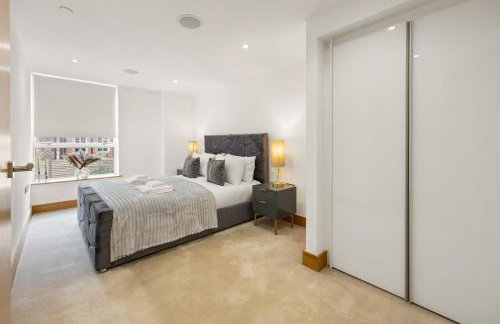
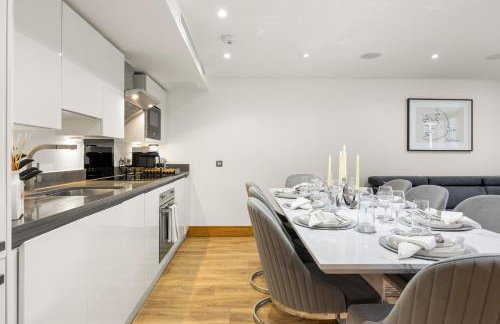
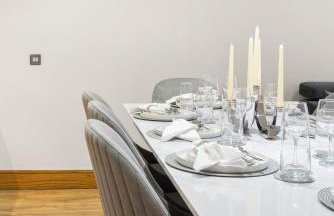
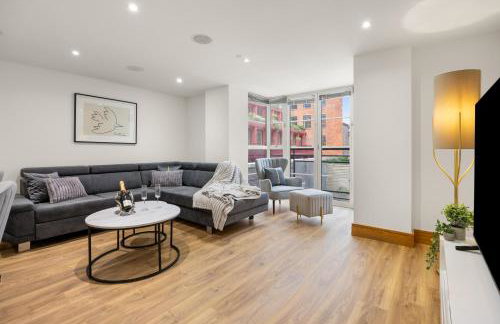
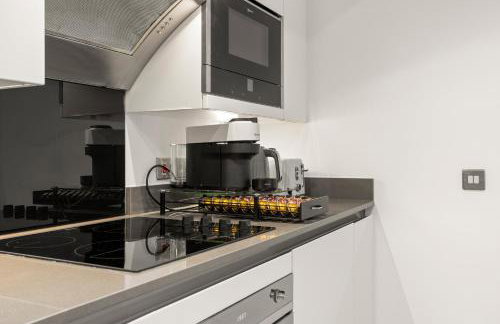
Central London flat. Georgian Terrace. Bright.
London - Marylebone - 2.5 km vom Zentrum
- 78 M2
- 3 Schlafzimmer
- 6 Personen
- Heizung
- Terrasse
- Garten


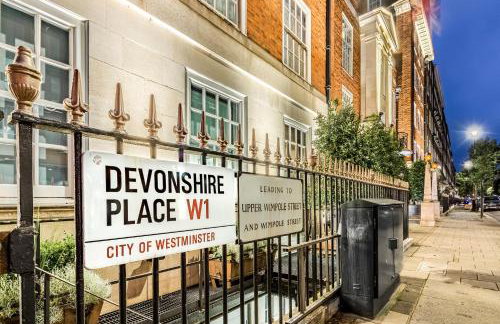


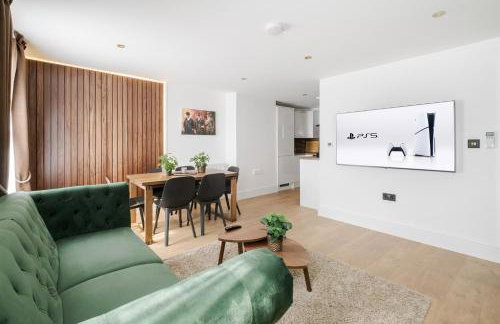


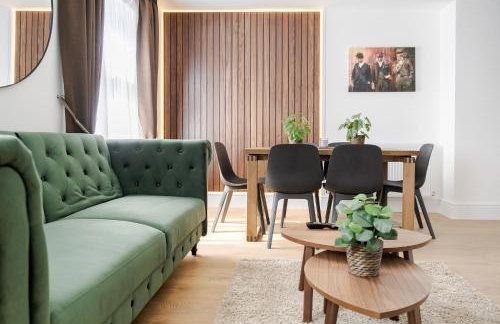


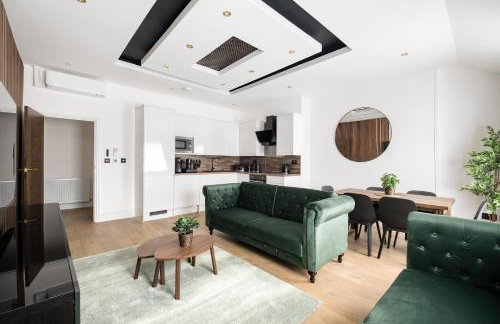


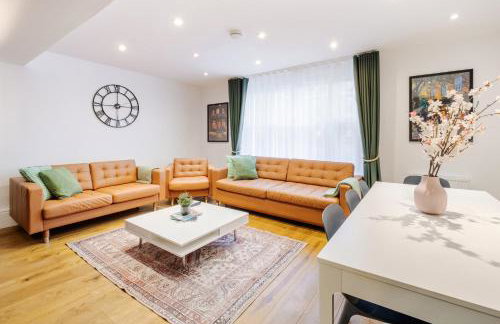


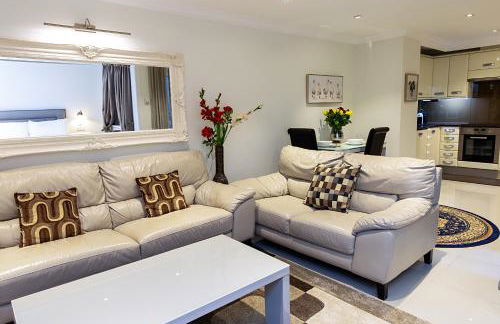
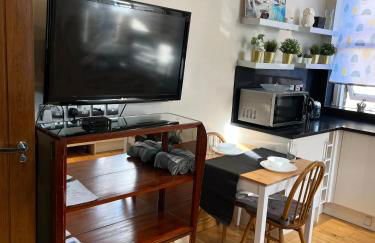
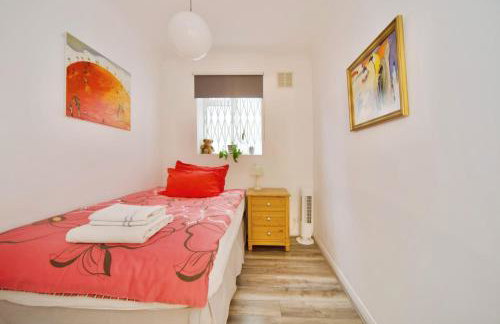
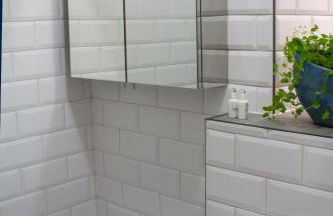
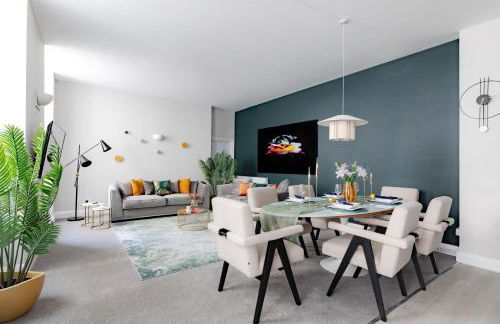
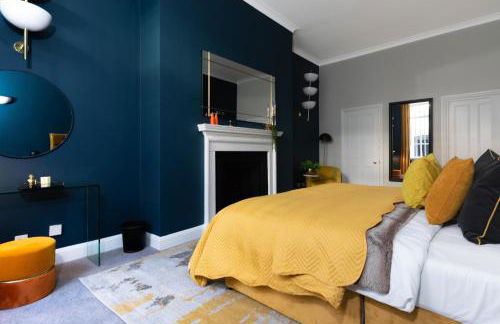
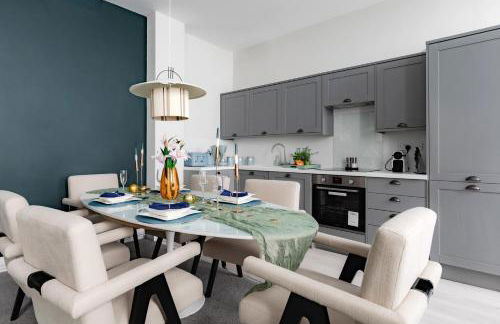
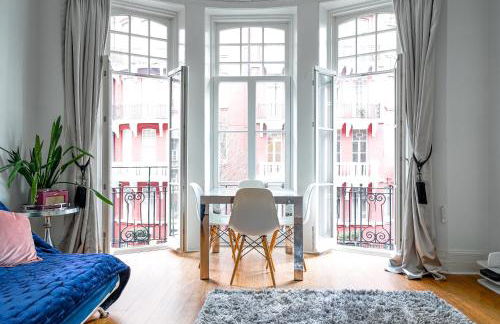
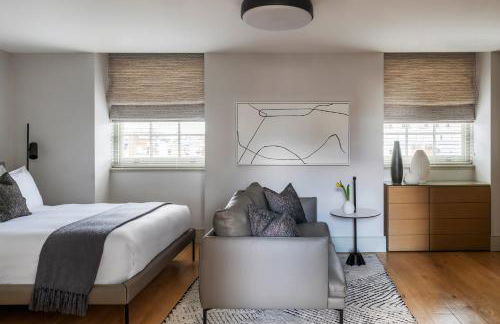
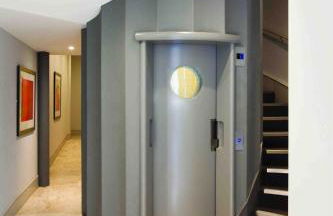
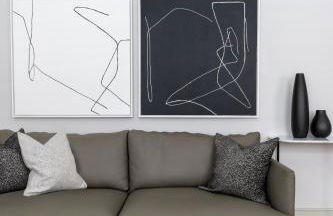
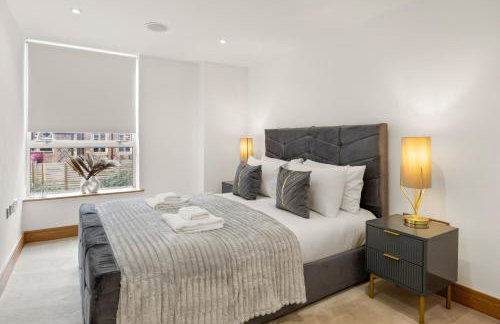
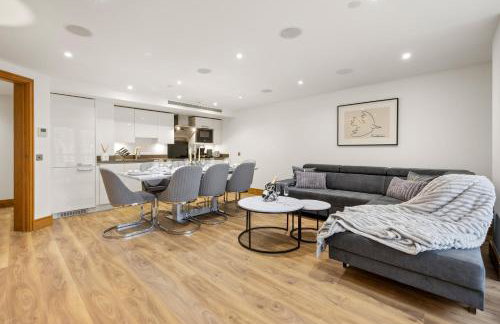
LONDONERS - Marylebone Serviced Apartments
London - Marylebone - 360 m von Madame Tussauds
- 177 M2
- 2 Schlafzimmer
- 8 Personen
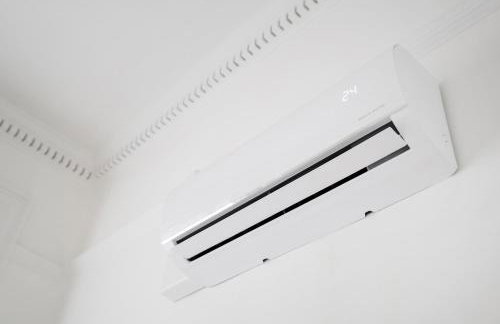
- Klimaanlage
- Heizung
- Balkon
- Garten
- Tv
- Waschmaschine
- Schornstein
- Handtücher
- Bettlaken


Stunning apartment in the heart of Central London
London - Marylebone - 390 m von Madame Tussauds
- 27 M2
- 1 Schlafzimmer
- 2 Personen
- Heizung
- Parkplatz
- Fahrstuhl


Super Central London - sleeps 4
London - Marylebone - 2.7 km vom Zentrum
- 4 Personen
- Heizung
- Tv
- Handtücher
- Bettlaken


Baker Street Style
London - Marylebone - 470 m von Madame Tussauds
- 61 M2
- 2 Schlafzimmer
- 3 Personen
- Heizung
- Fahrstuhl

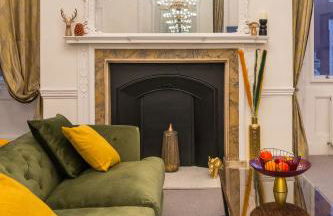
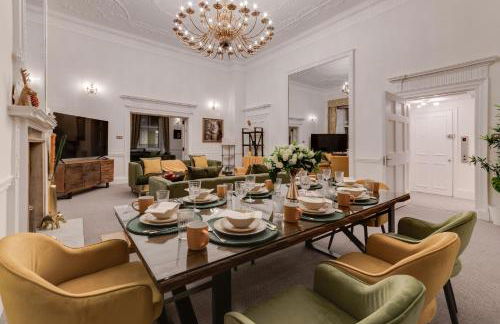
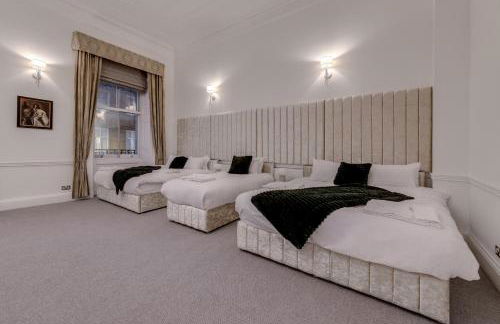
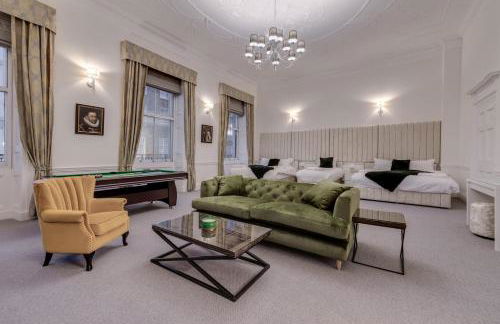
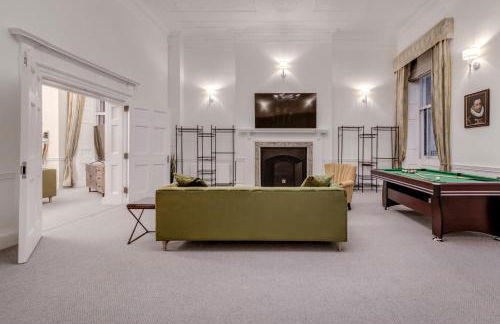

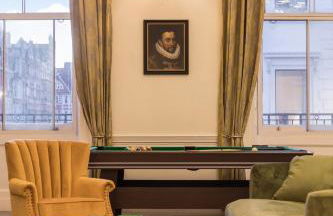
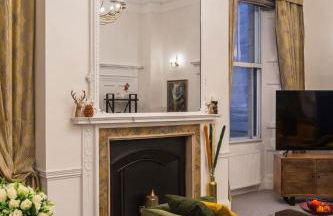
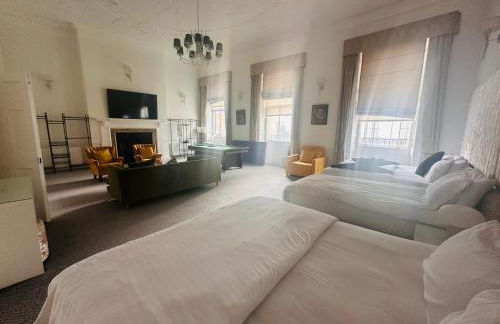
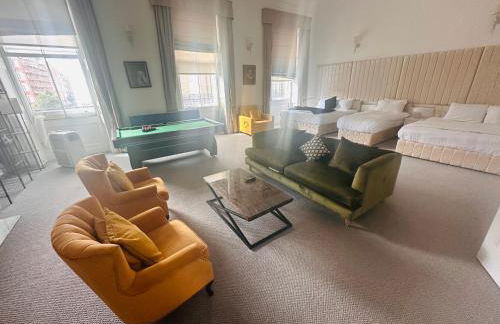


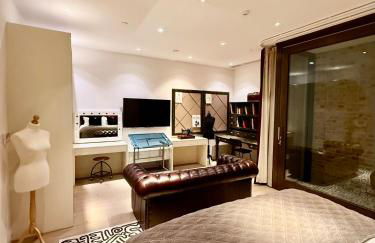
Luxury London 3 Bedroom Duplex with Pool Table - 4HS
London - Marylebone - 1.5 km vom Zentrum
- 197 M2
- 3 Schlafzimmer
- 12 Personen
- Klimaanlage
- Heizung
- Parkplatz
- Fahrstuhl
- Garten


The City London Apartments
London - Marylebone - 2.5 km vom Zentrum
- 30 M2
- 6 Personen
- Heizung
- Balkon
- Tv
- Waschmaschine
- Handtücher
- Bettlaken


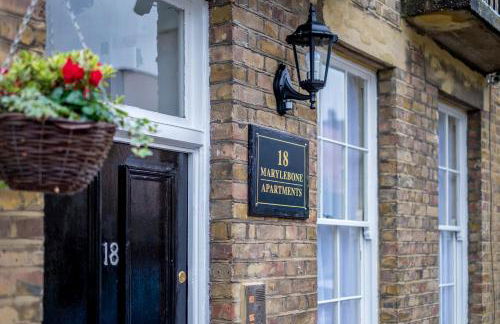

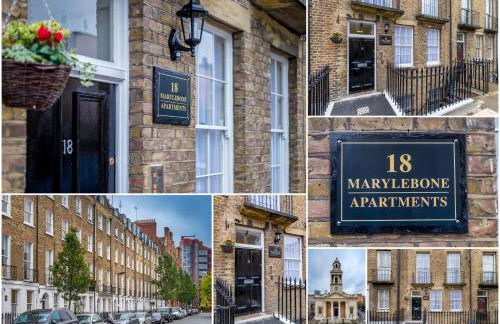


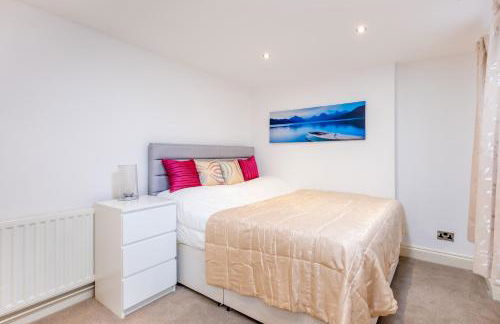


Marylebone Apartments
London - Marylebone - 2.7 km vom Zentrum
- 17 M2
- 2 Schlafzimmer
- 6 Personen
- Heizung
- Tv
- Handtücher


DESIGNER Apartment with Huge TERRACE
London - Marylebone - 2.2 km vom Zentrum
- 80 M2
- 2 Schlafzimmer
- 5 Personen
- Heizung
- Terrasse
- Garten


Luxury Apt 3Bedroom 2Bath-London Marylebone Station & Baker St
London - Marylebone - 2.5 km vom Zentrum
- 88 M2
- 3 Schlafzimmer
- 6 Personen
- Klimaanlage


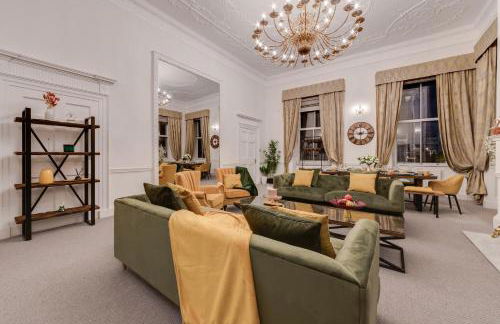
OFF Oxford Circus! Large Unique Artist's Family and Friends HOME
London - Marylebone - 1.4 km vom Zentrum
- 216 M2
- 3 Schlafzimmer
- 7 Personen
- Heizung
- Terrasse
- Garten

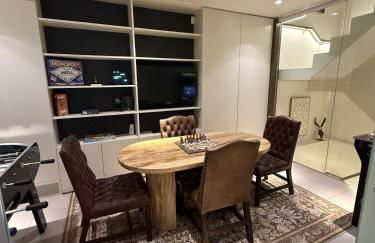


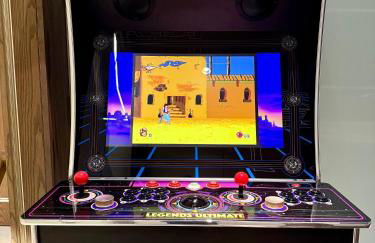


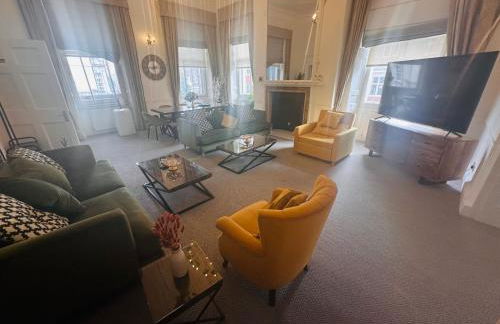
Central London Designer Home w Game Room and AC
London - Marylebone - 430 m von Madame Tussauds
- 216 M2
- 3 Schlafzimmer
- 6 Personen
- Klimaanlage


Elegant Bright Central London Flat - sleeps 5
London - Marylebone - 2.7 km vom Zentrum
- 64 M2
- 2 Schlafzimmer
- 5 Personen
- Heizung
- Terrasse
- Fahrstuhl


Lovely Apartments in Landward Court
London - Marylebone - 2.4 km vom Zentrum
- 80 M2
- 3 Schlafzimmer
- 8 Personen
- Klimaanlage
- Heizung
- Parkplatz
- Fahrstuhl
- Tv
- Waschmaschine
- Handtücher
- Bettlaken


Premium St Christophers Place
London - Marylebone - 1.4 km vom Zentrum
- 41 M2
- 2 Personen
- Heizung
- Tv
- Waschmaschine
- Handtücher
- Bettlaken


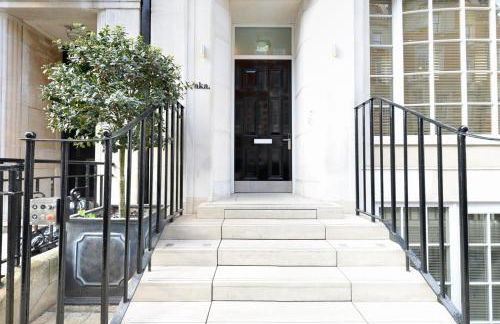
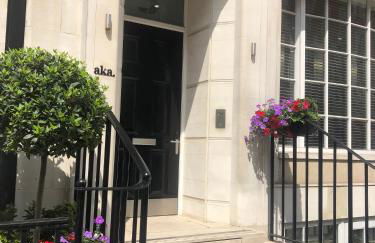

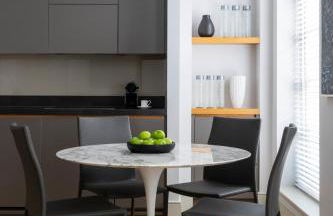

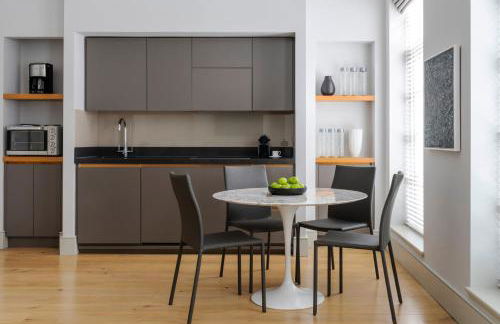
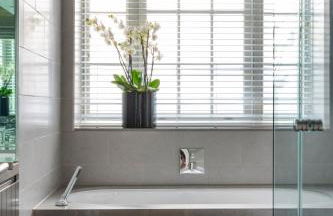


AKA Marylebone
London - Marylebone - 1.5 km vom Zentrum
- 58 M2
- 1 Schlafzimmer
- 3 Personen
- Klimaanlage
- Heizung
- Terrasse
- Parkplatz
- Fahrstuhl


Luxury 3 Bed 2 Bath Apartment Marylebone Station
London - Marylebone - 2.6 km vom Zentrum
- 85 M2
- 3 Schlafzimmer
- 8 Personen
- Klimaanlage
- Fahrstuhl


Marylebone Apartments by Sleepy Lodge London
London - Marylebone - 480 m von Madame Tussauds
- 65 M2
- 2 Schlafzimmer
- 6 Personen
- Heizung
- Fahrstuhl